Install with the Unified Installer
SUSE Manager for Retail is a SUSE base product. This section describes how to install SUSE Manager for Retail from SUSE Linux Enterprise Server installation media with the Unified Installer.
|
This method is no longer supported. The supported way is going forward is VM based install. |
|
Before installing SUSE Manager, ensure your physical or virtual machine has enough disk space and RAM by checking the requirements at Hardware. |
1. Install SUSE Manager for Retail
-
Boot your server from the installation image. If booting fails you might need to adjust the boot order in the BIOS.
-
When prompted, select
Installation. -
In the
Language, Keyboard and Product Selectionscreen, check theSUSE Manager Servercheckbox, and click Next.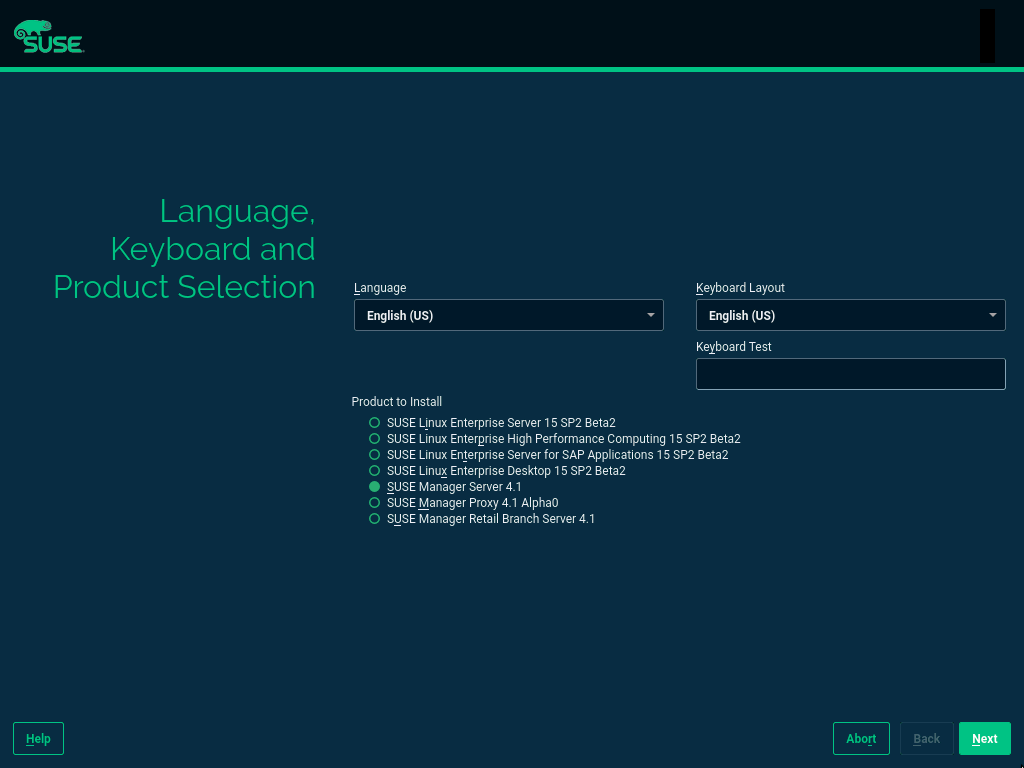
-
Read and agree to the End User Licence Agreement, and click Next.
-
In the
Registrationscreen, check theRegister System via scc.suse.comcheckbox, enter your SUSE Customer Center credentials, and click Next. -
OPTIONAL: In the
Add On Productscreen, select any additional or add-on products you require, and click Next. -
In the
System Rolescreen, check theSUSE Manager for Retail Servercheckbox, and click Next.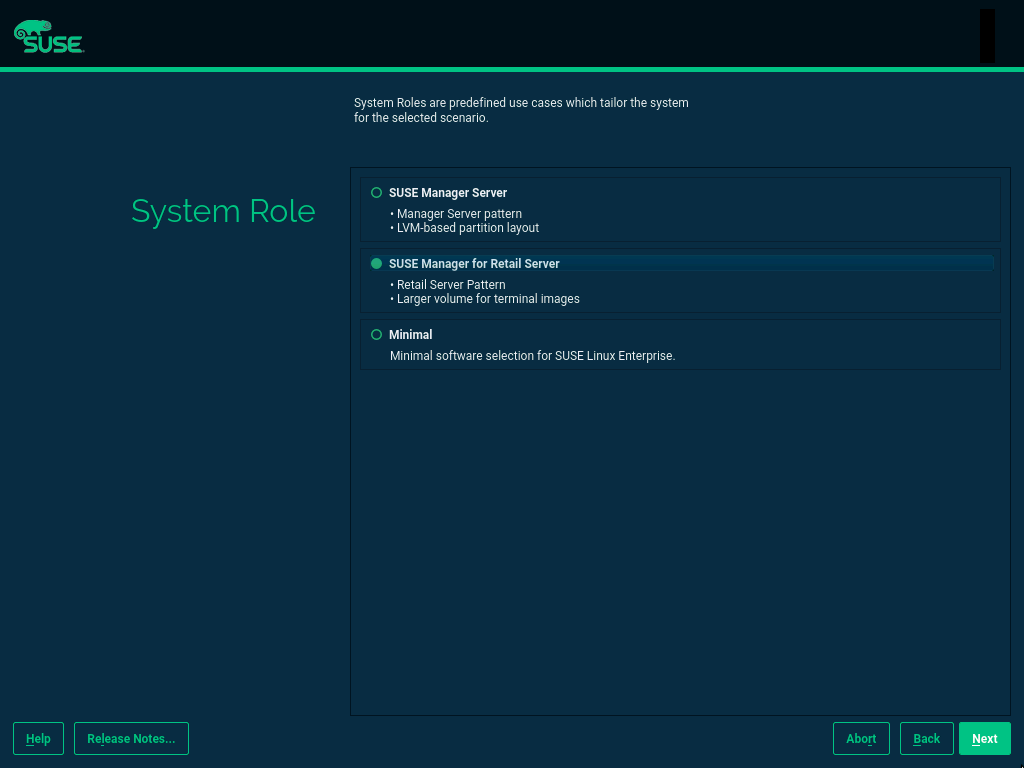
-
In the
Suggested Partitioningscreen, accept the default values, or use the Guided Setup or Expert Partitioner options to customize your partitioning model, and click Next. -
In the
Clock and Time Zonescreen, enter your region and timezone, and click Next. -
In the
Local Usersscreen, create a new user, and click Next. -
In the
System Administrator "root"screen, create the "root" user, and click Next. -
Review the settings on the
Installation Settingsscreen. Ensure that SSH access is open. -
On the
Installation Settingsscreen click Install.
When the installation procedure has finished, you can check that you have all the required modules by using the SUSEConnect --status-text command at a command prompt.
For SUSE Manager for Retail Server, the expected modules are:
-
SUSE Linux Enterprise Server Basesystem Module
-
Server Applications Module
-
Web and Scripting Module
-
SUSE Manager Server Module
-
On the SUSE Manager for Retail Server, at the command prompt, as root, run the setup script:
yast2 susemanager_setup
-
Follow the prompts to set up your account. Take note of the passwords you set, you will need them later on.
Continue with general SUSE Manager configuration and channel synchronization at SUSE Manager Server Setup.
2. Install SUSE Manager for Retail Branch Server
-
Boot your server from the installation image. In case of trouble, you might need to adjust the boot order in the BIOS.
-
When prompted, select
Installation. -
In the
Language, Keyboard and Product Selectionscreen, check theSUSE Manager Retail Branch Servercheckbox, and click Next.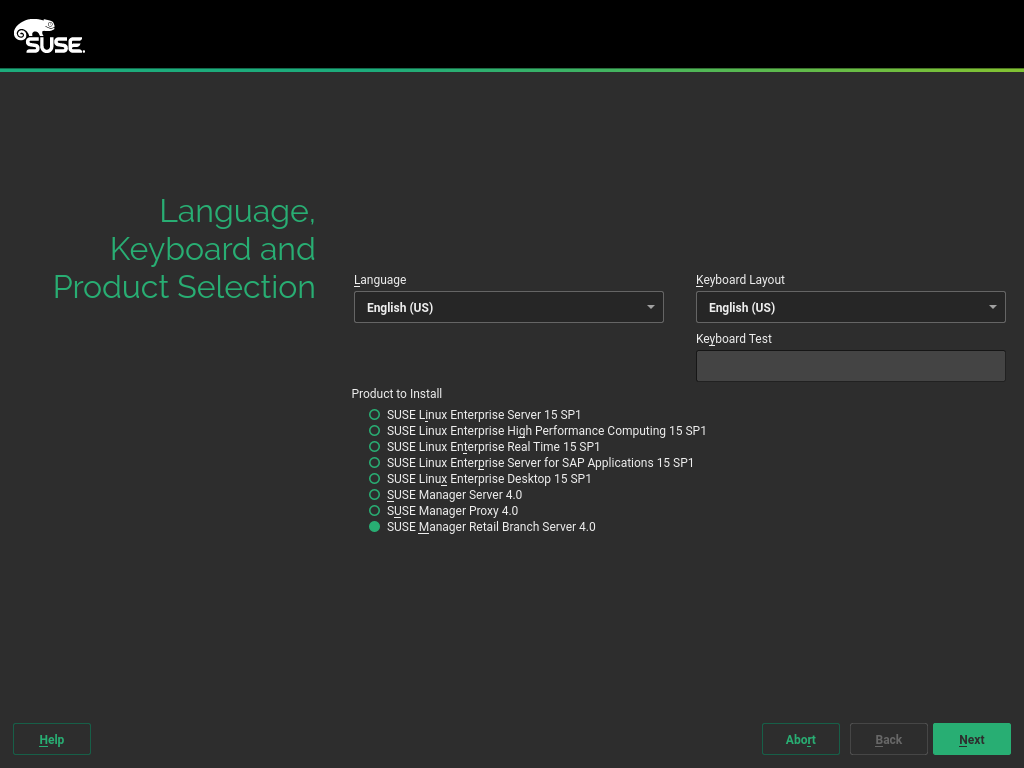
-
Read and agree to the End User Licence Agreement, and click Next.
-
In the
Registrationscreen, check theRegister System via scc.suse.comcheckbox, enter your SUSE Customer Center credentials, and click Next. -
OPTIONAL: In the
Add On Productscreen, select any additional or add-on products you require, and click Next. -
In the
System Rolescreen, check theSUSE Manager Proxycheckbox, and click Next.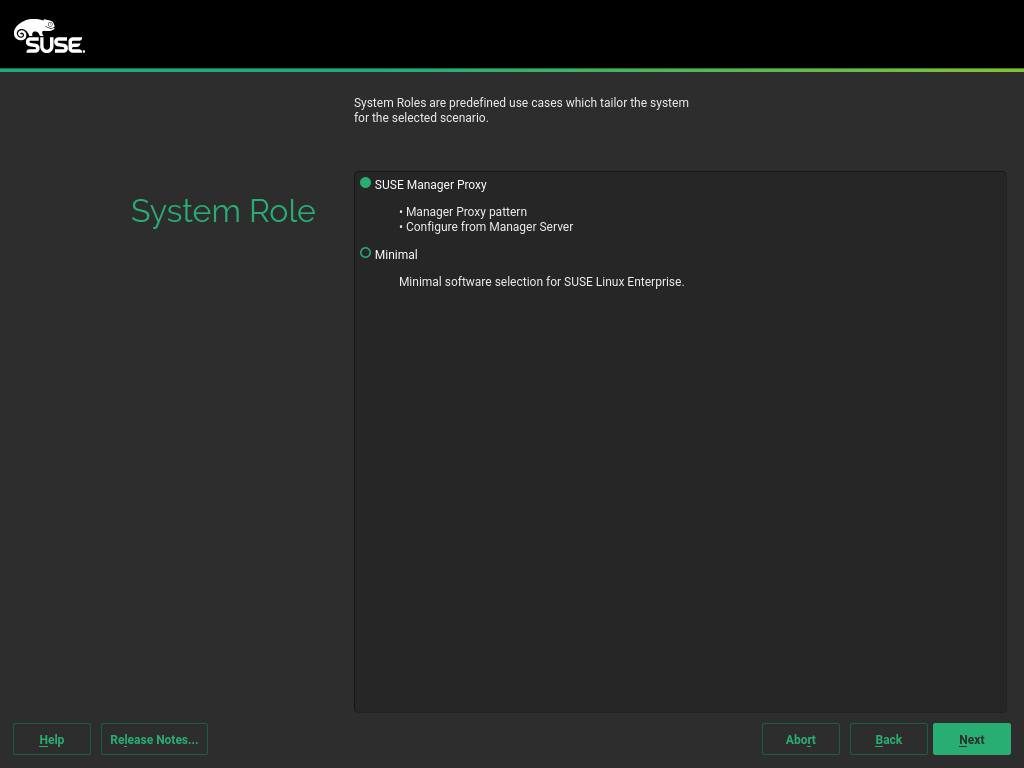
-
In the
Suggested Partitioningscreen, accept the default values, or use the Guided Setup or Expert Partitioner options to customize your partitioning model, and click Next. -
In the
Clock and Time Zonescreen, enter your region and timezone, and click Next. -
In the
Local Usersscreen, create a new user, and click Next. -
In the
System Administrator "root"screen, create the "root" user, and click Next. -
Review the settings on the
Installation Settingsscreen. Ensure that SSH access is open. -
On the
Installation Settingsscreen click Install.
When the installation procedure has finished, you can check that you have all the required modules by using the SUSEConnect --status-text command at a command prompt.
For Branch Server, the expected modules are:
-
SUSE Linux Enterprise Server Basesystem Module
-
Server Applications Module
-
Web and Scripting Module
-
SUSE Manager Proxy Module
-
SUSE Manager Retail Branch Server Module
-
Create an activation key based on the
SLE-Product-SUSE-Manager-Retail-Branch-Server-4.3-Poolbase channel. For more information about activation keys, see Activation Keys. -
In the
Child Channelslisting, select the recommended channels by clicking theinclude recommendedicon:-
SLE-Module-Basesystem15-SP5-Pool for x86_64 SMRBS 4.3
-
SLE-Module-Basesystem15-SP5-Updates for x86_64 SMRBS 4.3
-
SLE-Module-Server-Applications15-SP5-Pool for x86_64 SMRBS 4.3
-
SLE-Module-Server-Applications15-SP5-Updates for x86_64 SMRBS 4.3
-
SLE-Product-SUSE-Manager-Retail-Branch-Server-4.3-Updates for x86_64
-
-
Use this activation key in SUSE Manager Proxy registration at SUSE Manager Proxy Registration.
-
Configure SUSE Manager Proxy. For more information on how to do this, see SUSE Manager Proxy Setup.
|
The branch server must be configured as a Salt managed proxy. |
|
Cobbler TFTP is not supported on SUSE Manager for Retail.
Do not configure the |
3. Install SUSE Manager for Retail Build Host
Build hosts are regular SUSE Linux Enterprise Server installations registered to SUSE Manager as Salt clients. For more information on how to install and register Salt clients to SUSE Manager, see Client Registration.
To prepare a build host from an already registered Salt client, see administration:image-management.adoc#at.images.kiwi.buildhost.