Clone Volumes
SUSE Storage supports CSI volume cloning.
Volume Cloning
Clone a Volume Using YAML
V1 Data Engine
Suppose that you have the following source-pvc:
apiVersion: v1
kind: PersistentVolumeClaim
metadata:
  name: source-pvc
spec:
  storageClassName: longhorn
  accessModes:
    - ReadWriteOnce
  resources:
    requests:
      storage: 10Gi
You can create a new PVC that has the exact same content as the source-pvc by applying the following yaml file:
apiVersion: v1
kind: PersistentVolumeClaim
metadata:
  name: cloned-pvc
spec:
  storageClassName: longhorn
  dataSource:
    name: source-pvc
    kind: PersistentVolumeClaim
  accessModes:
    - ReadWriteOnce
  resources:
    requests:
storage: 10Gi|
Along with the requirements listed at CSI volume cloning, the |
V2 Data Engine
Assume you have a StorageClass named longhorn-v2 with dataEngine: "v2", and a PVC named source-pvc-v2 provisioned from it. You can clone it using one of two modes:
1. Clone using full-copy mode
You can create a new PVC with the exact same content as source-pvc-v2 by applying the YAML below. SUSE Storage copies the data from the source PVC to the new PVC.
apiVersion: v1
kind: PersistentVolumeClaim
metadata:
  name: cloned-pvc-v2
spec:
  storageClassName: longhorn-v2
  dataSource:
    name: source-pvc-v2
    kind: PersistentVolumeClaim
  accessModes:
    - ReadWriteOnce
  resources:
    requests:
      storage: 10Gi
2. Clone using linked-clone mode
The full-copy mode creates a new PVC that is fully independent of the source PVC, but it requires time and resources to copy the data. If you need to quickly create a PVC with the same content as the source without copying the data (for example, for backup solutions like Velero or Kasten), you can use the linked-clone mode. This mode creates a new PVC that shares the underlying data blocks with the source PVC via copy-on-write lvol mechanism of SPDK. Unlike full-copy, all replicas of a linked-clone volume are created simultaneously during volume creation, so no rebuild is needed.
Linked-clone also serves as the V2 Data Engine replacement for the removal of v2 backing images. Instead of pre-provisioning a backing image and distributing it to each node, you can create a regular V2 volume with the desired base data and then use it as the source for linked-clone volumes. Each linked-clone volume shares the source volume’s data blocks with copy-on-write semantics, functioning similarly to a backing image but with the full flexibility of a standard Longhorn volume as the source, including support for nested linked clones.
First, create a StorageClass with cloneMode set to linked-clone:
kind: StorageClass
apiVersion: storage.k8s.io/v1
metadata:
  name: longhorn-v2-linked-clone
provisioner: driver.longhorn.io
reclaimPolicy: Delete
volumeBindingMode: Immediate
parameters:
  dataEngine: "v2"
  cloneMode: "linked-clone"
  numberOfReplicas: "3"
  staleReplicaTimeout: "2880"
Next, create a new PVC that uses the above StorageClass and references the source PVC in the dataSource field:
apiVersion: v1
kind: PersistentVolumeClaim
metadata:
  name: cloned-pvc-v2-linked-clone
spec:
  storageClassName: longhorn-v2-linked-clone
  dataSource:
    name: source-pvc-v2
    kind: PersistentVolumeClaim
  accessModes:
    - ReadWriteOnce
  resources:
    requests:
      storage: 10Gi
|
Clone CSI Snapshot
To clone a CSI snapshot, refer to the documentation on Creating a Volume from a Snapshot.
Clone Volume Using the SUSE Storage UI
Clone a volume
-
Go to the Volumes page.
-
Select a volume, and then click Clone Volume in the Operation menu.
-
(Optional) Configure the settings of the new volume.
-
Click OK.
Clone a Volume Using a Snapshot
-
Go to the Volumes page.
-
Click the name of the volume that you want to clone.
-
In the Snapshot and Backups section of the details screen, identify the snapshot that you want to use and then click Clone Volume.
-
(Optional) Configure the settings of the new volume.
-
Click OK.
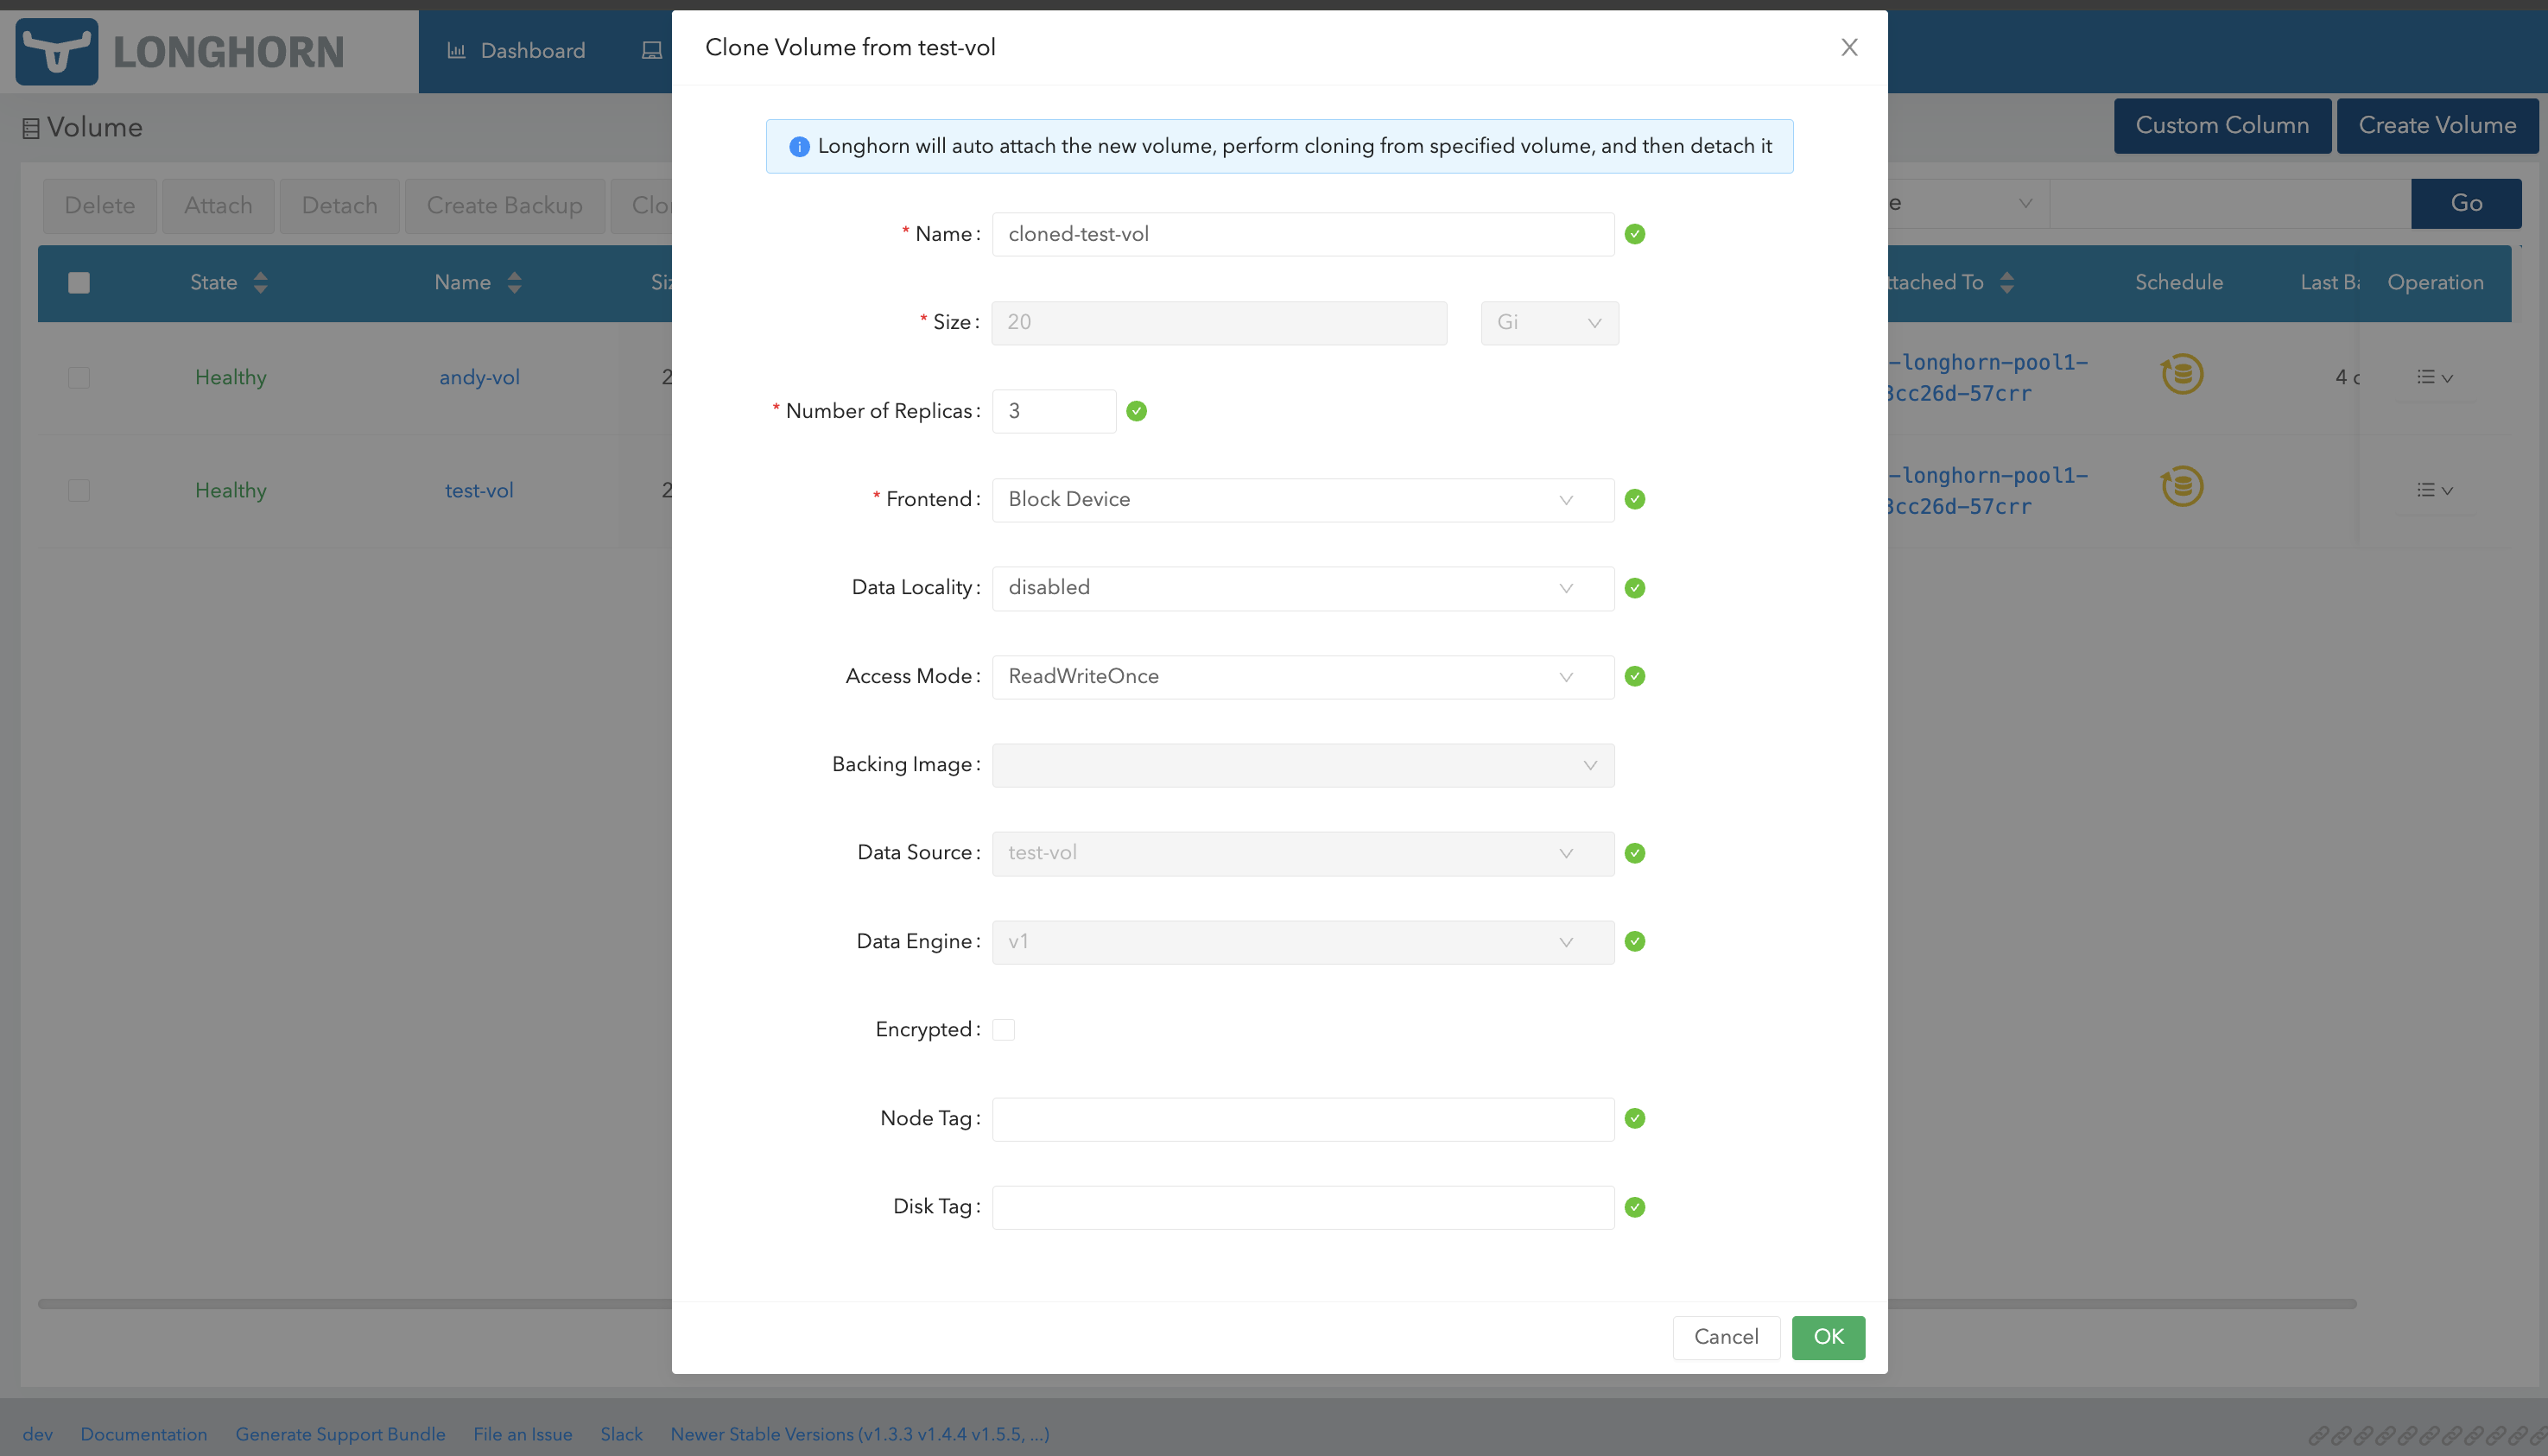
Clone Multiple Volumes (Bulk Cloning)
-
Go to the Volumes page.
-
Select the volume you want to clone.
-
Click Clone Volume button on top of the table.
-
(Optional) Configure the settings of the new volumes
-
Click OK
|
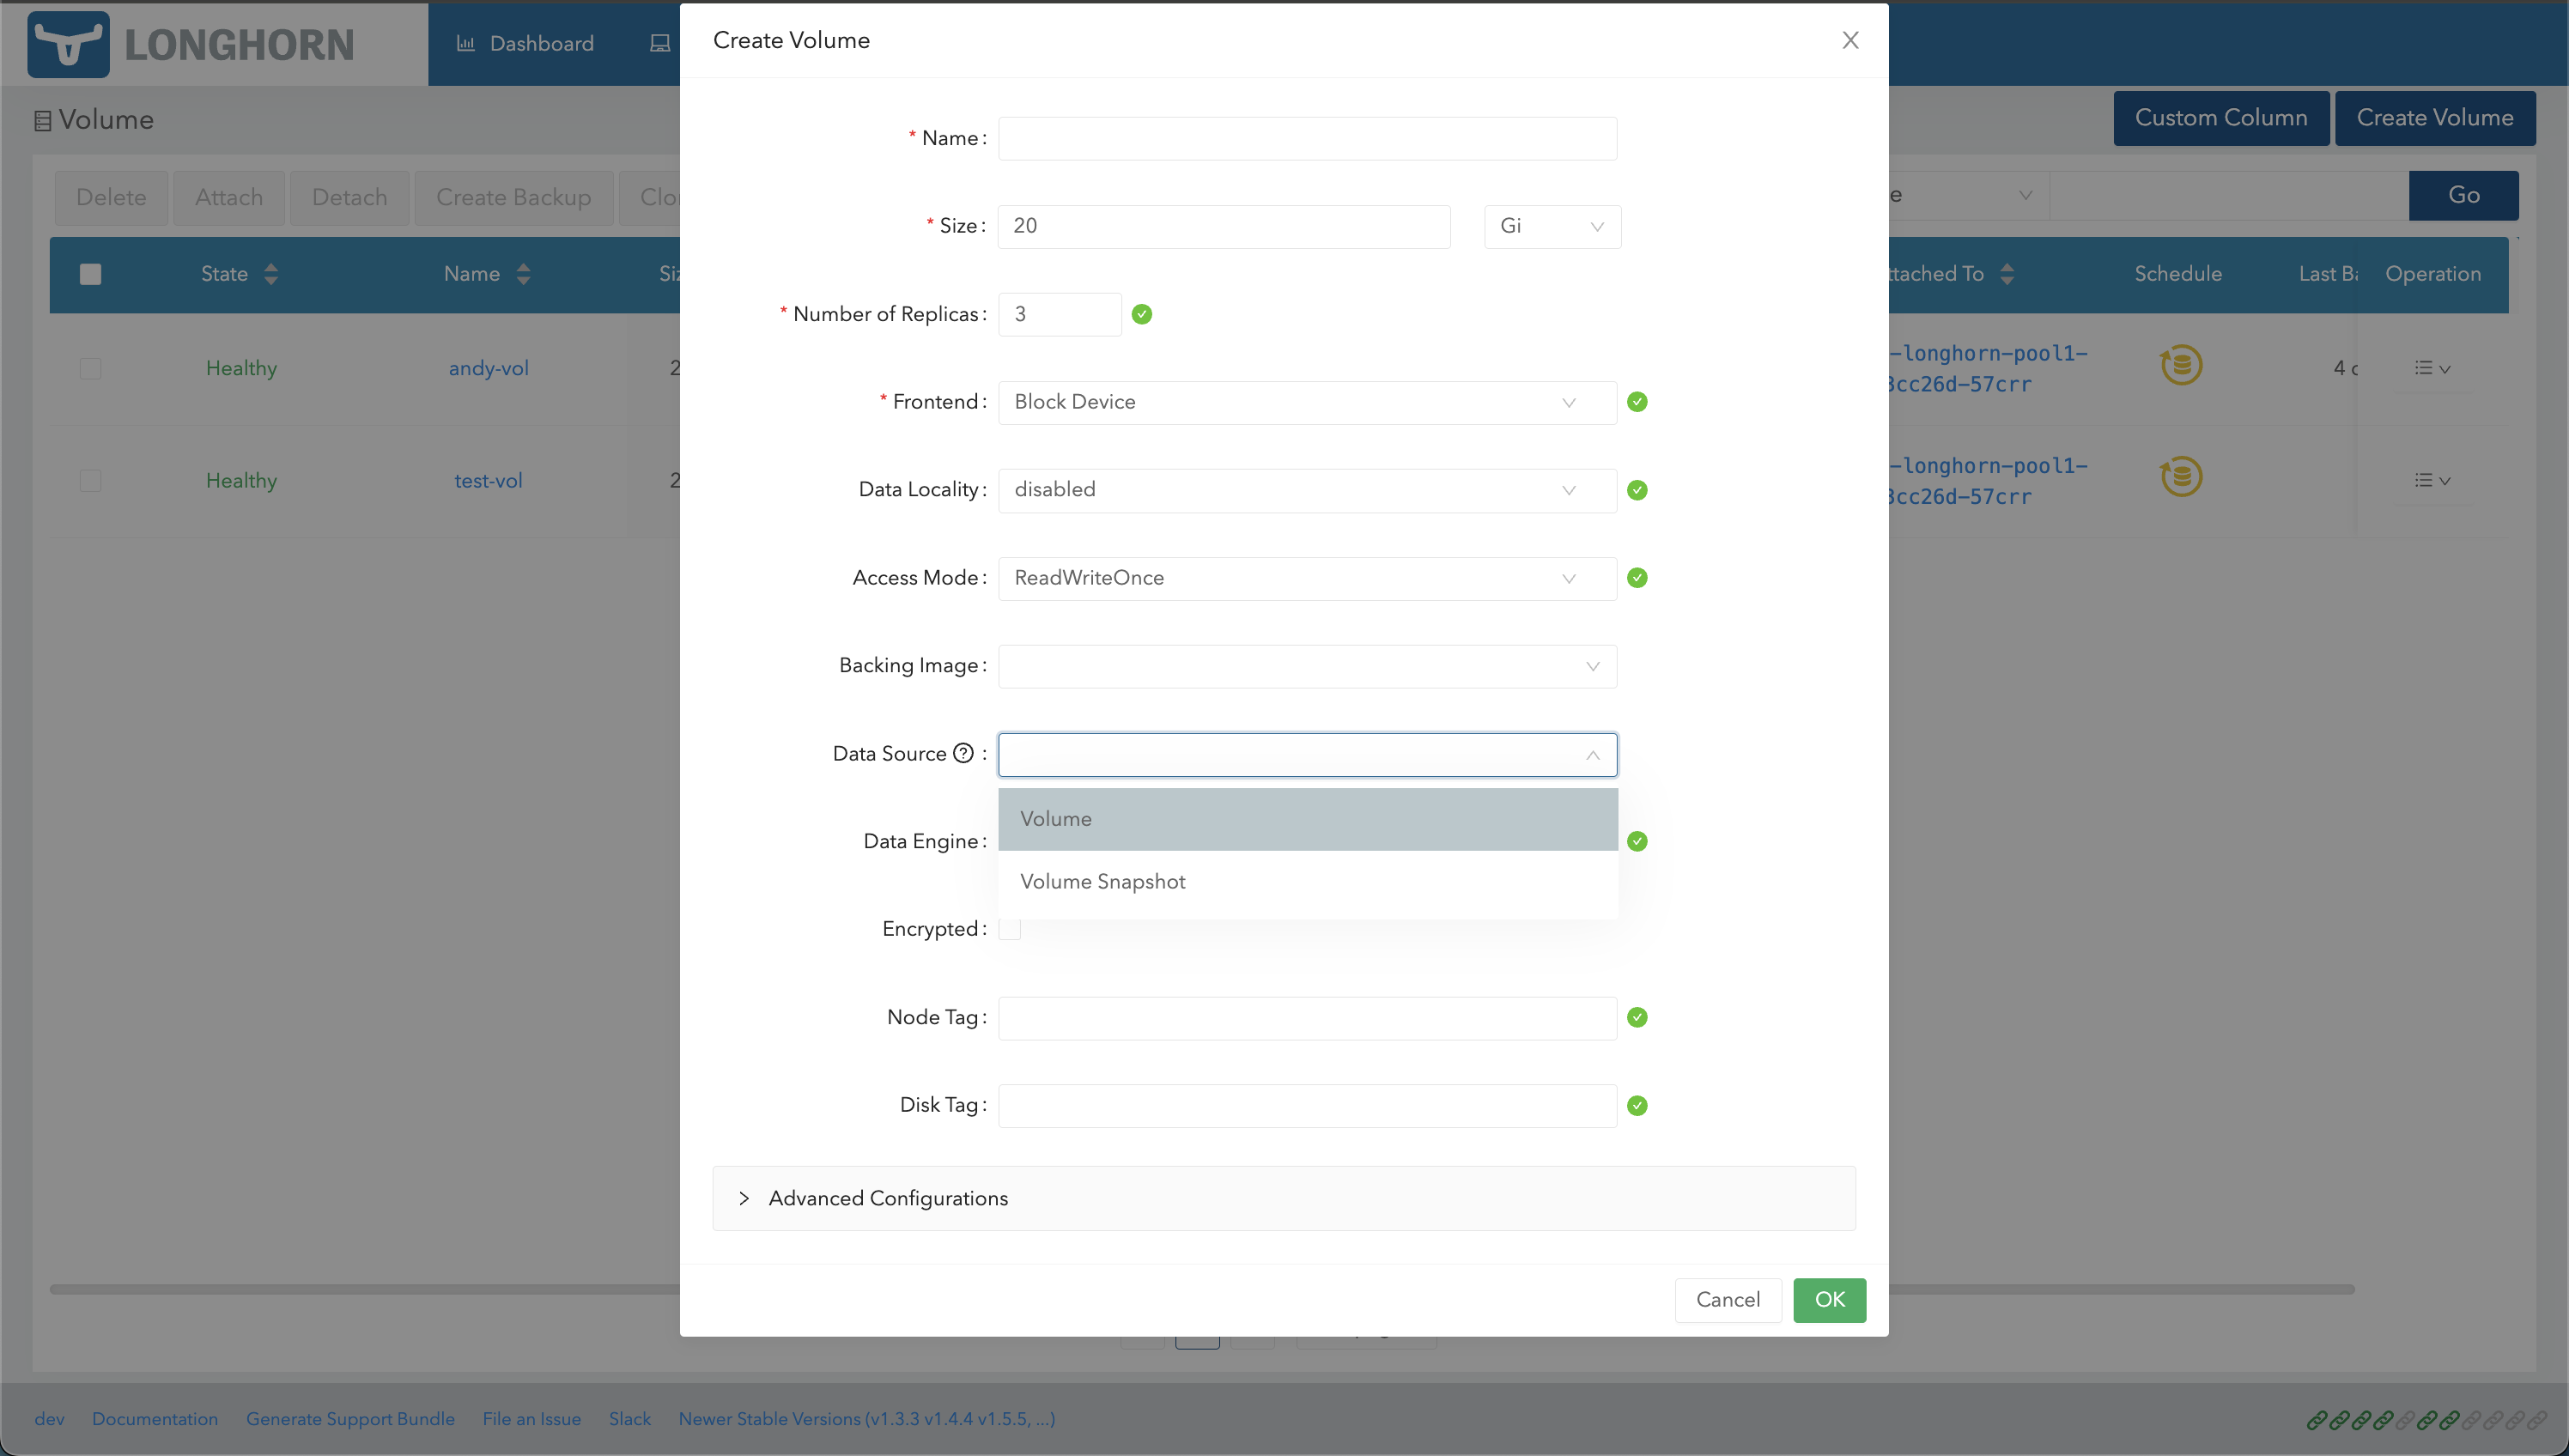
Volume Creation
-
Go to the Volumes page.
-
Click Create Volume.
-
Select the data source (Volume or Volume Snapshot) that you want to use.
-
If you select Volume Snapshot, choose a snapshot.
-
Specify the volume name.
-
Click OK.