5 YaST in Text Mode #
This section is intended for system administrators and experts who do not run an X server on their systems and depend on the text-based installation tool. It provides basic information about starting and operating YaST in text mode.
YaST in text mode uses the ncurses library to provide an easy pseudo-graphical user interface. The ncurses library is installed by default. The minimum supported size of the terminal emulator in which to run YaST is 80x25 characters.
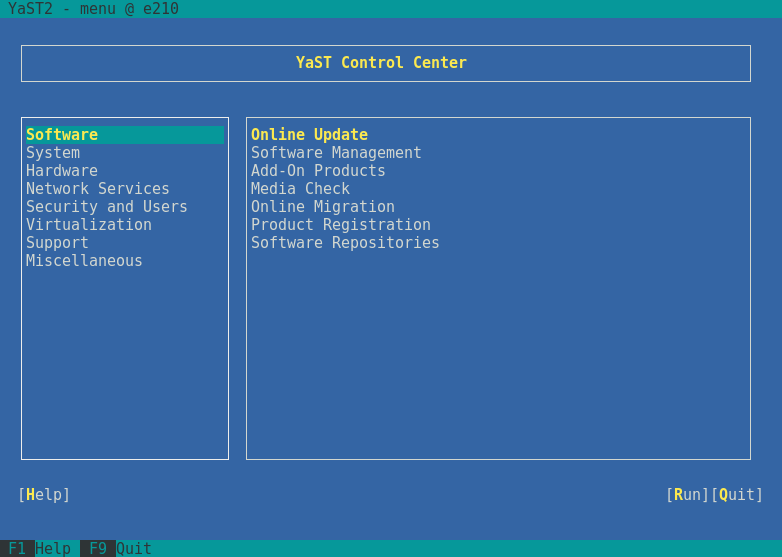
When you start YaST in text mode, the YaST control center appears (see Figure 5.1). The main window consists of three areas. The left frame features the categories to which the various modules belong. This frame is active when YaST is started and therefore it is marked by a bold white border. The active category is selected. The right frame provides an overview of the modules available in the active category. The bottom frame contains the buttons for and .
When you start the YaST control center, the category is selected automatically. Use ↓ and ↑ to change the category. To select a module from the category, activate the right frame with → and then use ↓ and ↑ to select the module. Keep the arrow keys pressed to scroll through the list of available modules. After selecting a module, press Enter to start it.
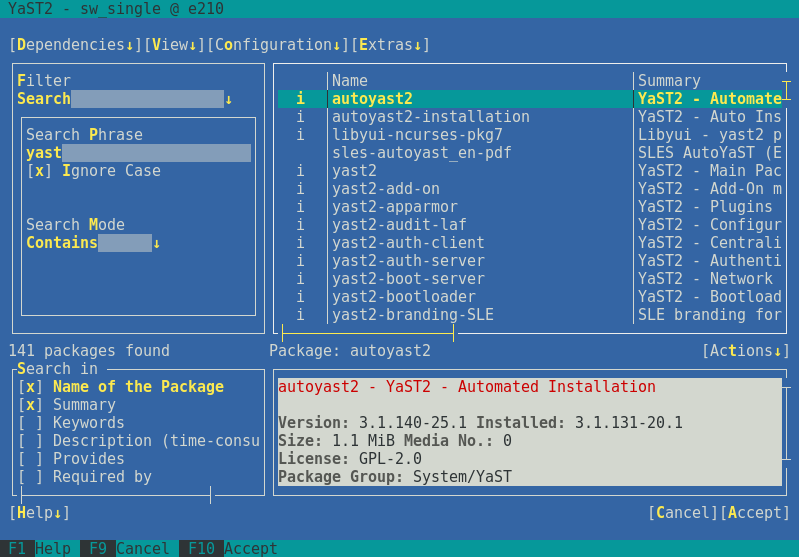
Various buttons or selection fields in the module contain a highlighted letter (yellow by default). Use Alt–highlighted_letter to select a button directly instead of navigating there with →|. Exit the YaST control center by pressing Alt–Q or by selecting and pressing Enter.
If a YaST dialog gets corrupted or distorted (for example, while resizing the window), press Ctrl–L to refresh and restore its contents.
5.2 Advanced Key Combinations #
YaST in text mode has a set of advanced key combinations.
- Shift–F1
Show a list of advanced hotkeys.
- Shift–F4
Change color schema.
- Ctrl–\
Quit the application.
- Ctrl–L
Refresh screen.
- Ctrl–D F1
Show a list of advanced hotkeys.
- Ctrl–D Shift–D
Dump dialog to the log file as a screenshot.
- Ctrl–D Shift–Y
Open YDialogSpy to see the widget hierarchy.
5.3 Restriction of Key Combinations #
If your window manager uses global Alt combinations, the Alt combinations in YaST might not work. Keys like Alt or Shift can also be occupied by the settings of the terminal.
- Replacing Alt with Esc
Alt shortcuts can be executed with Esc instead of Alt. For example, Esc–H replaces Alt–H. (First press Esc, then press H.)
- Backward and Forward Navigation with Ctrl–F and Ctrl–B
If the Alt and Shift combinations are occupied by the window manager or the terminal, use the combinations Ctrl–F (forward) and Ctrl–B (backward) instead.
- Restriction of Function Keys
The function keys (F1 ... F12) are also used for functions. Certain function keys might be occupied by the terminal and may not be available for YaST. However, the Alt key combinations and function keys should always be fully available on a pure text console.
5.4 YaST Command Line Options #
Besides the text mode interface, YaST provides a pure command line interface. To get a list of YaST command line options, enter:
yast -h
5.4.1 Starting the Individual Modules #
To save time, the individual YaST modules can be started directly. To start a module, enter:
yast <module_name>
View a list of all module names available on your system with yast
-l or yast --list. Start the network module,
for example, with yast lan.
5.4.2 Installing Packages from the Command Line #
If you know a package name and the package is provided by any of your
active installation repositories, you can use the command line option
-i to install the package:
yast -i <package_name>
or
yast --install <package_name>
PACKAGE_NAME can be a single short package name
(for example gvim) installed with
dependency checking, or the full path to an RPM package
which is installed without dependency checking.
If you need a command line based software management utility with functionality beyond what YaST provides, consider using Zypper. This utility uses the same software management library that is also the foundation for the YaST package manager. The basic usage of Zypper is covered in Section 6.1, “Using Zypper”.
5.4.3 Command Line Parameters of the YaST Modules #
To use YaST functionality in scripts, YaST provides command line support for individual modules. Not all modules have command line support. To display the available options of a module, enter:
yast <module_name> help
If a module does not provide command line support, the module is started in text mode and the following message appears:
This YaST module does not support the command line interface.

