SUSE Multi-Linux Manager 5.1 Server Deployment as a Virtual Machine - KVM
This chapter provides the required Virtual Machine settings for deployment of SUSE Multi-Linux Manager 5.1 as an image. KVM will be combined with Virtual Machine Manager (virt-manager) as a sandbox for this installation.
1. Available Images
|
The preferred method for deploying SUSE Multi-Linux Manager 5.1 Server is to use one of the following available images. All tools are included in these images greatly simplifying deployment. |
Images for SUSE Multi-Linux Manager 5.1 are available at SUSE Multi-Linux Manager 5.1 VM images.
|
Customized SUSE Multi-Linux Manager 5.1 VM images are provided only for SL Micro 6.1. To run the product on SUSE Linux Enterprise Server 15 SP7, use the standard SUSE Linux Enterprise Server 15 SP7 installation media available at https://www.suse.com/download/sles/ and enable the SUSE Multi-Linux Manager 5.1 extensions on top of it. |
| Architecture | Image Format |
|---|---|
aarch64 |
qcow2, vmdk |
x86_64 |
qcow2, vmdk, raw, Self Installer |
ppc64le |
raw, Self Installer |
s390x * |
qcow2, raw |
* Two storage options are available for s390x: CDL DASD and FBA.
2. Virtual Machine Manager (virt-manager) Settings
Enter the following settings when creating a new virtual machine using virt-manager.
|
This table specifies the minimum requirements. These are suitable for a quick test installation, such as a server with one client. If you want to use a production environment and need background information about disk space, see Hardware Requirements. |
| KVM Settings | |
|---|---|
Installation Method |
Import Existing Disk Image |
OS: |
Linux |
Version: |
SUSE Multi-Linux Manager-Server.x86_64-5.1.*.qcow2 |
Memory: |
Minimum *) |
CPU’s: |
Minimum *) |
Storage Format: |
.qcow2 40 GB (Default) Root Partition |
Name: |
test-setup |
Network |
Bridge br0 |
*) For minimum values, see installation-and-upgrade:hardware-requirements.adoc#server-hardware-requirements.
3. Initial KVM Setup
-
Create a new virtual machine using the downloaded Minimal KVM image and select
Import existing disk image. -
Configure RAM and number of CPUs.
-
Name your KVM machine.
-
Click Begin Installation to boot from the image.
-
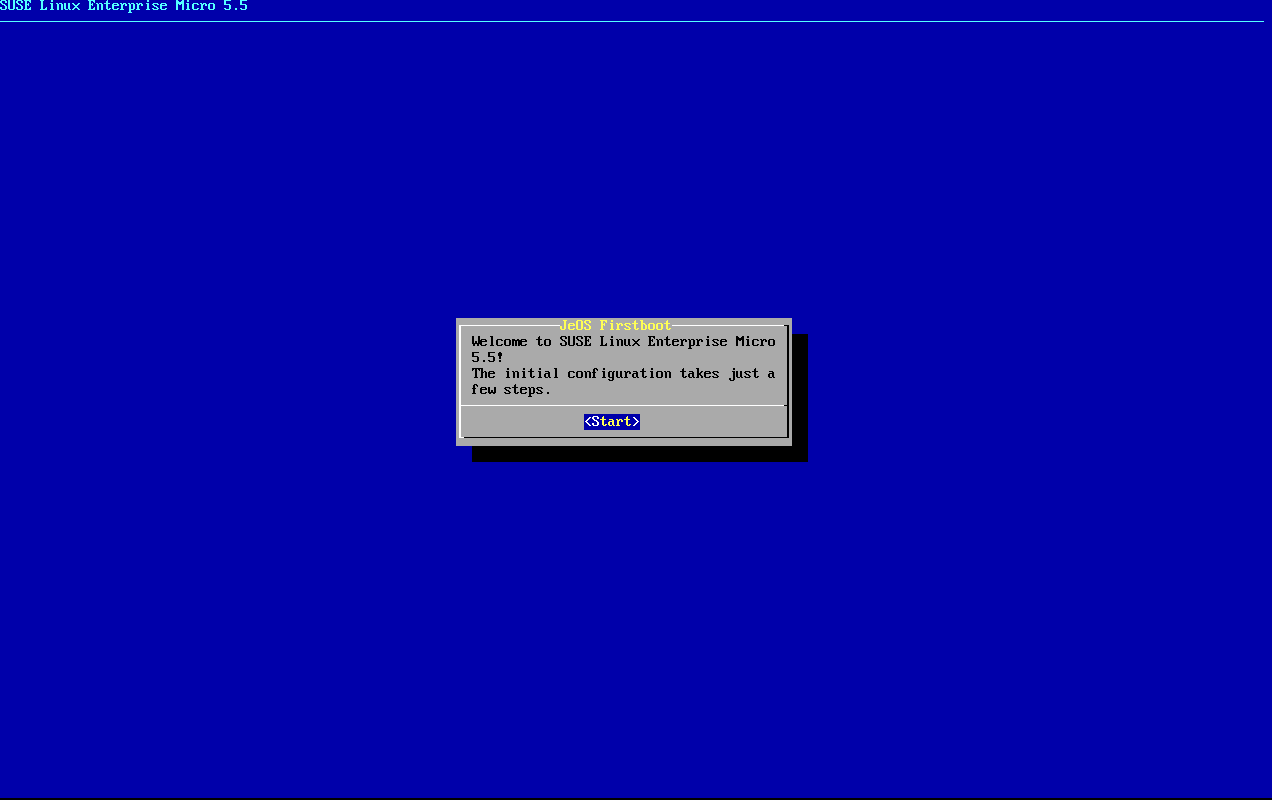
At the JeOS Firstboot screen select start to continue.
-
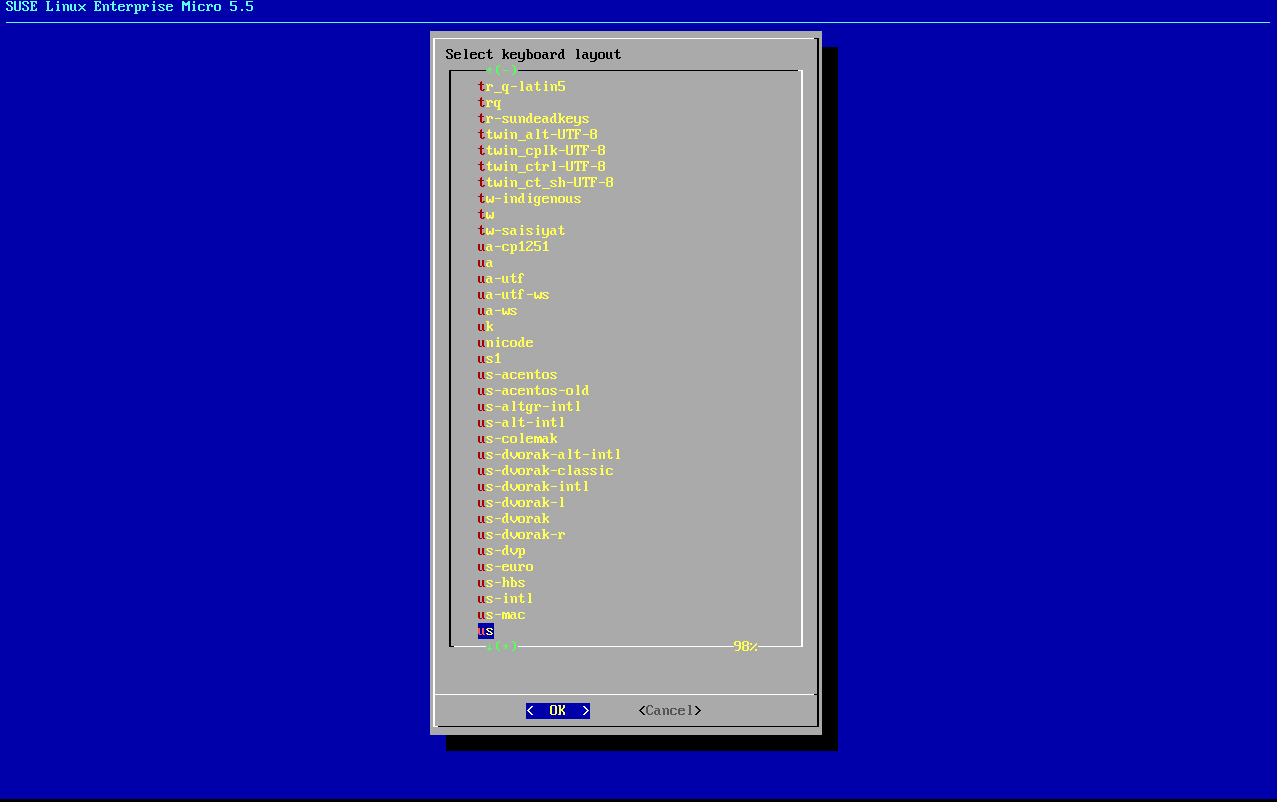
Select keyboard layout.
-
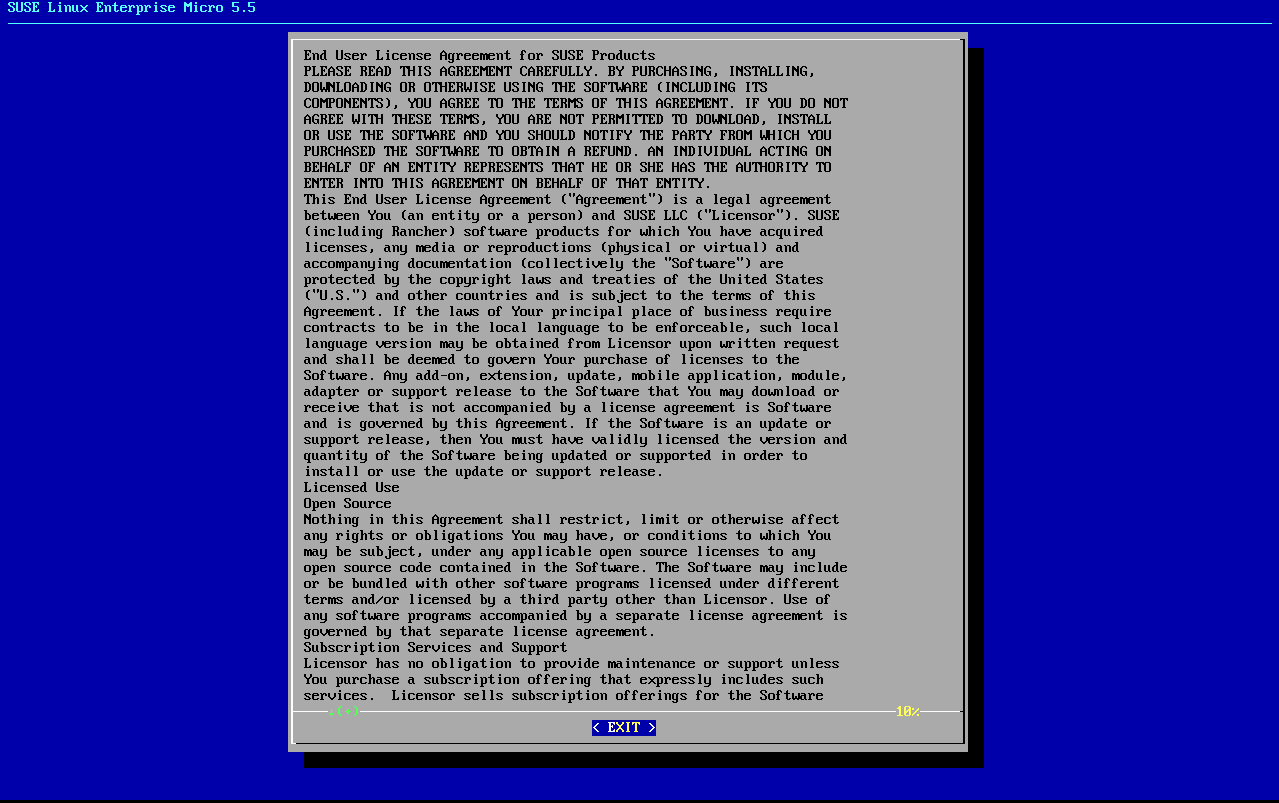
Accept the license agreement.
-
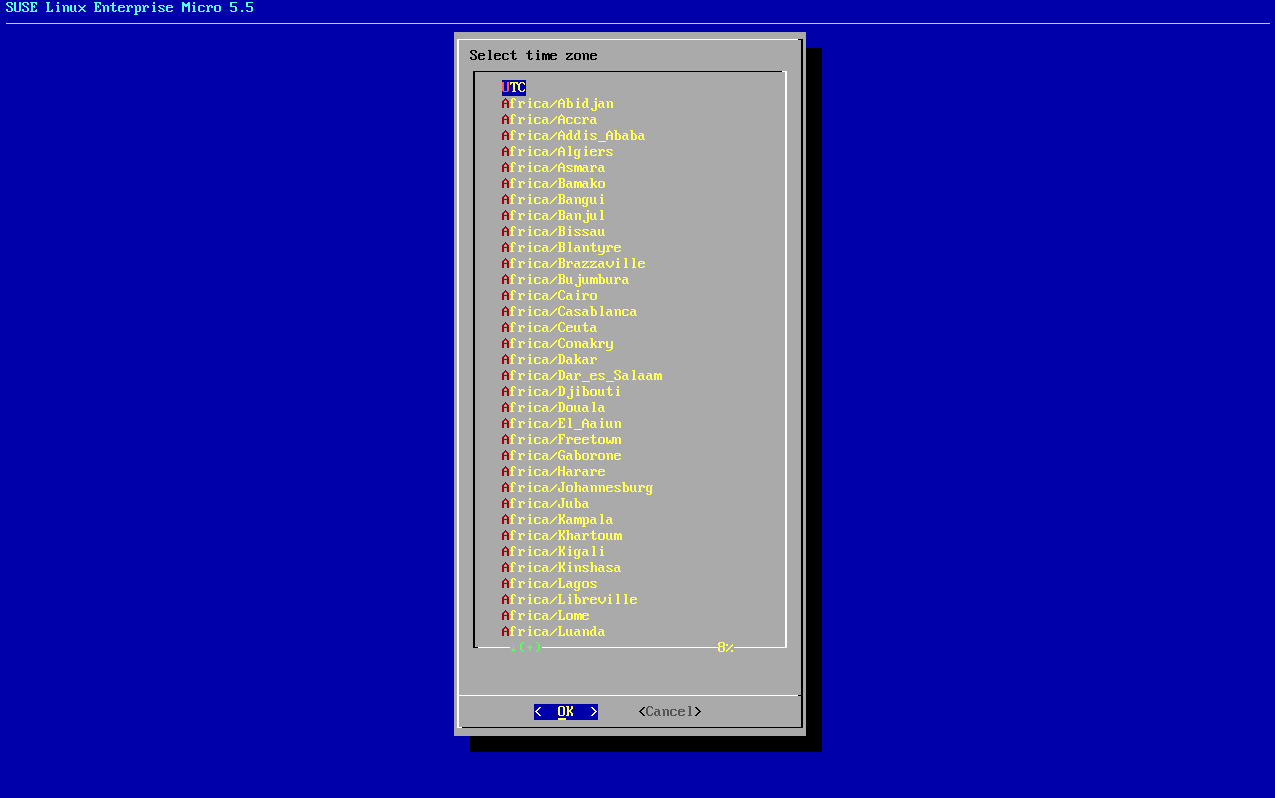
Select your time zone.
-
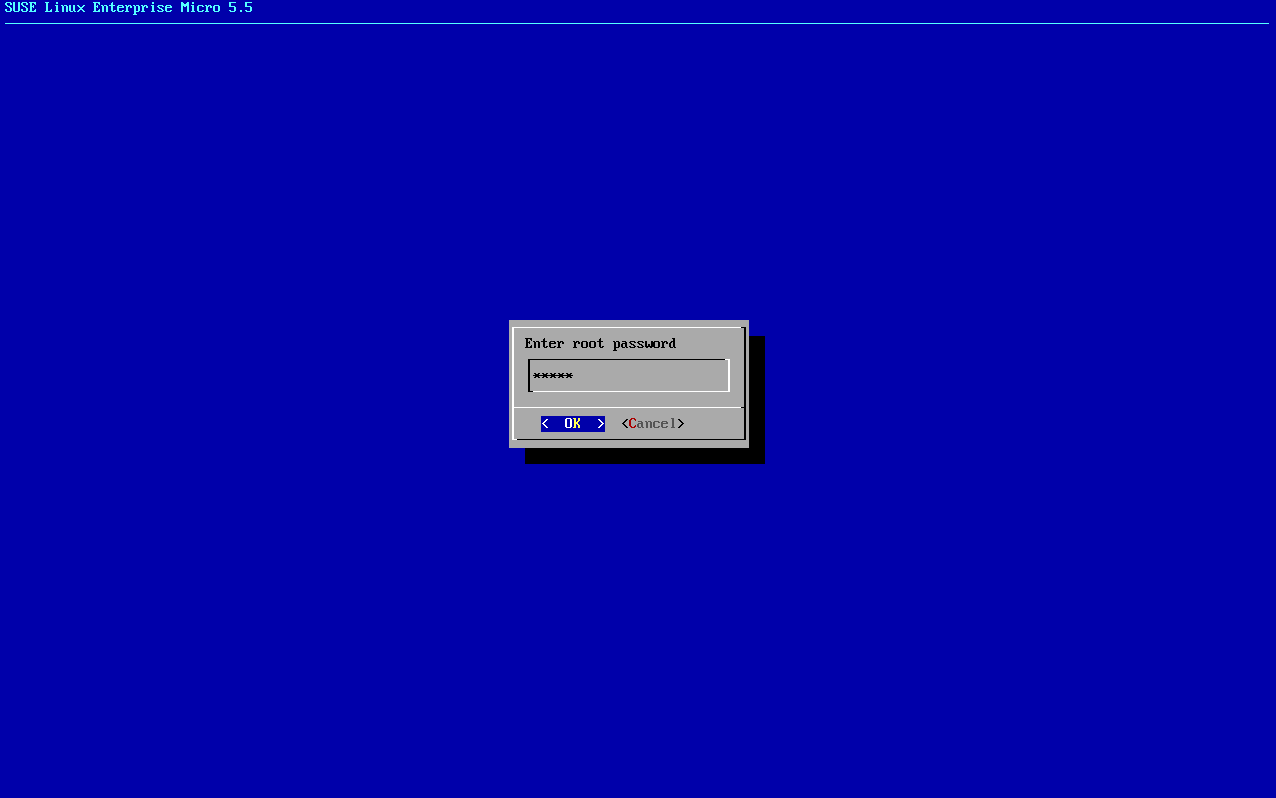
Enter a password for root.
-
When installation completes log in as root.
-
Proceed to the next section.
4. Register SL Micro and SUSE Multi-Linux Manager 5.1 Server
|
The SL Micro 6.1 entitlement is included within the SUSE Multi-Linux Manager entitlement, so it does not require a separate registration code. |
|
SUSE Multi-Linux Manager server hosts that are hardened for security may restrict execution of files from the For example: In SUSE Multi-Linux Manager updates, tools will be changed to make this workaround unnecessary. |
-
Boot the virtual machine.
-
Log in as
root. -
Register SL Micro with SCC.
transactional-update register -r <REGCODE> -e <your_email>
-
Reboot.
-
Register SUSE Multi-Linux Manager 5.1 with SUSE Customer Center.
transactional-update register -p Multi-Linux-Manager-Server/5.1/x86_64 -r <REGCODE>
-
Reboot.
-
Update the system:
transactional-update
-
If updates were applied reboot.
-
This step is optional. However, if custom persistent storage is required for your infrastructure, use the
mgr-storage-servertool.For more information, see
mgr-storage-server --help. This tool simplifies creating the container storage and database volumes. Use the command in the following manner:mgr-storage-server <storage-disk-device> [<database-disk-device>]
For example:
mgr-storage-server /dev/nvme1n1 /dev/nvme2n1
This command will move the persistent storage volumes at
/var/lib/containers/storage/volumesto specified storage devices.For more information, see
-
Deploy SUSE Multi-Linux Manager.
If you use VM images as a migration target, here as the last step, execute the command
mgradm migrateinstead ofmgradm install.Execute one of the following commands, depending on the SSL certificate variant (self-signed or third-party). Replace
<FQDN>with your fully qualified domain name of the SUSE Multi-Linux Manager Server:-
Using self-signed certificates provided by SUSE Multi-Linux Manager:
mgradm install podman <FQDN> -
With importing SSL certificates using third-party SSL certificate flags (the example can adjusted if not all these certificates are needed):
mgradm install podman <FQDN> \
  --ssl-ca-intermediate <strings> \
  --ssl-ca-root <string> \
  --ssl-server-cert <string> \
  --ssl-server-key <string> \
  --ssl-db-ca-intermediate <strings> \
  --ssl-db-ca-root <string> \
  --ssl-db-cert <string> \
  --ssl-db-key <string>
For more information, see
mgradm install podman --help.
-