3 Installing the operating system #
The following section provides instructions for installing the base operating system. Using the installation workflow, you can install either using a local installation medium or over the network. Alternatively, you can install using AutoYaST.
3.1 Using the installation workflow #
The installation workflow is a guided installation of the operating system with optimized settings for SAP applications. During the installation workflow, you can choose whether you want to install an SAP application. If so, you will be asked to provide SAP installation media when the SUSE Linux Enterprise Server installation is finished. You can also choose whether to install third-party extensions.
This section assumes that you are starting the installation from a local medium.
For more information, see Section 2.4, “Overview of the installation workflow”.
This section guides you through the installation of the SUSE Linux Enterprise Server for SAP applications operating system.
To be able to install an Oracle database later, install SUSE Linux Enterprise Server first and then convert your installation to SUSE Linux Enterprise Server for SAP applications.
This is necessary because the installer for Oracle databases queries for the existence of certain files, not all of which are included in an SLES for SAP installation.
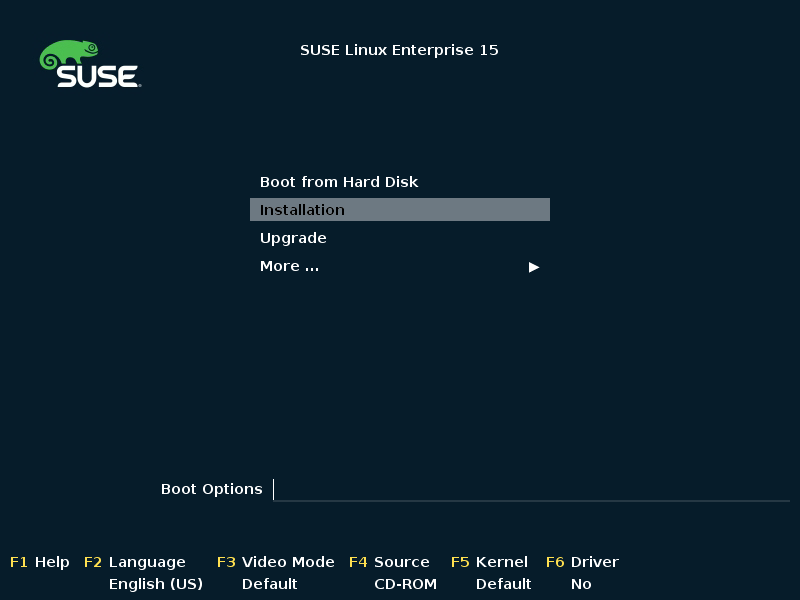
On AMD64/Intel 64, boot from the installation media. From the boot menu, select .
On POWER, follow the instructions in the SUSE Linux Enterprise Server documentation, see Deployment Guide, Part “Installation Preparation”, Chapter “Installation on IBM POWER” (https://documentation.suse.com/sles-15).
While the initial operating system is starting, you can view boot messages by pressing Esc. When this process has completed, the graphical installation workflow will start. As the first step, the installation workflow will check for updates for itself. After that, it will be ready to start the installation.
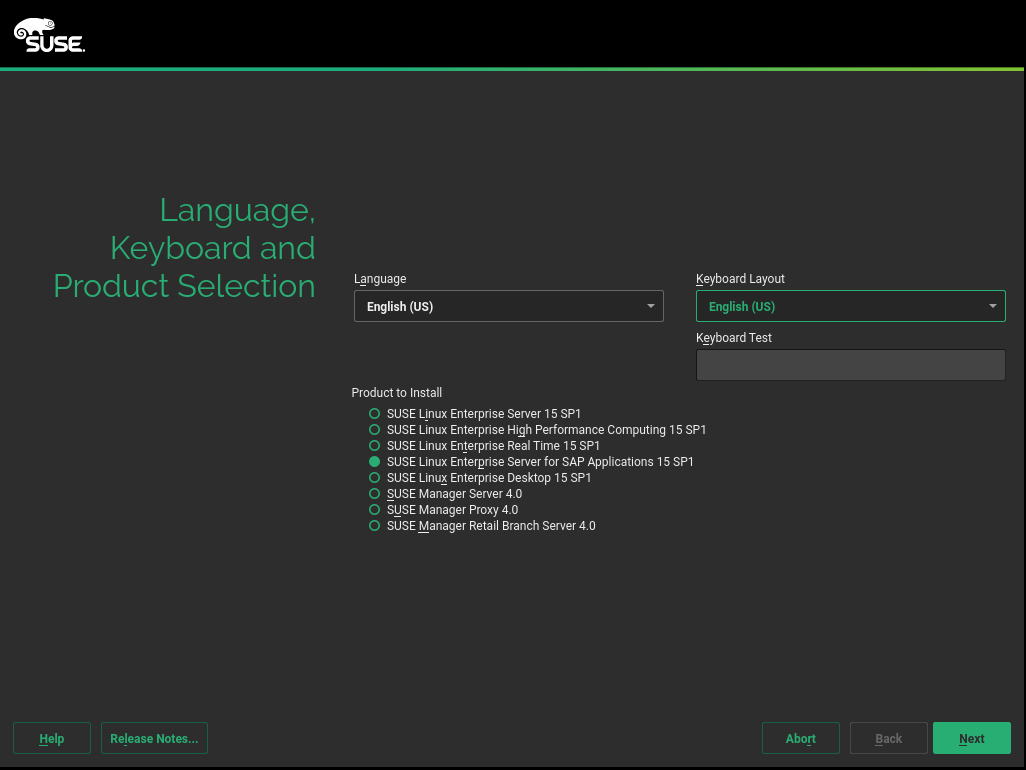
Select the default system language under .
Figure 3.2: Language, keyboard and product selection #Select the appropriate keyboard layout under . To test whether the selected layout matches your physical keyboard, use the text box .
SLE 15 SP3 provides a single installation ISO for the entire product line. Therefore, you need to select the product to install on this page.
Under , choose .
Read the license agreement. If you agree, select . Proceed with .
Otherwise, cancel the installation with › .
(Optional) If automatic network configuration via DHCP fails, the screen will open.
If instead the screen appears, your network connection works. To change network settings anyway, click .
When you are finished configuring networking, proceed with .
Important: Configure networking as recommended by SAPMake sure to configure the network connection as recommended in the documentation provided to you by SAP.
For information about configuring networking, see Administration Guide, Chapter “Basic Networking”, Section “Configuring a Network Connection with YaST” (https://documentation.suse.com/sles-15).
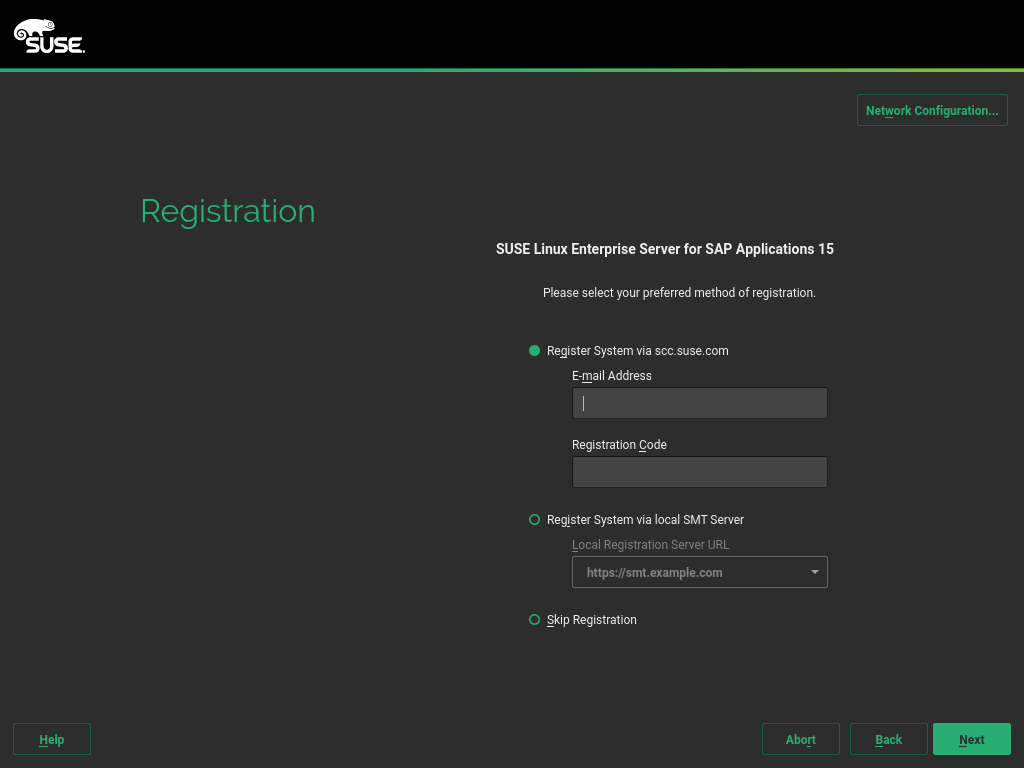
On the screen , enter your and . Successful registration is a prerequisite for receiving product updates and the entitlement to technical support.
Proceed with .
Important: Register at this stepMake sure to register your system at this step in the installation. Otherwise, you can only install a minimal SLE system and will not receive updates.
To install a full (but not updated) SLES for SAP system without network access during the installation, use the SLE 15 SP3 Packages ISO image from https://download.suse.com. You can then choose on this page and select the SLE 15 SP3 Packages ISO image as an add-on product on the next page.
Figure 3.3: Registration #When asked whether to enable update repositories, choose .
After the system is successfully registered, YaST lists available modules for SUSE Linux Enterprise Server for SAP applications from the SUSE Customer Center. The default selection covers the most common cases. To enable an additional module, activate its entry.
Note: Release notesFrom this point on, the release notes can be viewed from any screen during the installation process by selecting .
Proceed with .
(Optional) The dialog allows you to add additional software sources (so-called “repositories”) to SUSE Linux Enterprise Server for SAP applications, that are not provided by the SUSE Customer Center. Such add-on products may include third-party products, drivers, or additional software for your system.
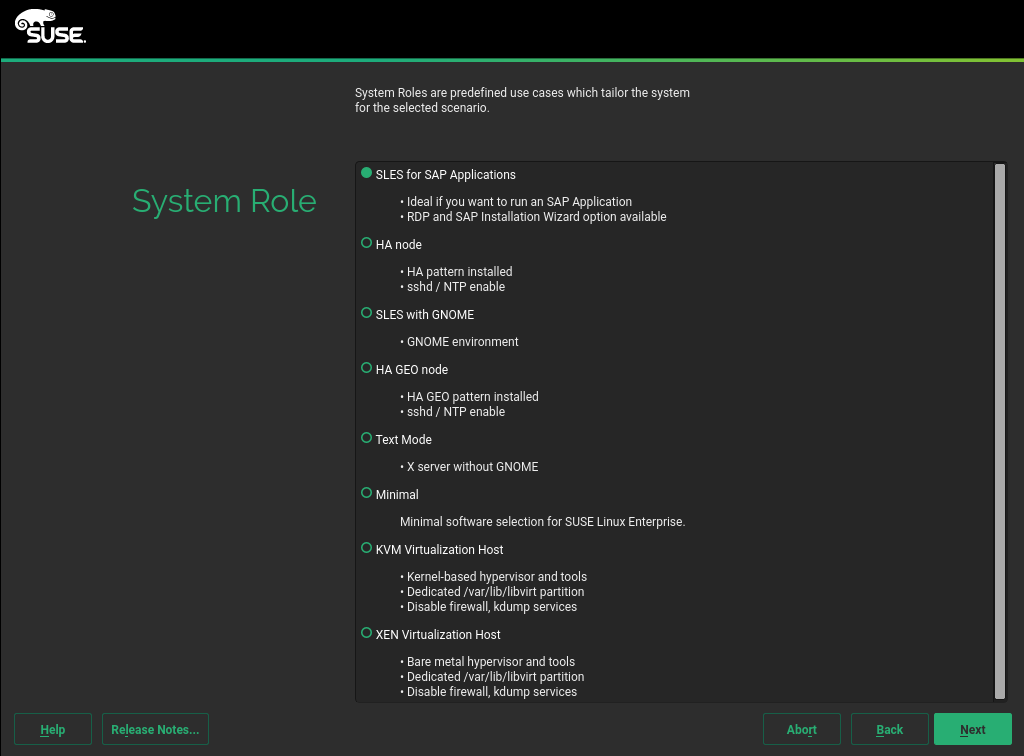
Choose the . System roles are predefined use cases which tailor the system for the selected scenario. For SUSE Linux Enterprise Server for SAP applications, you can choose between:
: Default, recommended for most situations. This system role contains the following properties:
Supports the installation wizard for SUSE Linux Enterprise Server for SAP applications.
Enables RDP access (Remote Desktop Protocol).
Provides special partitioning recommendations.
: Can be necessary in specific cases. This installation path is not covered in this document. For more information about this installation path, see Installation Quick Start, Section “Installing SUSE Linux Enterprise Server” (https://documentation.suse.com/sles-15).
Additional system roles are available for specific use cases (High Availability, text mode, minimal, and KVM/XEN virtualization hosts).
Proceed with .
Figure 3.4: System role #
Choose whether to enable the following options:
To install an SAP Application along with the system, activate .
To enable RDP access (Remote Desktop Protocol) to this machine, activate .
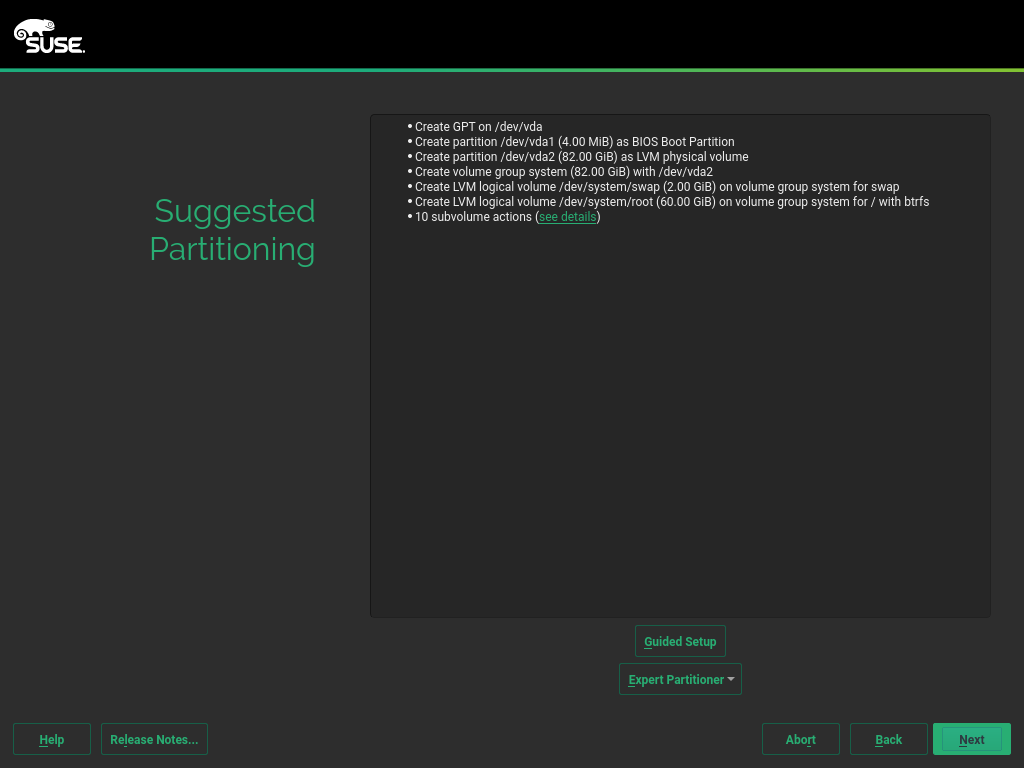
Review the proposed partition setup for the volumes
/dev/system/rootand/dev/system/swap. The volume/dev/system/datawill be created later, as described in Section 2.6, “Partitioning”.To accept the proposed setup without changes, proceed with .
Figure 3.5: Suggested partitioning #Select the clock and time zone to use on your system. To manually adjust the time or to configure an NTP server for time synchronization, choose . For detailed information, see Deployment Guide, Chapter “Installation with YaST”, Section “Clock and Time Zone” (https://documentation.suse.com/sles-15).
Proceed with .
Type a password for the system administrator account (called
root) and repeat the password under . You can use the text box to make sure that all special characters appear correctly.In case you want to enable password-less authentication via SSH login, you can import a key via . If you want to completely disable
rootlogin via password, upload a key only and do not provide a root password. A login as system administrator will only be possible via SSH using the respective key in this case.For more information, see Deployment Guide, Chapter “Installation with YaST”, Section “Password for the System Administrator root” (https://documentation.suse.com/sles-15).
Proceed with .
Important: Do not forget therootpasswordThe user
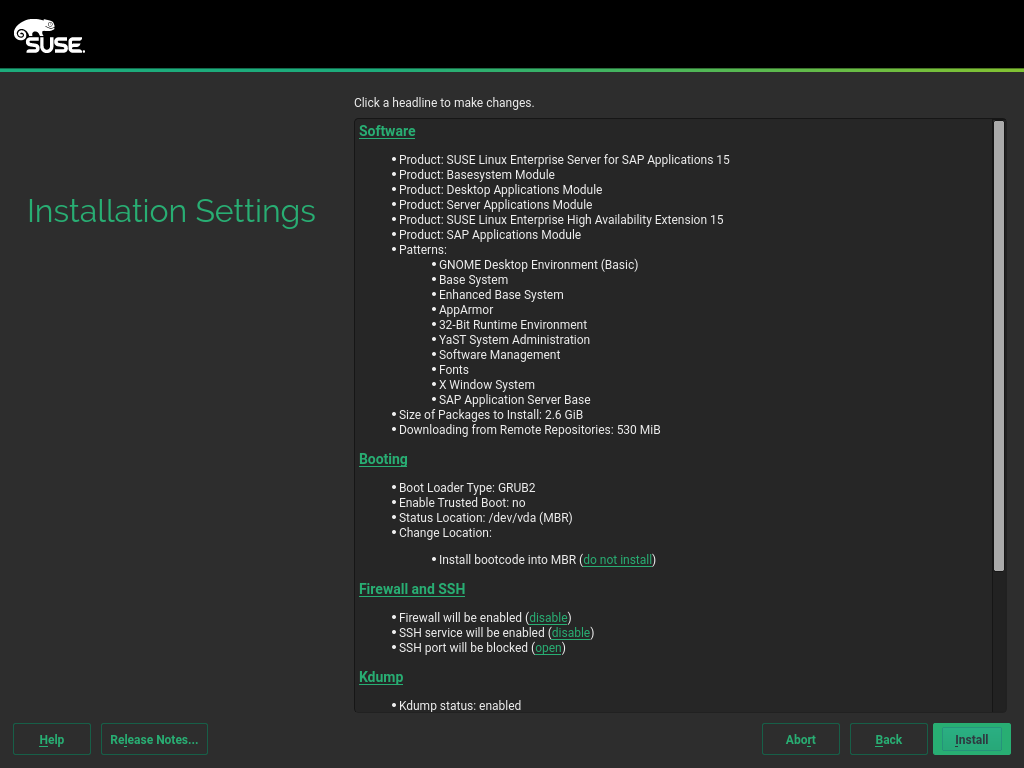
roothas the permission to carry out all administrative tasks. Without this password, you cannot log in to the system asroot. The password entered here cannot be retrieved later.On the screen , you can review and, if necessary, change several proposed installation settings. Each setting is shown alongside its current configuration. To change parts of the configuration, click the appropriate headline or other underlined items.
Figure 3.6: Installation settings #When you are satisfied with the system configuration, click .
Warning: Deletion of dataThe installation process fully or partially overwrites existing data on the disk.
In the installation confirmation box, click .
When the installation of the operating system is finished, the system will reboot automatically:
If you chose to only prepare the system for installation, the system will boot to a desktop login screen.
If you chose to install an SAP application now, the installation will continue after a reboot. Continue with Chapter 4, Installing SAP applications.
