7 Preparing the configuration device #
The following procedure describes how to prepare the configuration device (usually a USB flash disk). Ensure that the configuration device is connected to your host running SLE Micro during its first boot.
Format the disk to any file system supported by SLE Micro: Ext3, Ext4, etc.:
>sudo mkfs.ext4 /dev/sdYSet the device label to either
ignition(when either Ignition or Combustion is used) orcombustion(when only Combustion is used). If needed, for example on Windows host system, you can use uppercase letters for the labels, too. To label the device, run:>sudo e2label /dev/sdY ignitionYou can use any type of configuration storage media that your virtualization system or your hardware supports: ISO image, a USB flash disk, etc.
Mount the device:
>sudo mount /dev/sdY /mntCreate the directory structure as mentioned in Section 7.2, “Configuring SLE Micro using Ignition” or Section 7.3, “Configuring SLE Micro using Combustion”, depending on the configuration tool used:
>sudo mkdir -p /mnt/ignition/or:
>sudo mkdir -p /mnt/combustion/Prior to booting for the first time, prepare all elements of the configuration that will be used by Ignition or Combustion. To log in to your system, you need to provide a password for
rootor set up passwordless authentication, otherwise the system will not be accessible after the first boot.
7.1 Default partitioning #
The pre-built images are delivered with a default partitioning scheme, which
can be changed during the first boot by using Ignition or Combustion. For a
procedure to repartition the system, refer to
Section 7.2.1, “config.ign” or
Section 7.3.1, “The script configuration file”.
If you intend to perform any changes to the default partitioning scheme, the root file system must be Btrfs.
Each image has the following subvolumes:
 /home
 /root
 /opt
 /srv
 /usr/local
 /var
The images also have mounted subvolumes for booting by default. The specific subvolumes differ according to the architecture.
The /etc directory is mounted as OverlayFS, where the
upper directory is mounted to /var/lib/overlay/1/etc/. For details, refer to Section 1.1, “/etc on a read-only file system”.
You can recognize the subvolumes mounted by default by the option
x-initrd.mount in /etc/fstab. Other
subvolumes or partitions must be configured either by Ignition or
Combustion.
7.2 Configuring SLE Micro using Ignition #
Ignition is a provisioning tool that enables you to configure a system
according to your specification on the first boot. When the system is
booted for the first time, Ignition is loaded as part of an
initramfs and searches for a configuration file
within a specific directory (on a USB flash drive, or you can provide a
URL). All changes are performed before the kernel switches from the
temporal file system to the real root file system (before the
switch_root command is issued).
Ignition uses a configuration file in the JSON format. The file is called
config.ign.
7.2.1 config.ign #
config.ign is a JSON configuration file that
provides prescriptions for Ignition. You can either create the file
manually in JSON, or you can use the Fuel Ignition tool
(https://opensuse.github.io/fuel-ignition/) to
generate a basic set of prescriptions. Bear in mind that the Fuel
Ignition tool does not provide a full set of options, so you might have
to modify the file manually.
When installing on bare metal, the configuration file
config.ign must reside in the
ignition subdirectory on the configuration media
labeled ignition. The directory structure must look as
follows:
<root directory>
└── ignition
  └── config.ign
If you intend to configure a QEMU/KVM virtual machine, provide the path
to config.ign as an attribute of the
qemu command. For example:
-fw_cfg name=opt/com.coreos/config,file=PATH_TO_config.ign
When configuring a virtual machine with Virtual Machine Manager (libvirt),
provide the path to the config.ign file in its XML
definition, for example:
<domain ... >
<sysinfo type="fwcfg">
<entry name="opt/com.coreos/config" file="/location/to/config.ign"/>
</sysinfo>
</domain>
Alternatively, when using libvirt, you can provide the path as an option to the virt-install command:
--sysinfo type=fwcfg,entry0.name="opt/com.coreos/config",entry0.file="PATH_TO_config.ign>"
The config.ign file contains various data types: objects,
strings, integers, Booleans and lists of objects. For a complete
specification, refer to
Ignition
specification v3.3.0.
The version attribute is mandatory, and with
SLE Micro, its value must be set either to 3.3.0 or to
any lower version. Otherwise Ignition will fail.
To log in to your system as root, you must at least include a
password for root. However, it is recommended to establish access
via SSH keys. If you want to configure a password, make sure to use a
secure one. If you use a randomly generated password, use at least 10
characters. If you create your password manually, use even more than 10
characters and combine uppercase and lowercase letters and numbers.
7.2.1.1 Configuration examples #
This section will provide you with some common examples of the Ignition configuration in the JSON format.
Bear in mind that if you want to create files outside the
default mounted directories,
you need to define the directories using the
filesystem attribute.
version attribute is mandatory
Include the version specification in config.ign
(version 3.3.0 or lower).
7.2.1.1.1 Storage configuration #
The storage attribute is used to configure
partitions and RAID, define file systems, create files, etc. To define
partitions, use the disks attribute. The
filesystem attribute is used to format partitions. The
files attribute can be used to create files in the
file system. Each of the mentioned attributes is described in the
following sections.
7.2.1.1.1.1 The disks attribute #
The disks attribute is a list of devices that
enables you to define partitions on these devices. The
disks attribute must contain at least one
device. Other attributes are optional. The
following example will use a single virtual device and divide the
disk into four partitions:
  {
  "variant": "fcos",
  "version": "3.3.0",
  "storage": {
      "disks": [
          {
              "device": "/dev/vda",
              "wipe_table": true,
              "partitions": [
                  {
                      "label": "root",
                      "number": 1,
                      "type_guid": "4F68BCE3-E8CD-4DB1-96E7-FBCAF984B709"
                  },
                  {
                      "label": "boot",
                      "number": 2,
                      "type_guid": "BC13C2FF-59E6-4262-A352-B275FD6F7172"
                  },
                  {
                      "label": "swap",
                      "number": 3,
                      "type_guid": "0657FD6D-A4AB-43C4-84E5-0933C84B4F4F"
                  },
                  {
                      "label": "home",
                      "number": 4,
                      "type_guid": "933AC7E1-2EB4-4F13-B844-0E14E2AEF915"
                  }
              ]
          }
      ]
  }
}
7.2.1.1.1.2 The raid attribute #
The raid is a list of RAID arrays. The following
attributes of raid are mandatory:
- level
a level of the particular RAID array (linear, raid0, raid1, raid2, raid3, raid4, raid5, raid6)
- devices
a list of devices in the array referenced by their absolute paths
- name
a name that will be used for the md device
    {
  "variant": "fcos",
  "version": "3.3.0",
  "storage": {
      "raid": [
          {
              "name": "system",
              "level": "raid1",
              "devices": [
                  "/dev/sda",
                  "/dev/sdb"
              ]
          }
      ]
  }
}
7.2.1.1.1.3 The filesystem attribute #
The file system attribute does not modify mount units. If you add a new partition or remove an
existing partition, you must manually adjust the mount units.
filesystem must contain the following
attributes:
- device
the absolute path to the device, typically
/dev/sdain case of physical disk- format
the file system format (btrfs, ext4, xfs, vfat or swap)
NoteIn the case of SLE Micro, the
rootfile system must be formatted to Btrfs.
The following example demonstrates using the
filesystem attribute. The
/opt directory will be mounted to the
/dev/sda1 partition, which is formatted to
Btrfs. The partition table will not be erased.
{
  "variant": "fcos",
  "version": "3.3.0",
  "storage": {
      "filesystems": [
          {
              "path": "/opt",
              "device": "/dev/sda1",
              "format": "btrfs",
              "wipe_filesystem": false
          }
      ]
  }
}
7.2.1.1.1.4 The files attribute #
You can use the files attribute to create any
files on your machine. Bear in mind that if you want to create
files outside the
default mounted directories,
you need to define the directories by using the
filesystem attribute.
In the following example, a host name is created by using the
files attribute. The file
/etc/hostname will be created with the
slemicro-1 host name.
Bear in mind that JSON uses the decimal numeral system, so the
mode value is a decimal notation of the access
rights.
{
  "variant": "fcos",
  "version": "3.3.0",
  "storage": {
      "files": [
          {
              "path": "/etc/hostname",
              "mode": 420,
              "overwrite": true,
              "contents": {
                  "inline": "slemicro-1"
              }
          }
      ]
  }
}
7.2.1.1.1.5 The directories attribute #
The directories attribute is a list of
directories that will be created in the file system. The
directories attribute must contain at least one
path attribute.
{
  "variant": "fcos",
  "version": "3.3.0",
  "storage": {
      "directories": [
          {
              "path": "/mnt/backup",
              "user": {
                  "name": "tux"
              }
          }
      ]
  }
}
7.2.1.1.2 Users administration #
The passwd attribute is used to add users. If you
intend to log in to your system, create root and set the
root's password and/or add the SSH key to the Ignition
configuration. You need to hash the root password, for example,
by using the openssl command:
openssl passwd -6
The command creates a hash of the password you chose. Use this hash
as the value of the password_hash attribute.
The users attribute must contain at least one
name attribute.
ssh_authorized_keys is a list of SSH keys for the
user.
root
When you are creating other users than root, you need to
define /home directories for the users,
because these directories (usually
/home/USER_NAME)
are not mounted by default. Therefore, declare these directories
using the storage/filesystem
attribute. For example, for tux, the example
looks as follows:
      {
"ignition": {
  "version": "3.2.0"
},
"passwd": {
  "users": [
    {
      "name": "tux",
      "passwordHash": "$2a$10$US9XSqLOqMmGq/OnhlVjPOwuZREh2.iEtlwD5LI7DKgV24NJU.wO6"
    }
  ]
},
"storage": {
  "filesystems": [
    {
      "device": "/dev/disk/by-label/ROOT",
      "format": "btrfs",
      "mountOptions": [
        "subvol=/@/home"
      ],
      "path": "/home",
      "wipeFilesystem": false
    }
  ]
}
}
7.2.1.1.3 Enabling systemd services #
You can enable systemd services by specifying them in the
systemd attribute. The name
must be the exact name of a service to be enabled (including the
suffix).
{
"ignition": {
  "version": "3.0.0"
},
"systemd": {
  "units": [
    {
      "enabled": true,
      "name": "sshd.service"
    }
  ]
}
}
7.3 Configuring SLE Micro using Combustion #
Combustion is a dracut module that enables you to configure your system on
its first boot. Combustion reads a provided file called
script and executes commands in it and thus performs
changes to the file system. You can use Combustion to change the default
partitions, set users' passwords, create files, install packages, etc.
The Combustion dracut module is invoked after the
ignition.firstboot argument is passed to the kernel
command line. Combustion then reads the configuration from
script. Combustion tries to configure the network if the
network flag has been found in script. After
/sysroot is mounted, Combustion tries to activate all
mount points in /etc/fstab and then call
transactional-update to apply other changes (like setting
root password or installing packages).
When using Combustion, you need to label the configuration device with the
name combustion, create a specific directory structure in
that configuration medium, and include a configuration file named
script. In the root directory of the configuration
medium, create a directory called combustion and place
the script into this directory along with other
files—SSH key, configuration files, etc. The directory structure then
should look as follows:
<root directory>
└── combustion
    └── script
    └── other files
You can use Combustion to configure your QEMU/KVM virtual machine. In this
case, pass the location of the script file using the
fw_cfg parameter of the qemu command:
-fw_cfg name=opt/org.opensuse.combustion/script,file=/var/combustion-script
When configuring a virtual machine with Virtual Machine Manager (libvirt),
provide the path to the script file in its XML
definition, for example:
<domain ... >
<sysinfo type="fwcfg">
<entry name="opt/org.opensuse.combustion/script" file="/location/of/script"/>
</sysinfo>
</domain>
Alternatively, when using libvirt, you can provide the path as an option to the virt-install command:
--sysinfo type=fwcfg,entry0.name="opt/org.opensuse.combustion/script",entry0.file="PATH_TO_script>"
Combustion can be used along with Ignition. If you intend to do so, label
your configuration medium ignition and include the
ignition directory with the
config.ign to your directory structure, as shown below:
<root directory>
└── combustion
    └── script
    └── other files
└── ignition
    └── config.ign
In this scenario, Ignition runs before Combustion.
7.3.1 The script configuration file #
The script configuration file is a set of commands that
are executed on your system in a transactional-update shell. This section
provides examples for performing various configuration tasks by using
Combustion.
As the script file is interpreted by shell,
start the file with the interpreter declaration on the first line.
For example, for Bash:
#!/bin/bash
To log in to your system, include at least the root
password. However, it is recommended to establish the authentication using SSH
keys. If you need to use a root password, make sure to configure a
secure password. If you use a randomly generated password, use at least
10 characters. If you create your password manually, use even more than 10
characters and combine uppercase and lowercase letters, and numbers.
7.3.1.1 Network configuration #
To configure and use the network connection during the first boot, add the
following statement to your script:
# combustion: network
Using this statement will pass the rd.neednet=1 argument
to dracut. If you do not use the statement, the system will be configured
without any network connection.
7.3.1.2 Performing modifications in the initramfs #
You may need to perform changes to the initramfs environment, for
example, to write a custom network configuration for NetworkManager into
/etc/NetworkManager/system-connections/. To do so,
use the prepare statement.
For example, to create a connection with a static IP address and configure DNS:
#!/bin/bash
# combustion: network prepare
set -euxo pipefail

nm_config() {
umask 077 # Required for NM config
mkdir -p /etc/NetworkManager/system-connections/
cat >/etc/NetworkManager/system-connections/static.nmconnection <<-EOF
[connection]
id=static
type=ethernet
autoconnect=true

[ipv4]
method=manual
dns=192.168.100.1
address1=192.168.100.42/24,192.168.100.1
EOF
}

if [ "${1-}" = "--prepare" ]; then
nm_config # Configure NM in the initrd
exit 0
fi

# Redirect output to the console
exec > >(exec tee -a /dev/tty0) 2>&1

nm_config # Configure NM in the system
curl example.com

# Close outputs and wait for tee to finish
exec 1>&- 2>&-; wait;

# Leave a marker
echo "Configured with combustion" > /etc/issue.d/combustion
7.3.1.3 Waiting for the task to complete #
Some processes may be run in background, for example, the tee process
that redirects output to the terminal. To ensure that all running processes are completed before the
script
execution finishes, add the following line:
exec 1>&- 2>&-; wait;
7.3.1.4 Partitioning #
SLE Micro raw images are delivered with a default partitioning scheme as
described in Section 7.1, “Default partitioning”. You might want to
use a different partitioning. The following set of example snippets moves the
/home to a different partition.
The following script performs changes that are not included in snapshots.
If the script fails and the snapshot is discarded, some changes remain
visible and cannot be reverted (like the changes to the
/dev/vdb device.)
The following snippet creates a GPT with a single partition on the
/dev/vdb device:
sfdisk /dev/vdb <<EOF
label: gpt
type=linux
EOF

partition=/dev/vdb1
As the sfdisk command may take longer time to complete, postpone
label by using the
sleep command after sfdisk.
The partition is formatted to Btrfs:
wipefs --all ${partition}
mkfs.btrfs ${partition}
Possible content of /home is moved to the new
/home folder location by the following snippet:
mount /home
mount ${partition} /mnt
rsync -aAXP /home/ /mnt/
umount /home /mnt
The snippet below removes an old entry in /etc/fstab
and creates a new entry:
awk -i inplace '$2 != "/home"' /etc/fstab
echo "$(blkid -o export ${partition} | grep ^UUID=) /home btrfs defaults 0 0" >>/etc/fstab
7.3.1.5 Setting a password for root #
Before you set the root password, generate a hash of the password,
for example, by using the openssl passwd -6. To set the
password, add the following to your script:
echo 'root:$5$.wn2BZHlEJ5R3B1C$TAHEchlU.h2tvfOpOki54NaHpGYKwdNhjaBuSpDotD7' | chpasswd -e
7.3.1.6 Adding SSH keys #
The following snippet creates a directory to store the root's SSH key
and then copies the public SSH key located on the configuration device to
the authorized_keys file.
 mkdir -pm700 /root/.ssh/
cat id_rsa_new.pub >> /root/.ssh/authorized_keys
The SSH service must be enabled in case you need to use remote login via SSH. For details, refer to Section 7.3.1.7, “Enabling services”.
7.3.1.7 Enabling services #
You may need to enable some services, for example, the SSH service. To
enable the SSH service, add the following line to
script:
systemctl enable sshd.service
7.3.1.8 Installing packages #
As some packages may require additional subscription, you might need to register your system beforehand. An available network connection may also be needed to install additional packages.
During the first boot configuration, you can install additional packages to
your system. For example, you can install the vim editor
by adding:
zypper --non-interactive install vim-small
Bear in mind that you cannot use zypper
after the configuration is complete and you boot to the configured system.
To perform changes later, you must use the
transactional-update command to create a changed
snapshot. For details, refer to Chapter 3, Administration using transactional updates.
7.4 Preparing the raw image #
To prepare the raw image, proceed as follows:
Download the raw image and decompress it:
>xz -d DOWNLOADED_IMAGE.raw.xzCopy the decompressed image to the device where SLE Micro will run:
>dd if=DOWNLOADED_IMAGE.raw of=/dev/sdX
7.5 Minimal initial configuration #
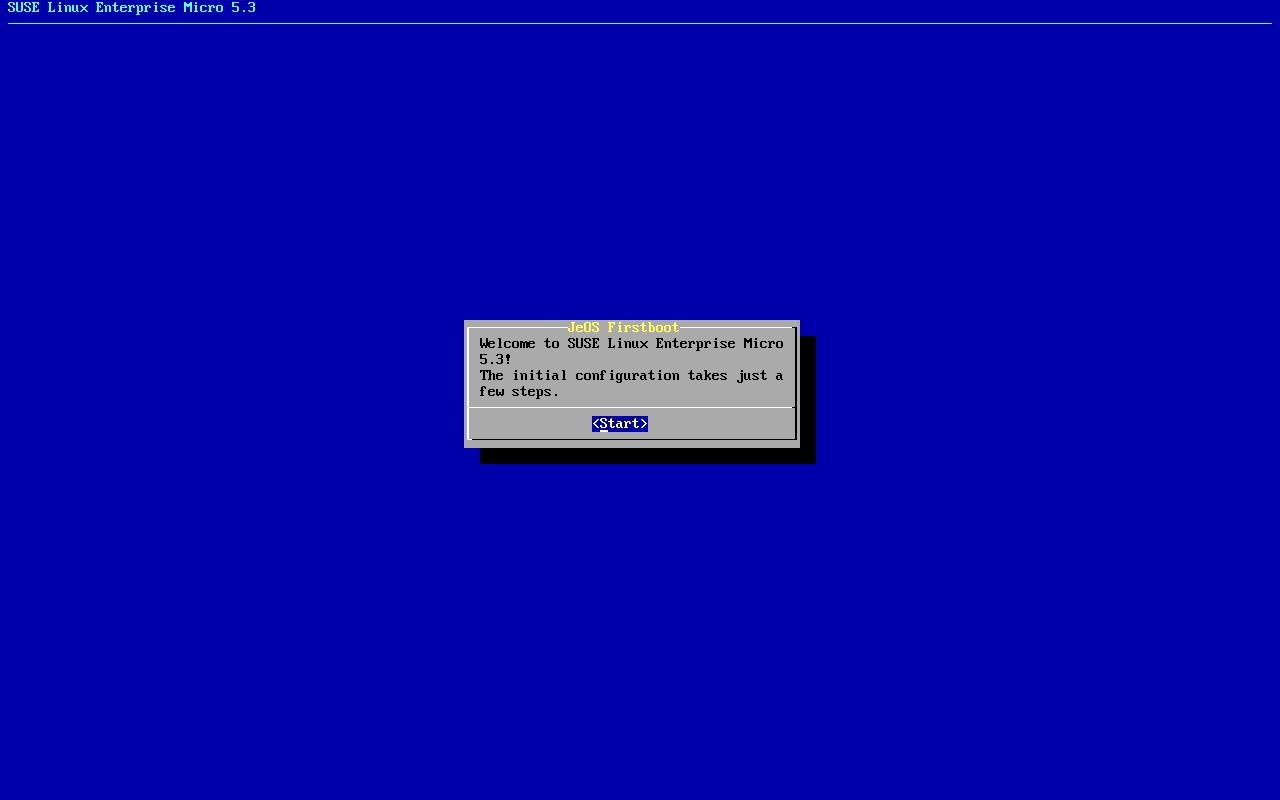
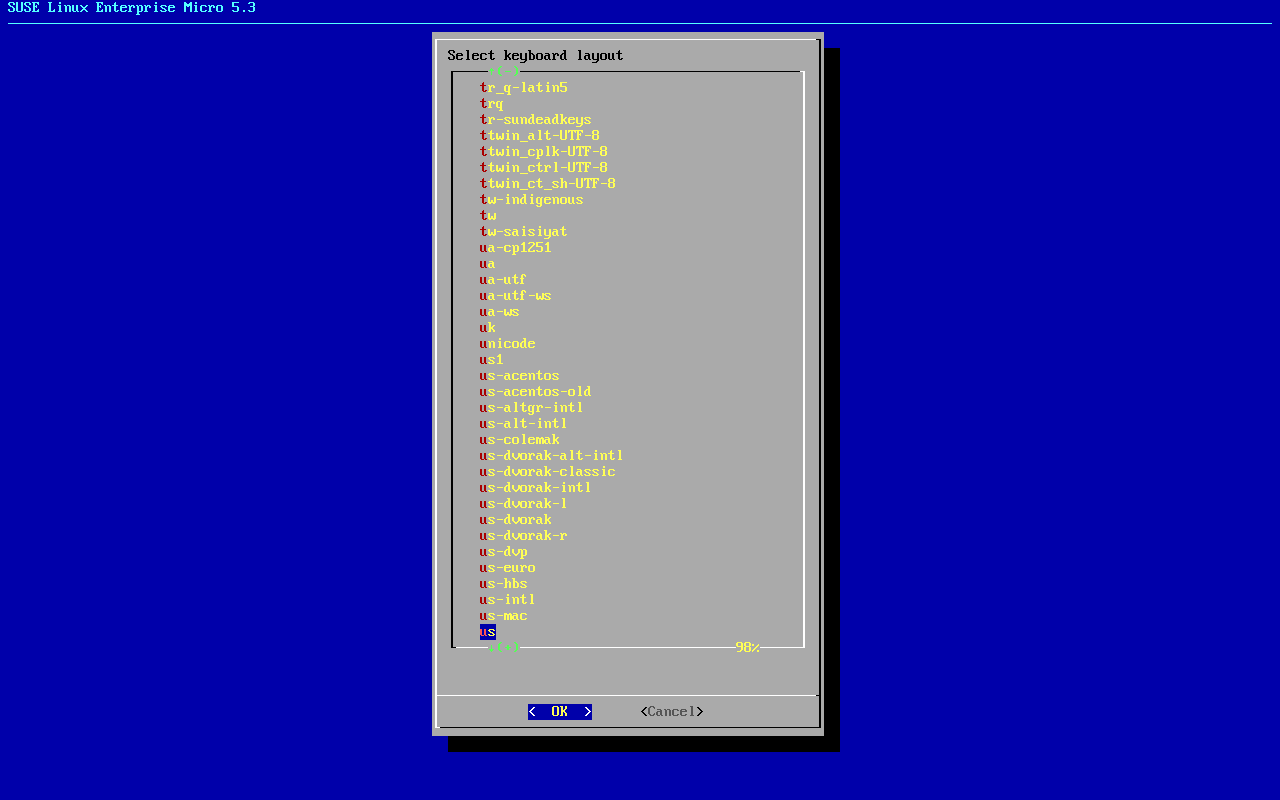
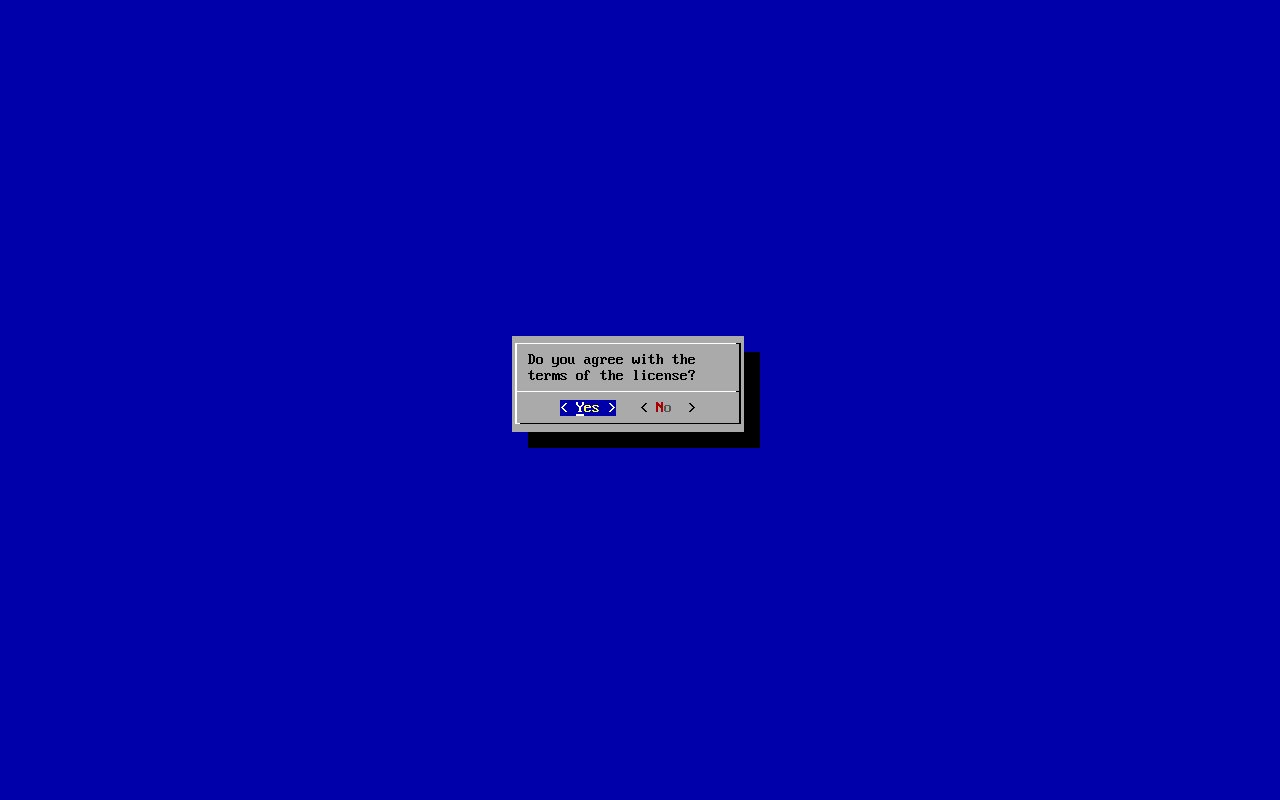
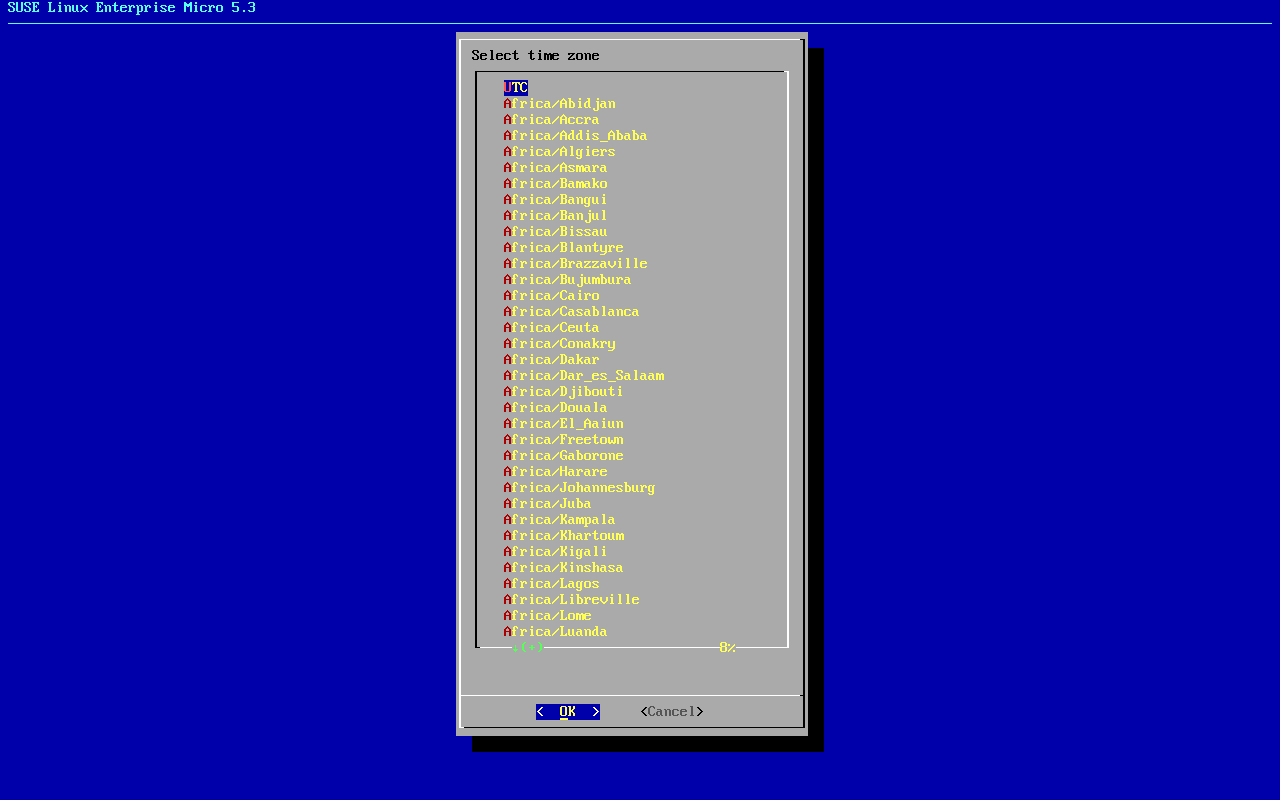
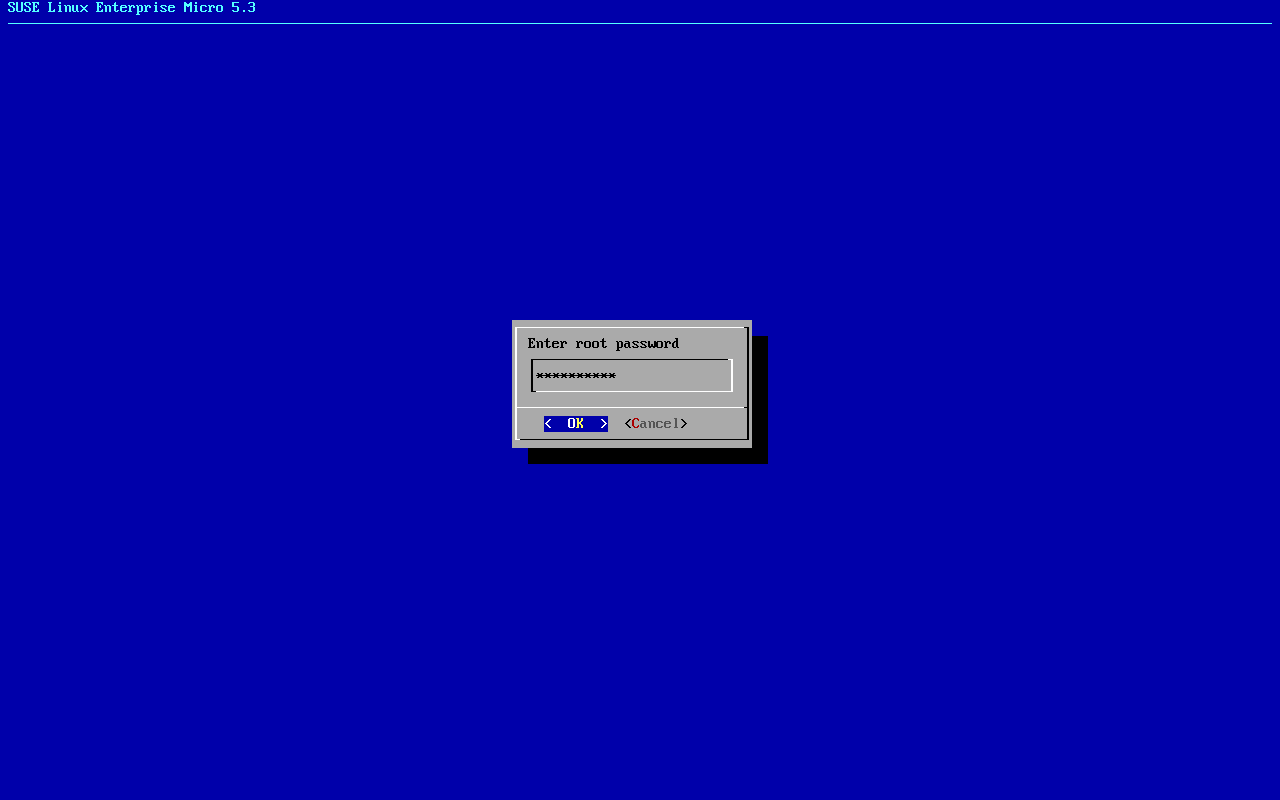
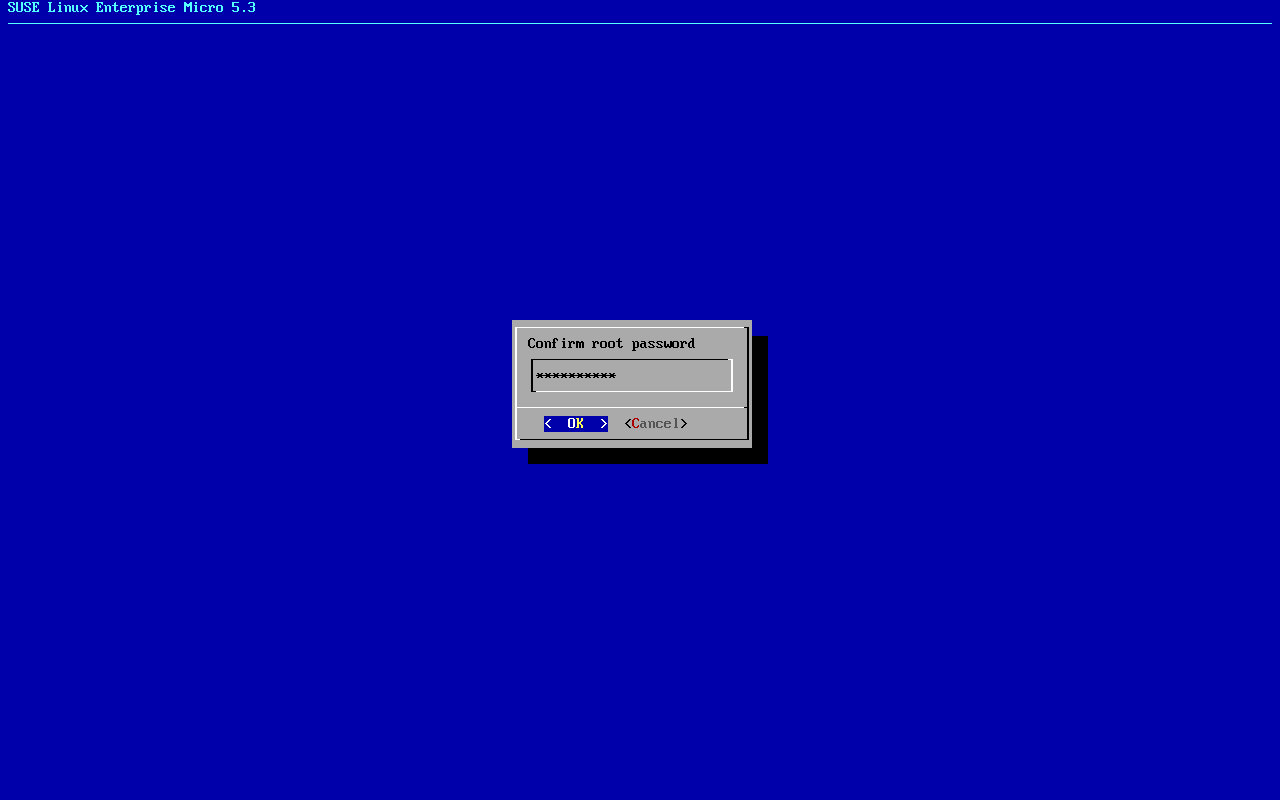
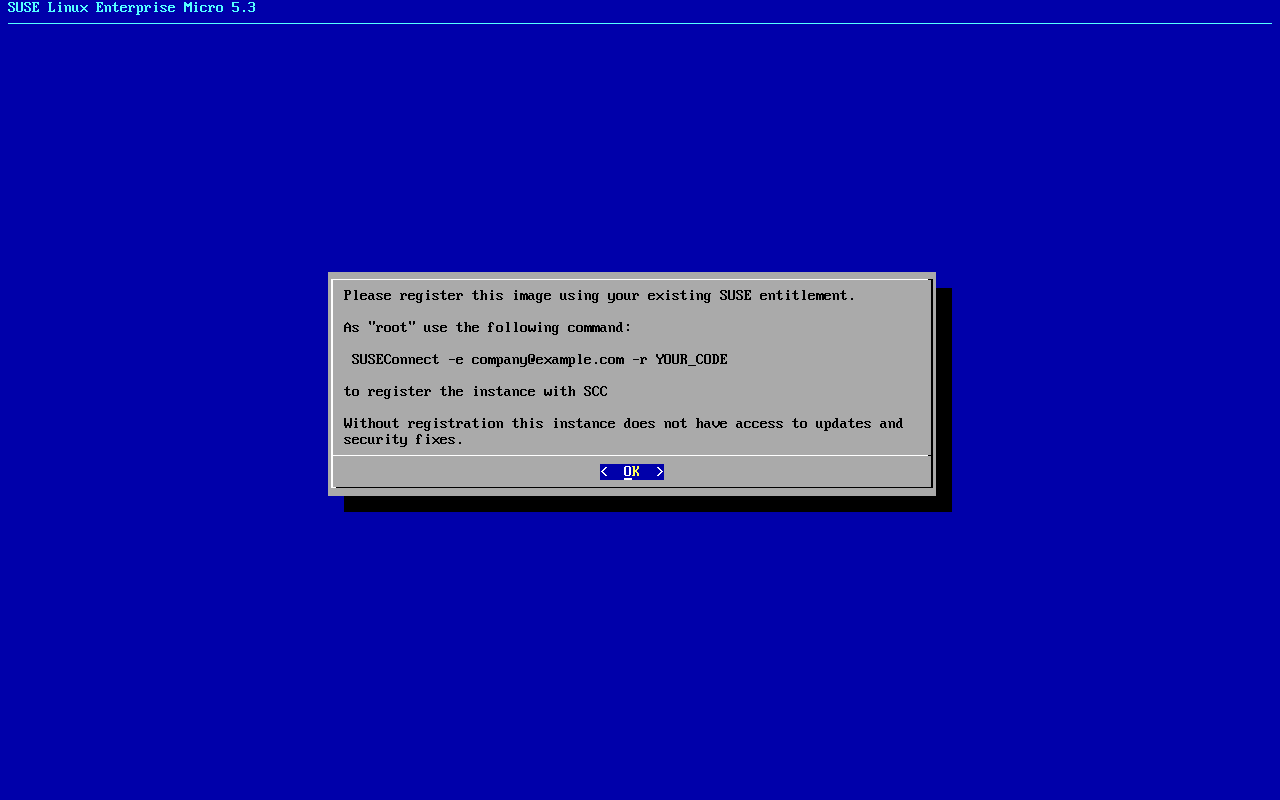
If you do not attach any configuration device when booting the raw image for the first time, jeos-firstboot enables you to perform minimal configuration of your system as follows:
