9 Deploying selfinstall images #
The chapter describes deployment of SLE Micro from selfinstall pre-built ISO images.
During the deployment of the selfinstall ISO, the image of the system is
just copied to the selected disk, therefore, an EFI boot entry is not
created (like it normally would if the system is deployed using an
installer). You might need to manually boot your system using the EFI
shell by selecting the SLE Micro boot loader. After the first boot, you can
use efibootmgr to create the boot entry.
efibootmgr is available by default in the deployed
image.
When deploying SLE Micro using the pre-built selfinstall ISO, proceed as follows:
If needed, plug in the configuration device.
Boot your machine with the selfinstall ISO attached.
Select to start the installation process.
Select the disk where SLE Micro will be installed and confirm that you want to delete data on the disk. A SLE Micro image is then copied to the disk.
Using
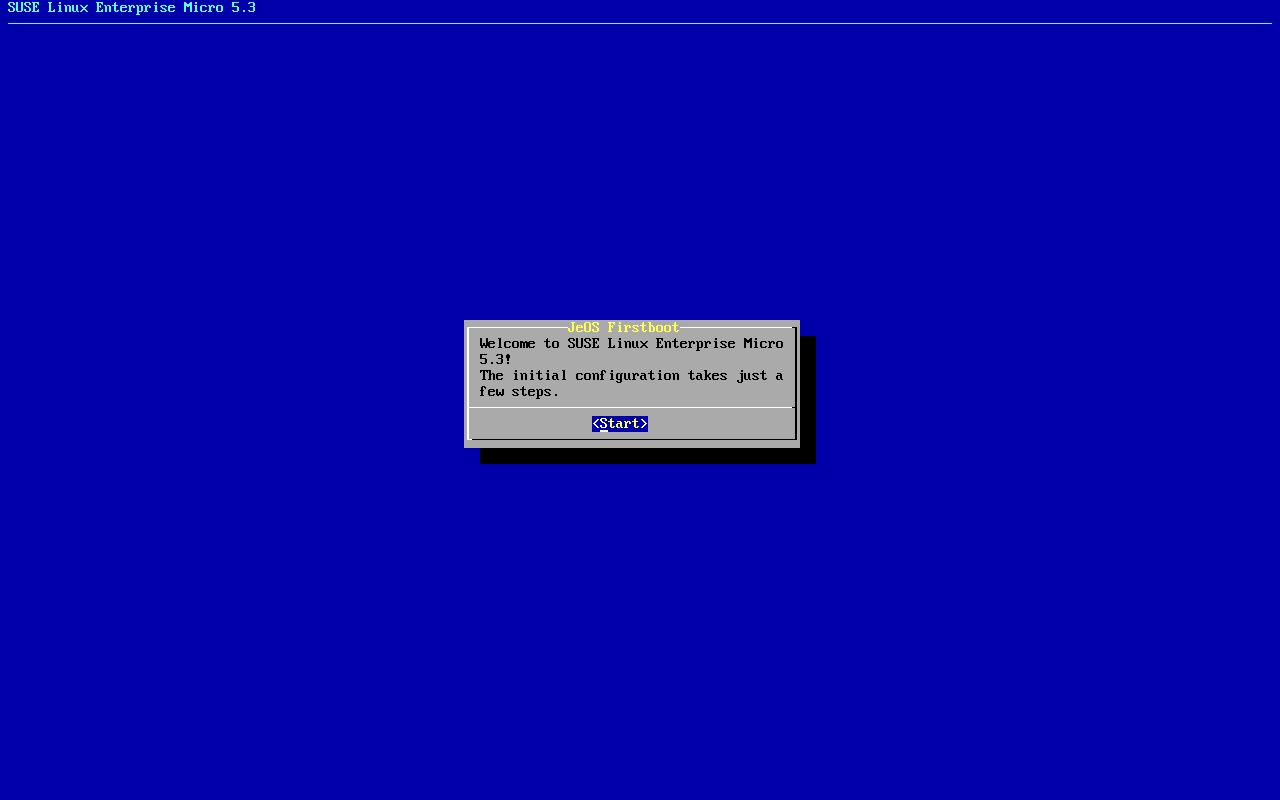
kexec, your system reboots and is then prepared for the configuration process.Start the configuration process by selecting . SLE Micro is either configured according to the instructions provided on the configuration device, or jeos-firstboot is started.
(Optional) Configure your system with jeos-firstboot:
Confirm the configuration.
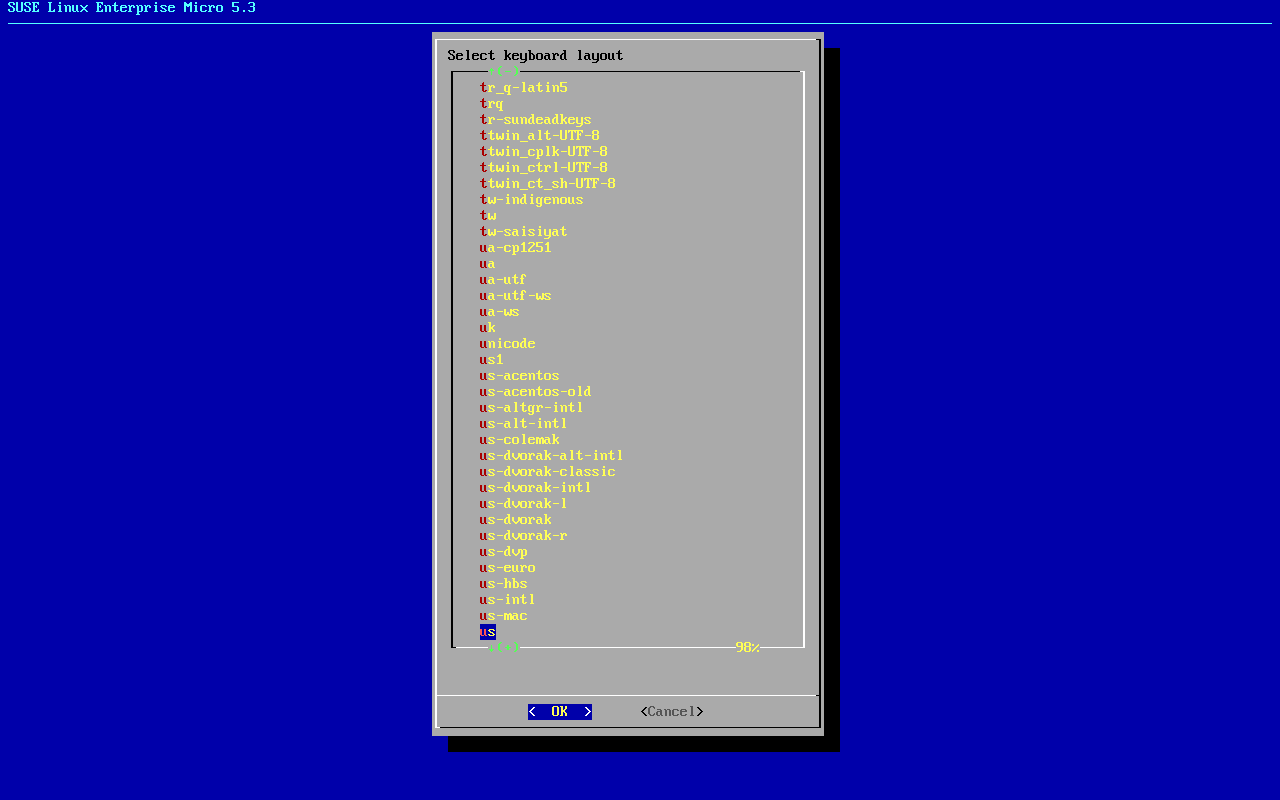
Select your keyboard layout and confirm your selection.
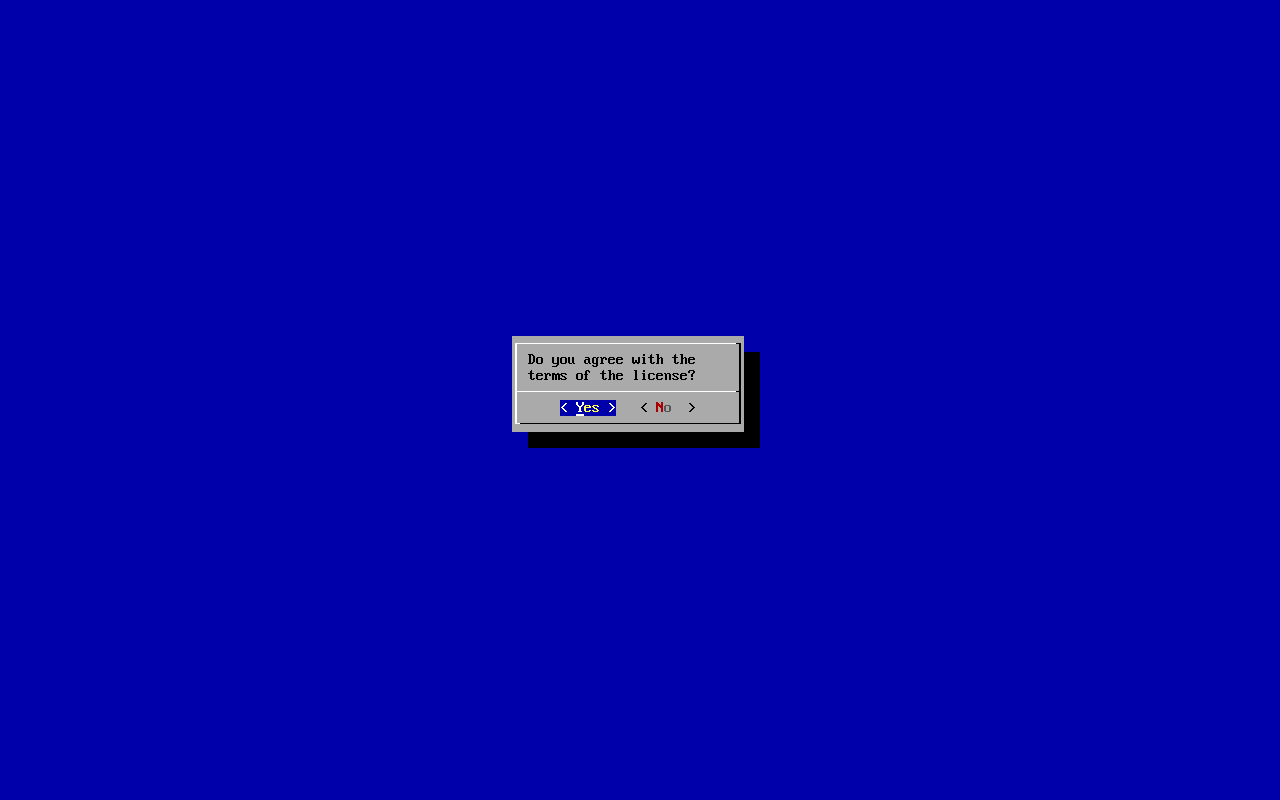
Read the license agreement and accept it.
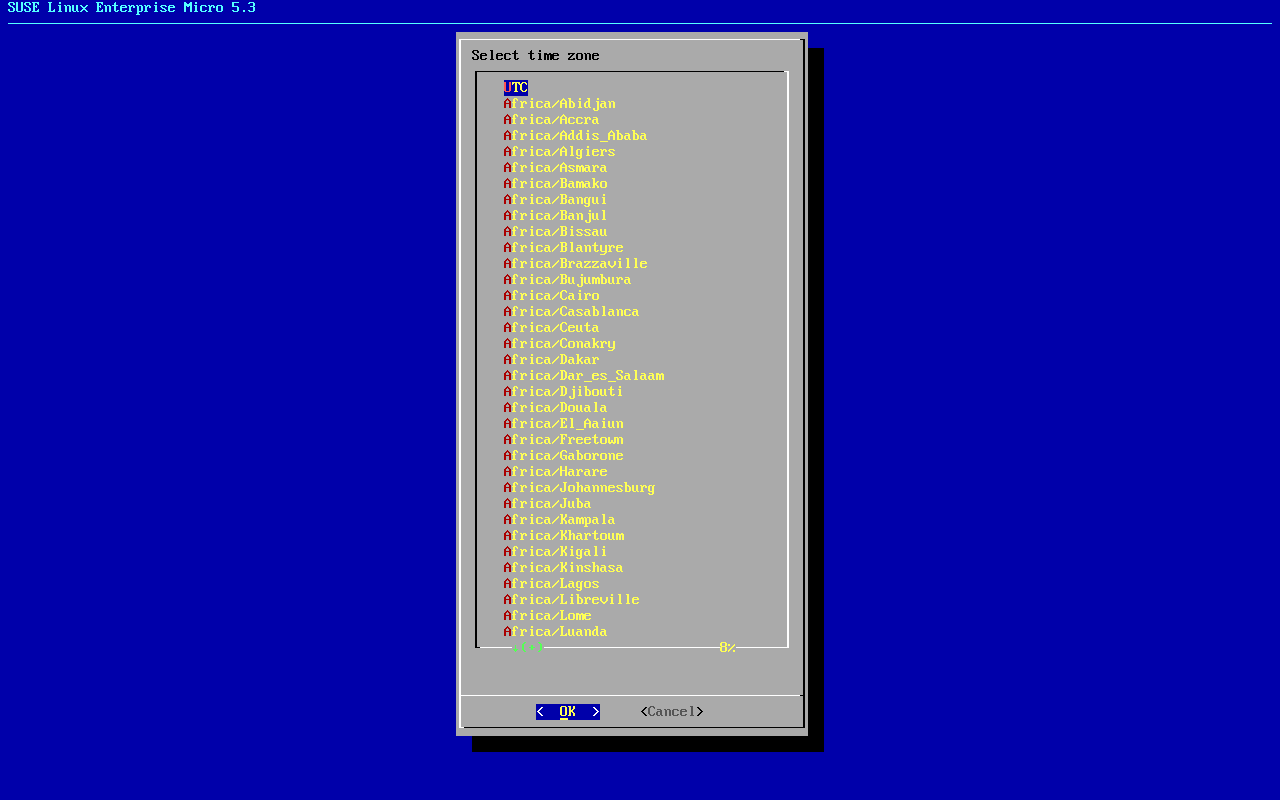
Select your time zone.
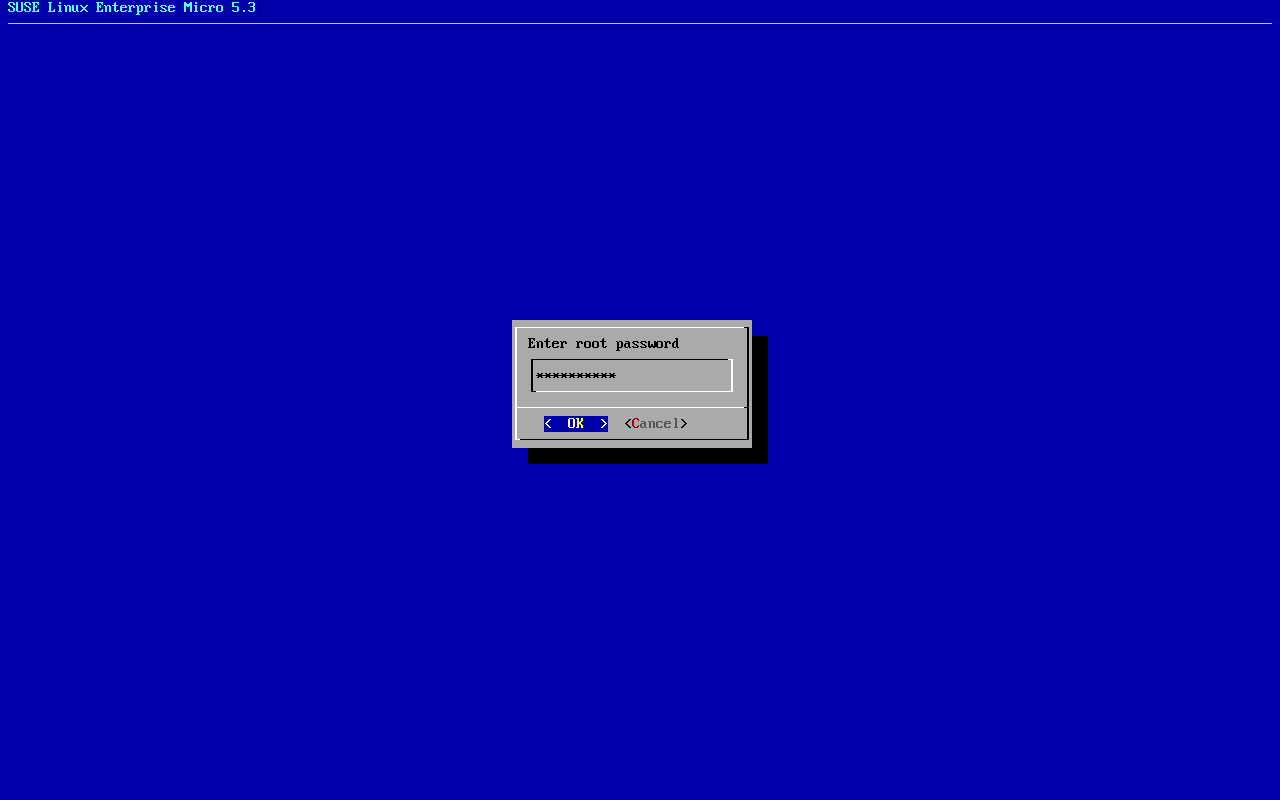
Enter a password for
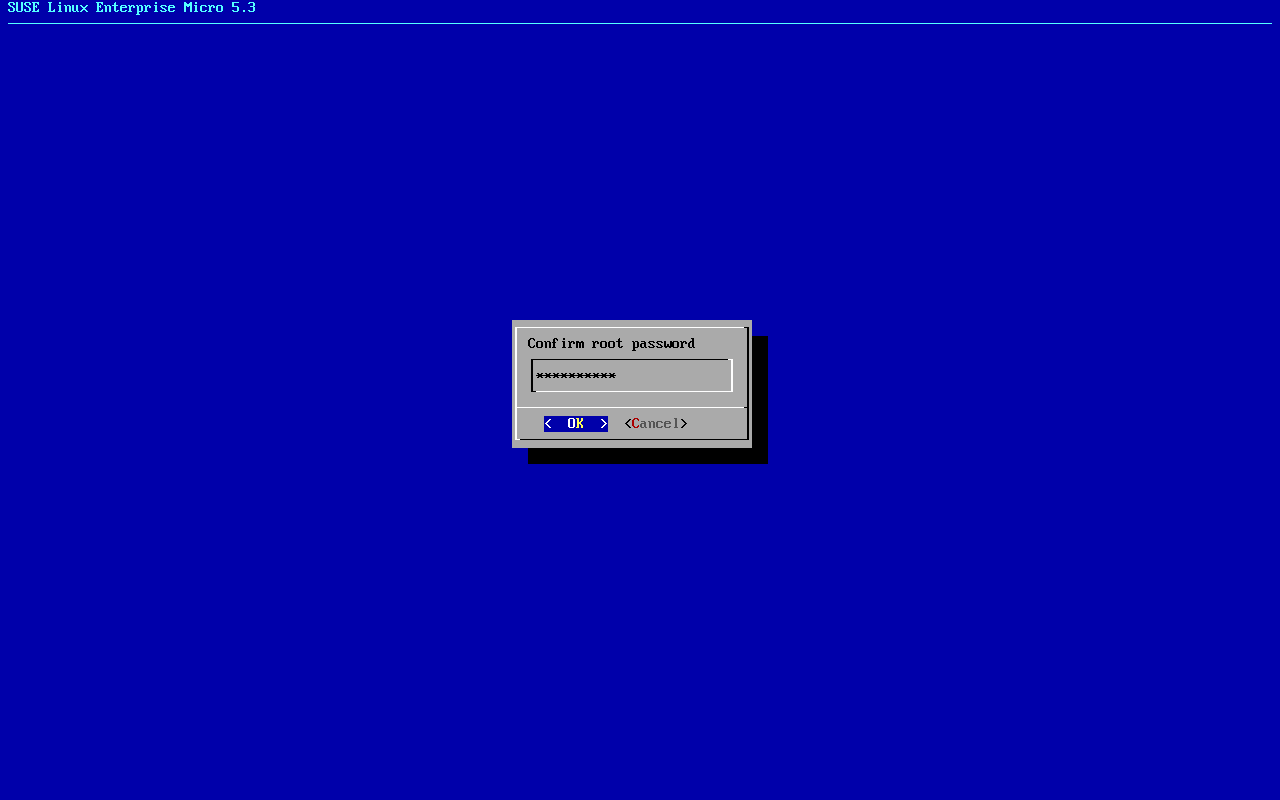
root.Confirm the
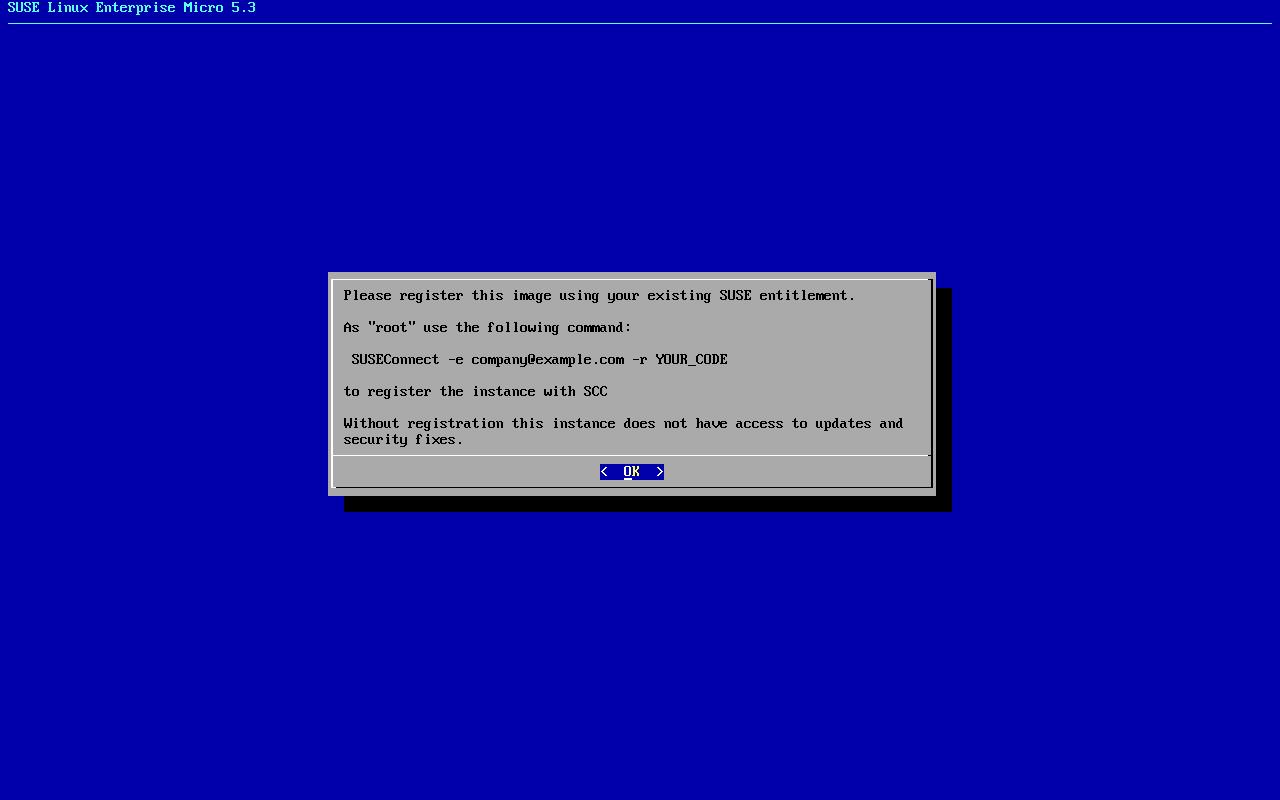
rootpassword.Accept the statement about SLE Micro registration.
After the first boot, you can register your SLE Micro instance by using the
transactional-updatecommand. For details, refer to Section 10.1, “Registration”.SLE Micro has extensions available. To use some of these extensions, you need to add the extension to your subscription from the installed system. For details, refer to Section 10.2, “Managing extensions”.
9.1 Preparing the configuration device #
The following procedure describes how to prepare the configuration device:
Format the disk to any file system supported by SLE Micro: Ext3, Ext4, etc.:
>sudo mkfs.ext4 /dev/sdYSet the device label to either
ignition(when either Ignition or Combustion is used) orcombustion(when only Combustion is used). If needed, for example on Windows host system, you can use uppercase letters for the labels, too. To label the device, run:>sudo e2label /dev/sdY ignitionYou can use any type of configuration storage media that your virtualization system or your hardware supports: ISO image, a USB flash disk, etc.
Mount the device:
>sudo mount /dev/sdY /mntCreate the directory structure as mentioned in Section 7.2, “Configuring SLE Micro using Ignition” or Section 7.3, “Configuring SLE Micro using Combustion”, depending on the configuration tool used:
>sudo mkdir -p /mnt/ignition/or:
>sudo mkdir -p /mnt/combustion/Prior to booting for the first time, prepare all elements of the configuration that will be used by Ignition or Combustion. To log in to your system, you need to provide a password for
rootor set up passwordless authentication, otherwise the system will not be accessible after the first boot.
9.2 Minimal initial configuration #
If you do not attach any configuration medium, jeos-firstboot is started, and you can perform a minimal configuration of your system as follows:
