1 Getting started with the GNOME desktop #
Learn about the default configurations of GNOME.
GNOME is an easy-to-use graphical interface that can be customized to meet your needs and personal preferences. This section describes the default configuration of GNOME. If you or your system administrator modify the defaults, some aspects might be different, such as appearance or key combinations.
Some versions of SUSE Linux Enterprise ship with as many as three different session configurations based on GNOME. These are GNOME, GNOME Classic, and SLE Classic. The version described here is the default configuration of SUSE Linux Enterprise Desktop, which is GNOME.
1.1 Logging in #
In general, all users must authenticate—unless is enabled for a specific user. In this case, a particular user will be logged in automatically when the system starts. This can save some time, especially if a computer is used by a single person. It may impact account security. Auto Login can be enabled or disabled during installation or at any time using the YaST User and Group Management module. For more information, refer to Chapter 6, Managing users with YaST.
If your computer is running in a network environment and you are not the only person using the machine, you are usually prompted to enter your user name and password when you start the system. If you did not set up the system and user account yourself, check with your system administrator for your user name and password.
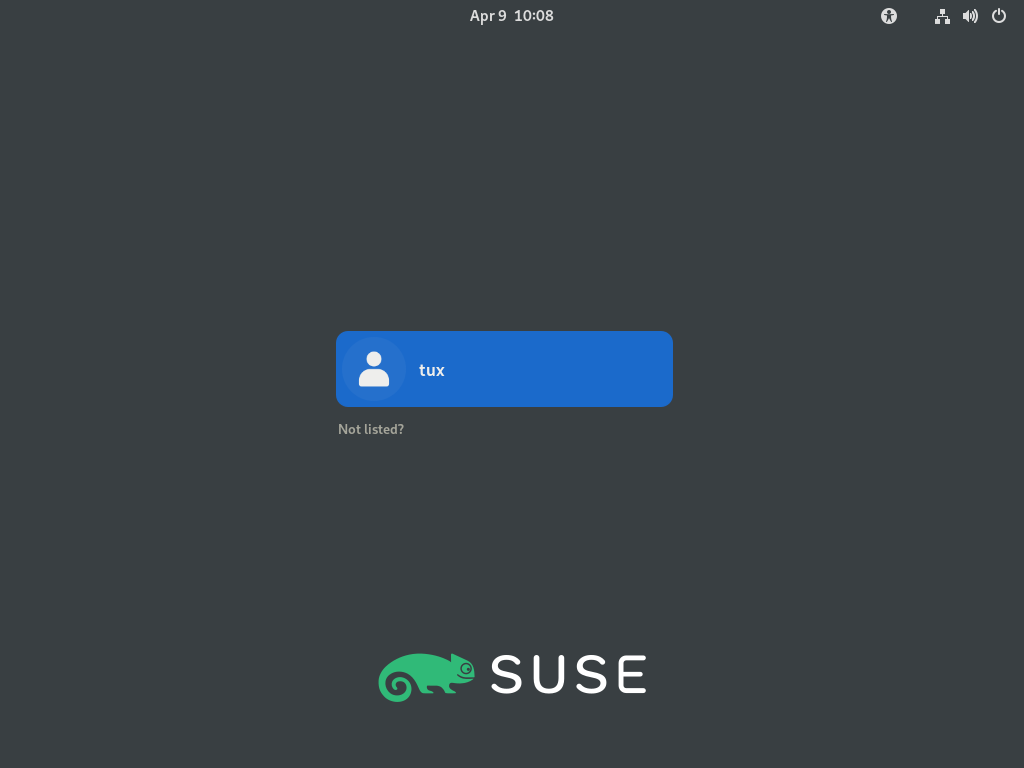
In the login screen, select your user name.
If your user name is not listed, click . Then enter your user name and click .
Enter your password and confirm with Enter.
1.1.1 Switching the session type before logging in #
If you want to try one of the additional GNOME session configurations or try another desktop environment, follow the steps below.
On the login screen, click your user name or enter it, as you normally would.
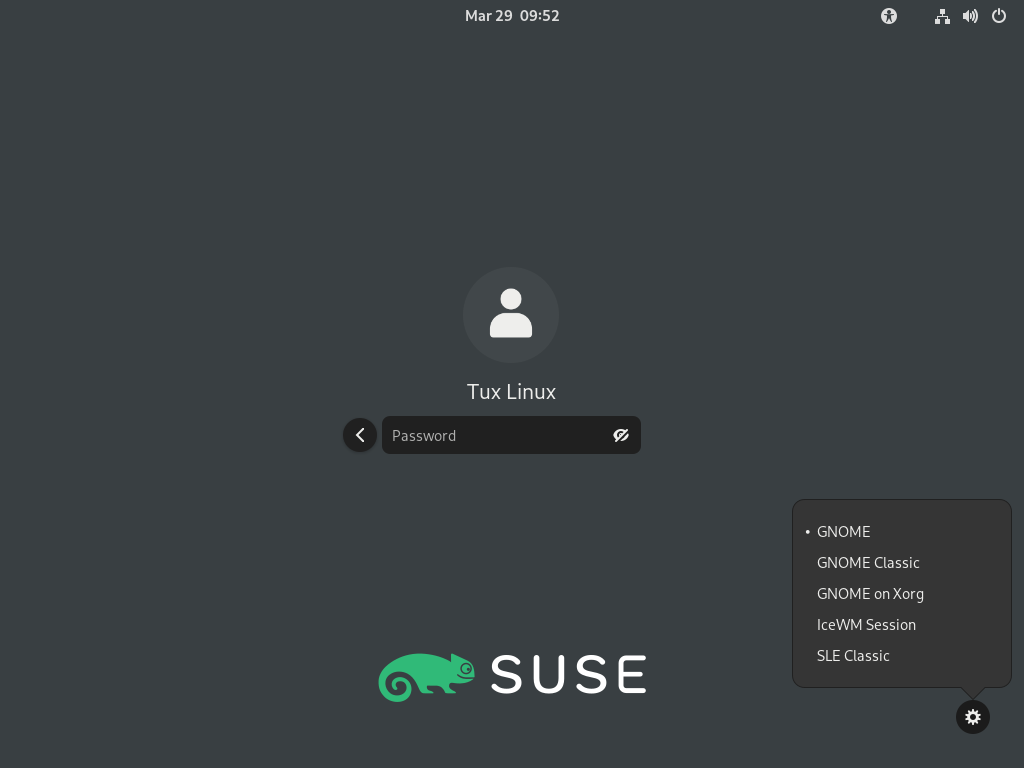
To change the session type, click the cog wheel icon in the lower right corner. A menu appears.
Figure 1.2: Default GNOME login screen—session type #From the menu, select one of the entries. Depending on your configuration there may be different choices, but the default selection is as follows.
- GNOME (default)
A GNOME 4 configuration that is very close to the upstream design. It focuses on interrupting users as little as possible. However, starting applications and switching between them works differently from many other desktop operating systems. It uses a single panel at the top of the screen. This session is started on Wayland.
- GNOME Classic
GNOME classic is for users who prefer a more traditional desktop experience. It is based on GNOME 4 technologies but provides a number of changes to the user interface.
- GNOME on Xorg
By default SUSE Linux Enterprise Desktop uses GNOME with Wayland. Choose this option to start GNOME on Xorg. This is also the version used in this documentation.
- IceWM session
A basic desktop designed to use little resources. It can be used as a fallback, if other options do not work or are slow.
- SLE classic
This desktop is a GNOME 4 configuration and uses a single panel that is placed at the bottom of the screen. This session is started on Xorg.
Enter your password into the text box and confirm with Enter.
After switching to another session type once, the chosen session will become your default session. To switch back, repeat the steps above.
1.1.2 Assistive tools #
The top bar provides access to your windows and applications. Here you can set the volume or screen brightness, check the battery status, log out or switch users, and much more.
The overview allows you to access your windows, applications, files, folders, and the web.
1.2 Desktop basics #
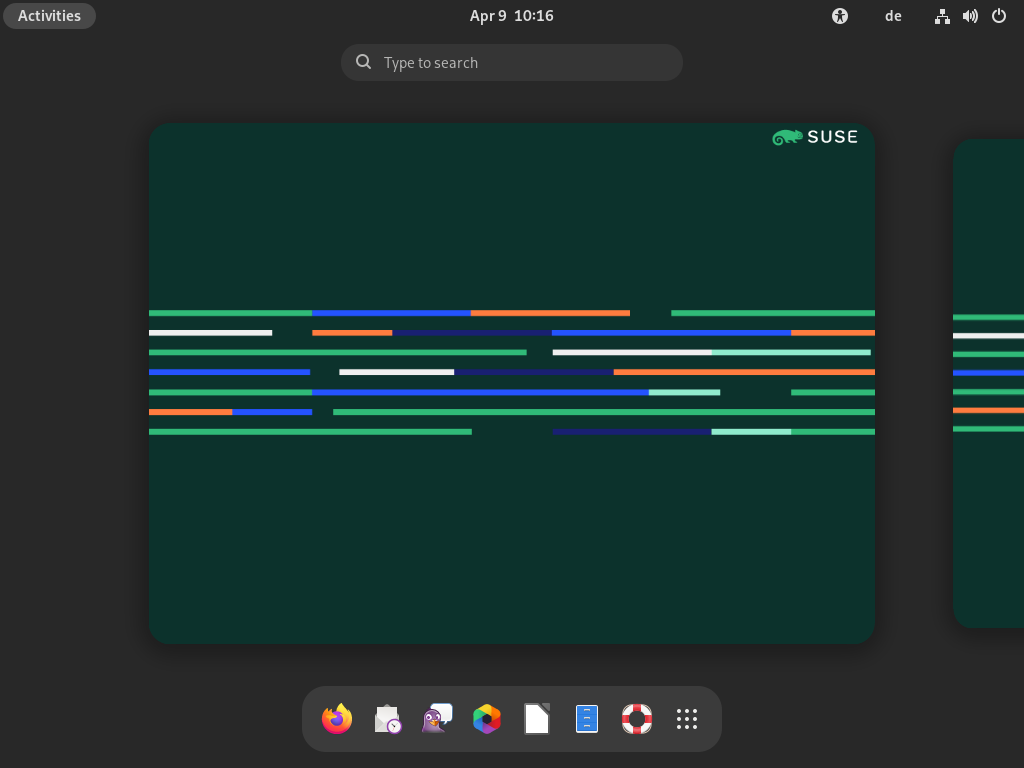
The GNOME desktop appears after you first log in. The top bar displays the overview, the calendar, and the menu. The following list gives more details on each element:
- overview
The overview allows you to access your windows, applications, files, folders, and the web.
The overview is described further in Section 1.2.1, “ overview”.
- Calendar
The current day of the week and time are shown. Click it to open a menu where you can access a calendar and adjust date and time settings.
- menu
In the right corner of the top bar, click the icons to open the menu where you can adjust sound volume, display brightness, network connection, and power settings, or log out.
1.2.1 overview #
The overview shows a preview of all open windows and icons for favorite and running applications. It also integrates searching and browsing functionality.
1.2.1.1 Opening the overview #
To open the overview, you have the following options:
In the top bar, click overview.
Move your mouse pointer to the upper left hot corner.
Press the Meta key on your keyboard.
1.2.1.2 Using the overview #
In the following, the most important parts of the overview are explained.
dashThe
Dashis the bar positioned in the center at the bottom. It contains your favorite applications and running applications. If you move the mouse pointer over one of the icons, the name of the corresponding application is displayed nearby. A small dot underneath the icon indicates that the application is running.Right-clicking an icon opens a menu which offers different actions depending on the associated program. Using , you can place the application icon permanently in
Dash. To remove a program icon fromDash, select . To rearrange an icon, use the mouse to drag it to a new position.- Search box
On the top, there is a search box that you can use to find applications, settings and files in your home directory.
To search, you do not need to click the search box. You can begin typing directly after opening the overview. Search starts immediately, you do not need to press Enter.
1.2.1.3 Using the menu #
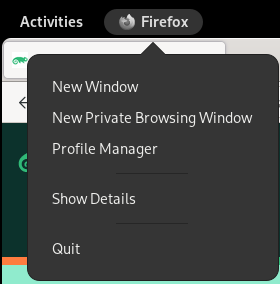
Right beside the button, you can find the menu. It shows the name of the active application and provides quick access to the windows and details of the application.
1.2.2 Starting programs #
To start a program, you have several options:
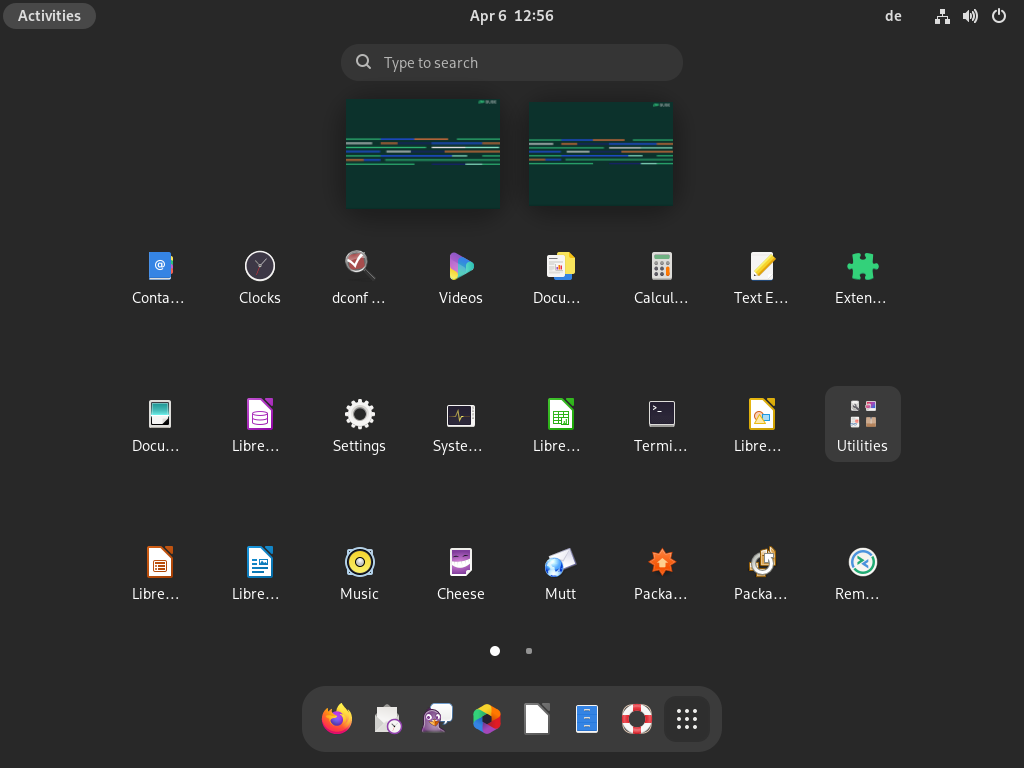
In the top bar, click and select an application from the menu.
Open the overview by pressing Meta on your keyboard and select an application.
If you know the exact command to start the program, you can press Alt–F2, enter the command into the dialog and press Enter.
For more information about the overview, see Section 1.2.1, “ overview”.
1.3 Pausing or finishing your session #
To pause or close your session, open the menu in the upper right corner of the top bar and choose one of the options listed.
. This pauses your session but keeps the computer on. Make sure that nobody can look at or change your work while you are away. Other users can log in and work in the meantime. Other users can shut down the computer, but a prompt will warn them that you are still logged in.
or . Finish the current session, but leave the computer on, so other users can log in.
. Pause your session and put the computer into a state where it consumes a minimal amount of energy. Suspend mode can be configured to lock your screen, so nobody can look at or change your work. Waking up the computer is generally much quicker than a full computer start.
This mode is also known as suspend-to-RAM, sleep or standby mode.
. Finish the current session and restart the computer. Restarting is necessary to apply some system updates.
. Finish the current session and turn off the computer.
1.3.1 Locking the screen #
To lock the screen, open the menu in the upper right corner of the top bar and click the padlock icon.
When you lock your screen, a curtain with a clock appears first. After some time, the screen turns black.
To unlock the screen, move the mouse or press a key to display the locked screen dialog. Enter your password and press Enter to unlock the screen.
1.3.2 Logging out or switching users #
Note that the and entries only appear in the menu if you have more than one user account on your system.
Click the menu in the upper right corner of the top bar to open the menu.
Expand the menu.
Select one of the following options:
Logs you out of the current session and returns you to the Login screen.
Suspends your session, allowing another user to log in and use the computer.
1.3.3 Restarting or shutting down the computer #
Click the menu in the upper right corner of the top bar to open the menu.
In the menu, select to expand it.
Select one of the following options:
Pauses your session and puts the computer into a state where it consumes a minimal amount of energy. Suspend mode can be configured to lock your screen, so nobody can look at or change your work. Waking up the computer is generally much quicker than a full computer start.
Logs you out of the current session, then restarts the computer.
Logs you out of the current session, then turns off the computer.
