SUSE Rancher Prime Integration
SUSE Rancher Prime is an open-source multi-cluster management platform. Rancher has integrated SUSE Virtualization by default to centrally manage virtual machines and containers.
You can import and manage multiple SUSE Virtualization clusters using Rancher’s Virtualization Management feature, which leverages Rancher’s authentication feature and RBAC control for multi-tenancy support.
Before performing any deployment steps, check the network requirements.
Deploying the Rancher server
To use Rancher with SUSE Virtualization, you must install Rancher on a separate server. If you want to try the integration features, you can create a virtual machine in SUSE Virtualization and install the Rancher server by following the Helm CLI Quick Start.
For production environments, you can deploy Rancher and provision a Kubernetes cluster in various cloud providers.
If you want to run Rancher on-premises or with a provider not listed in the documentation, you can install the Helm CLI and then install Rancher using Helm.
|
Do not install Rancher with Docker in production. Otherwise, your environment may be damaged, and your cluster may not be able to be recovered. Installing Rancher in Docker should only be used for quick evaluation and testing purposes. |
Virtualization management
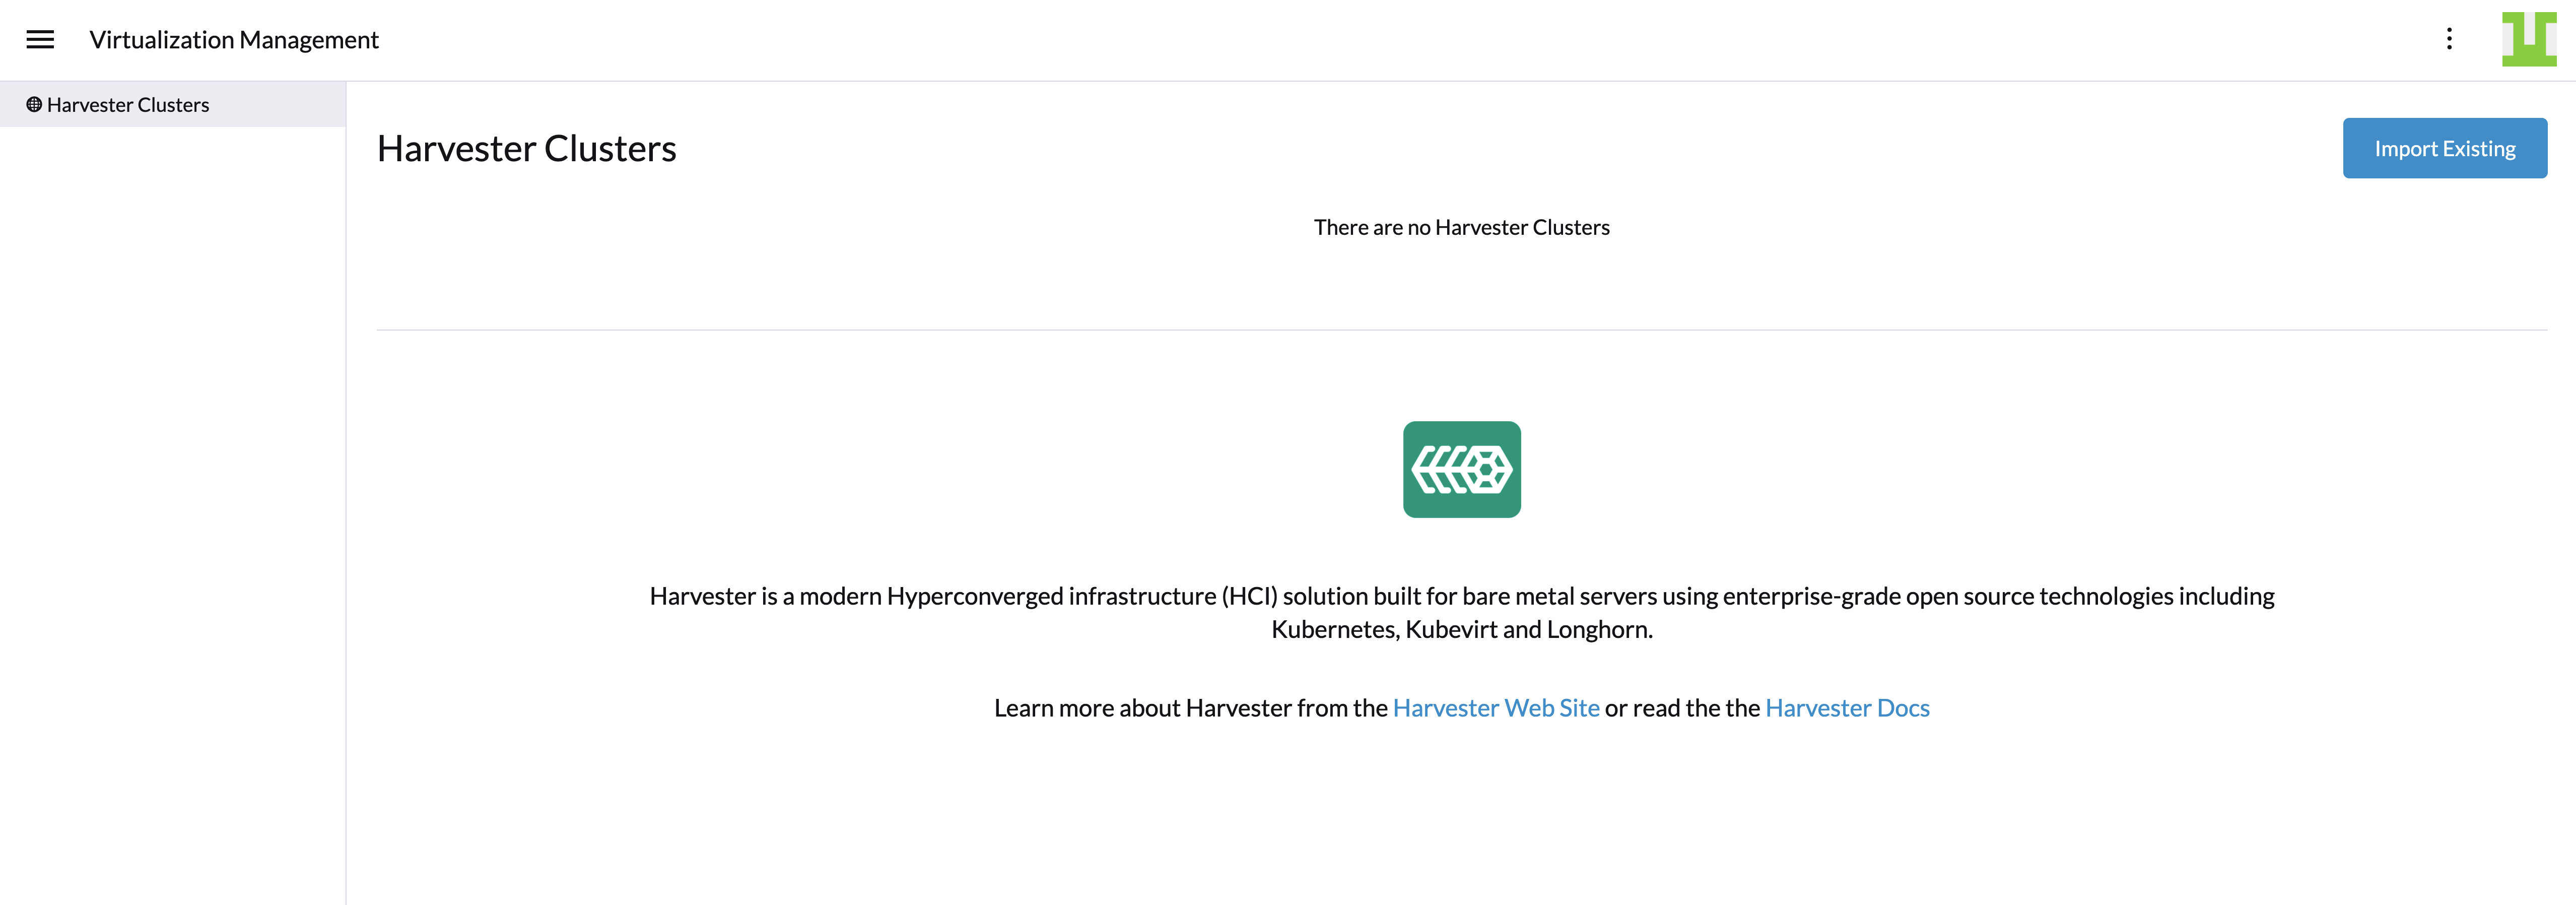
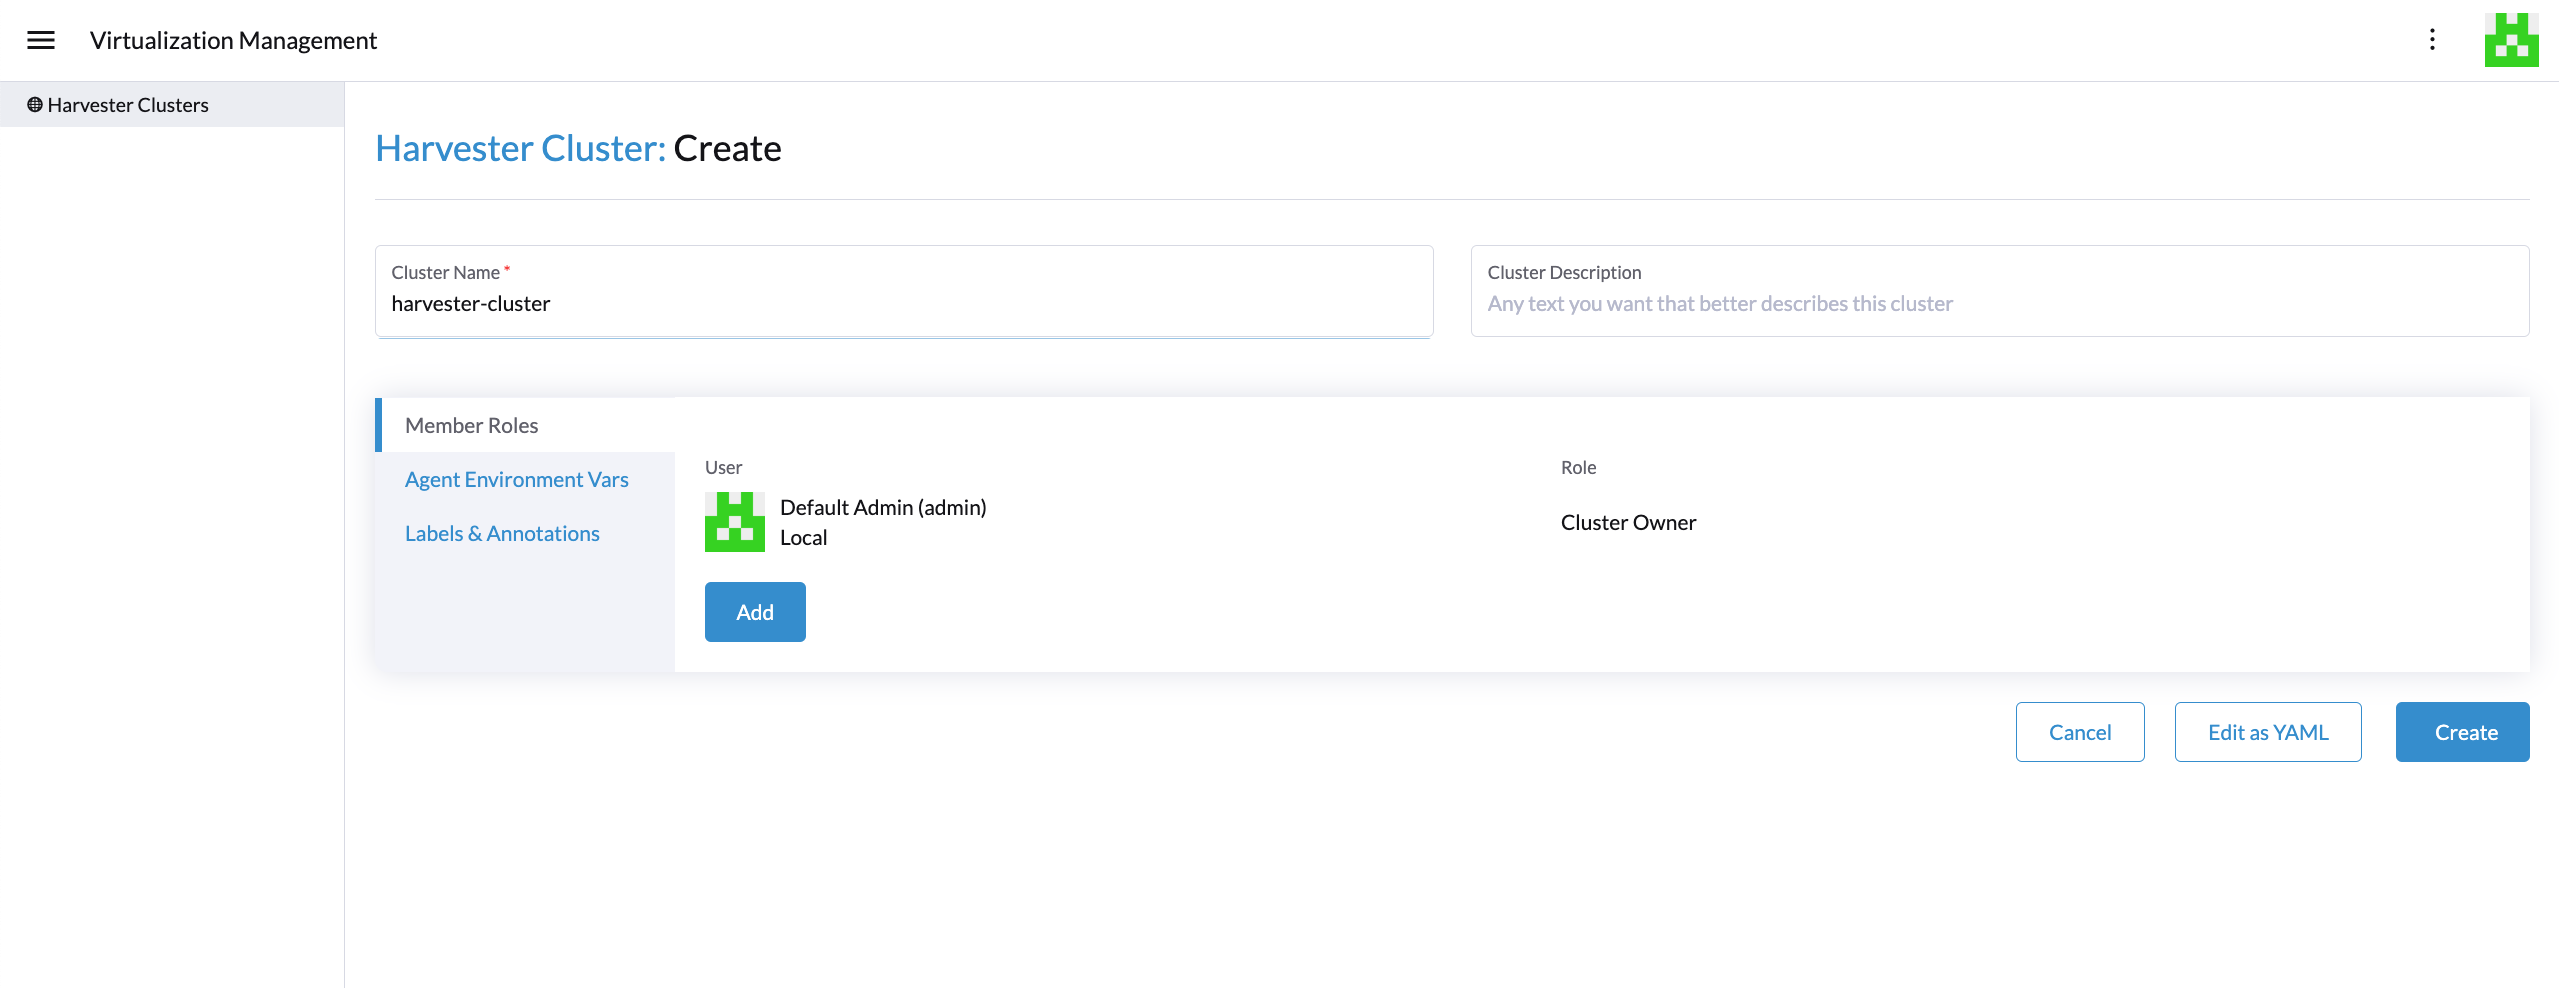
With Rancher’s virtualization management feature, you can import and manage your SUSE Virtualization cluster. By clicking one of the imported clusters, you can easily access and manage a range of SUSE Virtualization cluster resources, including hosts, virtual machines, images, volumes, and more. Additionally, the virtualization management feature leverages Rancher’s existing capabilities, such as authentication with various auth providers and multi-tenancy support.
For in-depth insights, please refer to the virtualization management page.
Creating Kubernetes clusters using the Harvester node driver
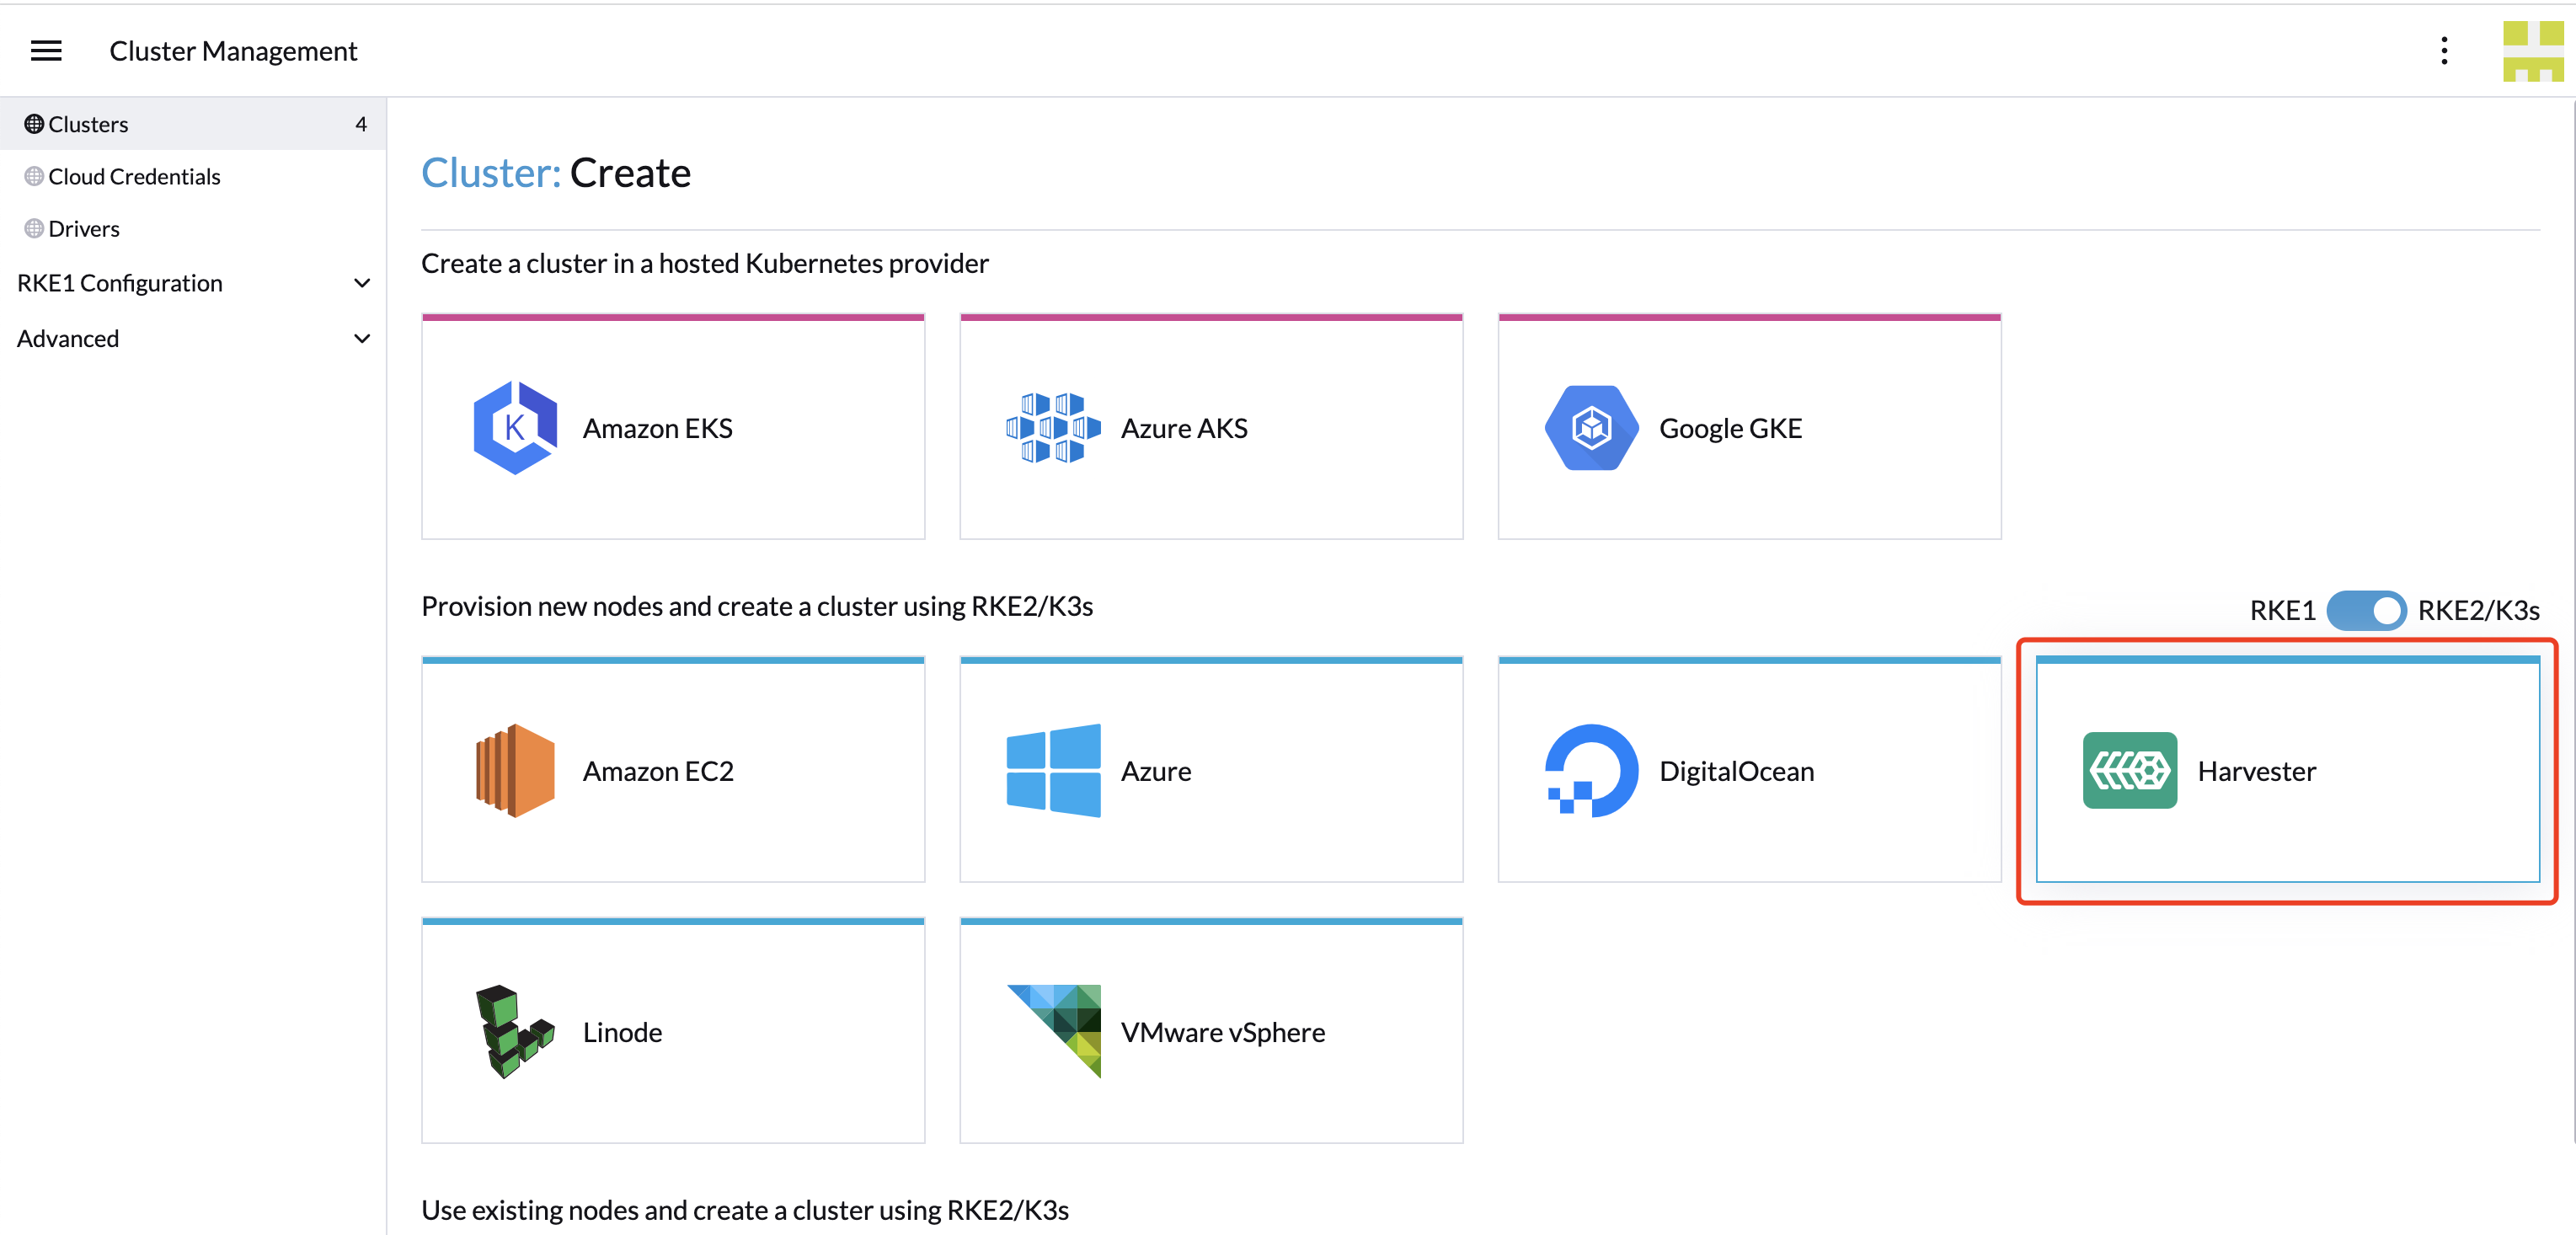
You can launch a Kubernetes cluster from Rancher using the Harvester node driver. When Rancher deploys Kubernetes onto these nodes, choose RKE2.
|
Rancher Kubernetes Engine (RKE) will reach the end of its life on July 31, 2025. SUSE Virtualization v1.6.0 and later versions will not support RKE. Using SUSE® Rancher Prime: RKE2, which provides a more secure and efficient environment, is recommended. |
One benefit of installing Kubernetes on node pools hosted by the node driver is that if a node loses connectivity with the cluster, Rancher can automatically create another node to join the cluster to ensure that the count of the node pool is as expected.
The Harvester node driver is included in Rancher by default. For more information, see Node Driver.
Bare-metal container workload support (Experimental)
SUSE Virtualization enables you to deploy and manage container workloads directly to the underlying SUSE Virtualization cluster. With this feature, you can seamlessly combine the power of virtual machines with the flexibility of containerization, allowing for a more versatile and efficient infrastructure setup.
This guide will walk you through enabling and using this experimental feature, highlighting its capabilities and best practices.
To enable this new feature flag, follow these steps:
-
Click the hamburger menu and choose the Global Settings tab.
-
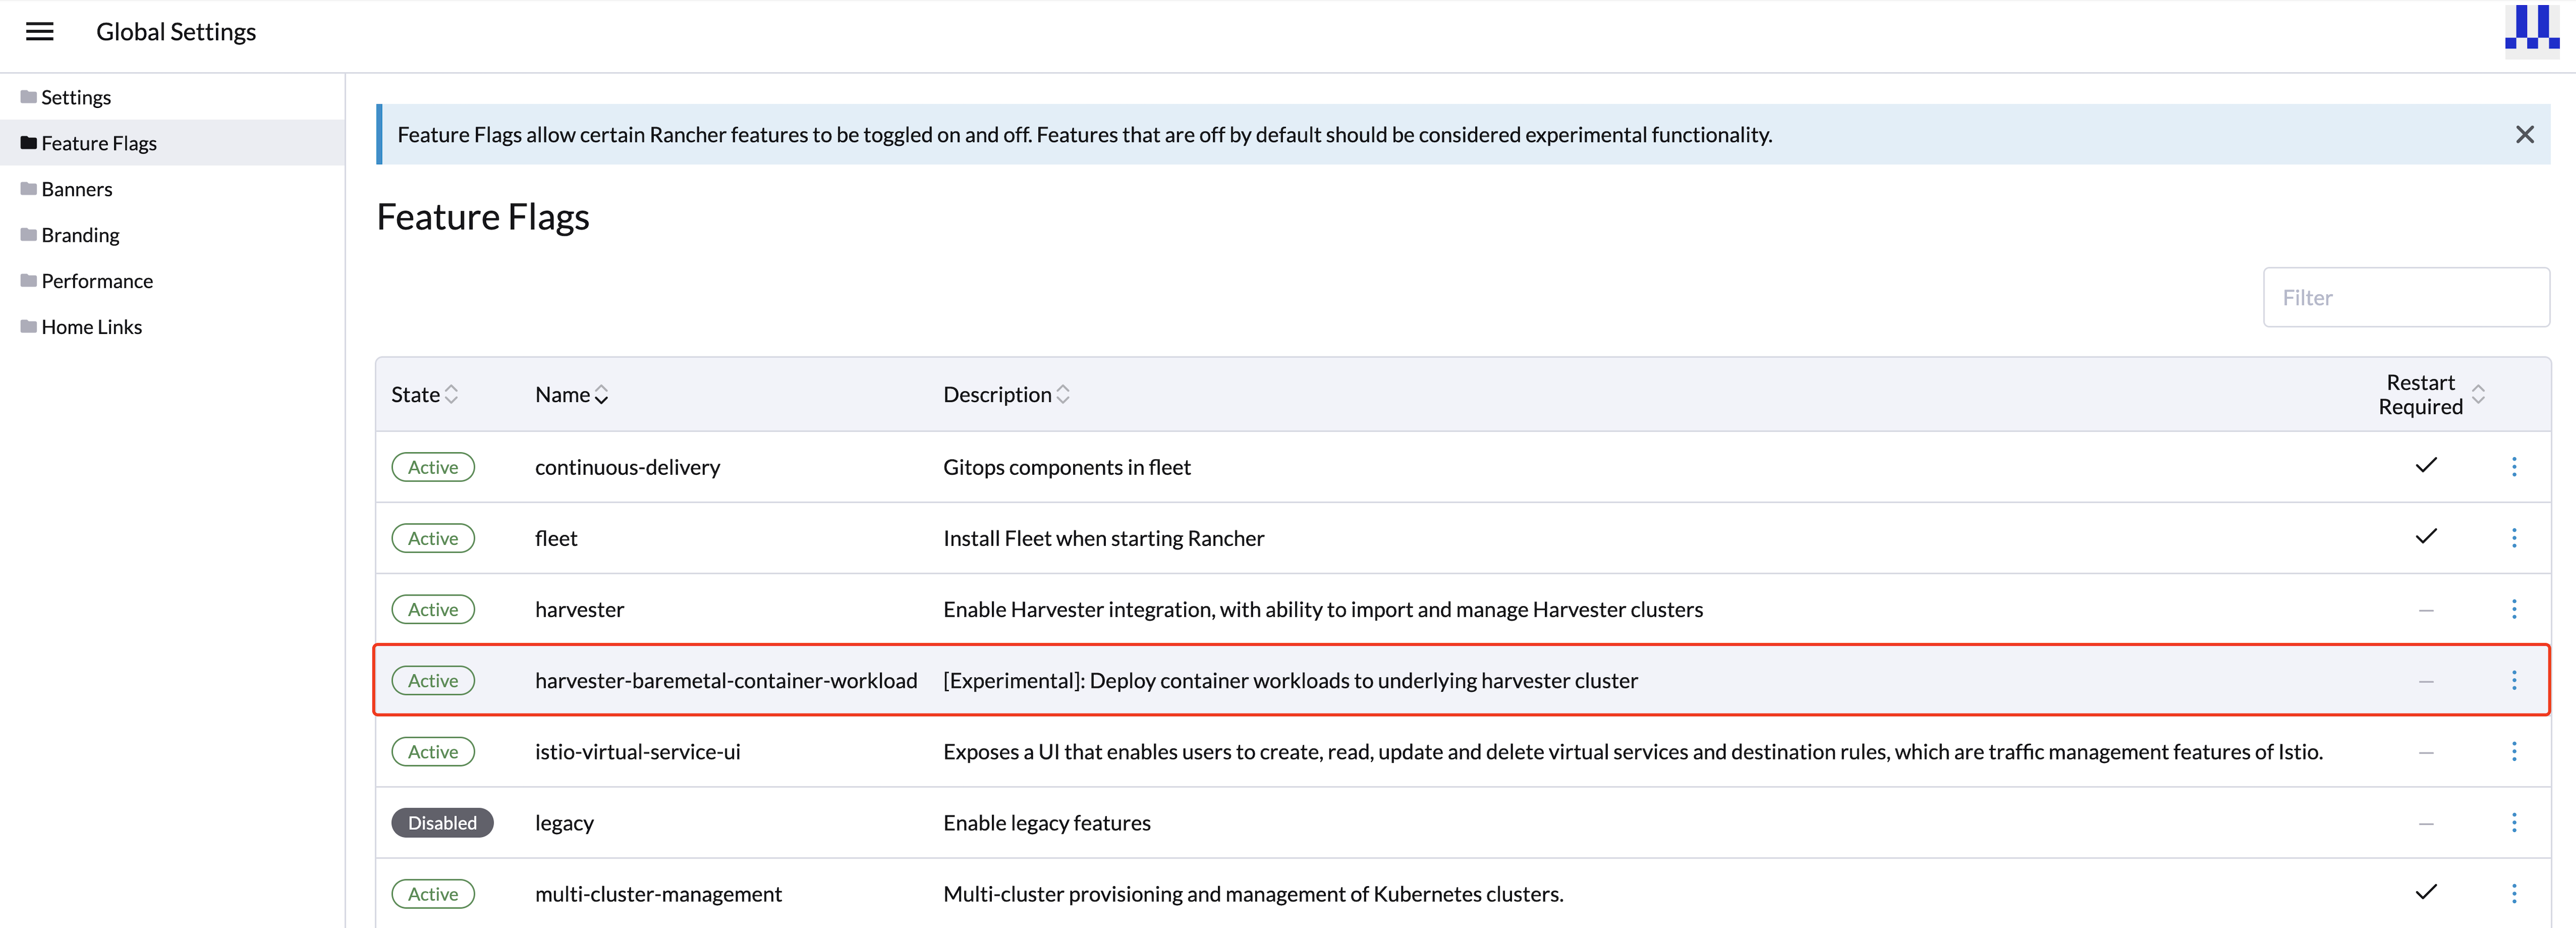
Click Feature Flags and locate the new feature flag
harvester-baremetal-container-workload. -
Click the drop-down menu and select Activate to enable this feature.
-
If the feature state changes to Active, the feature is successfully enabled.
Key features
-
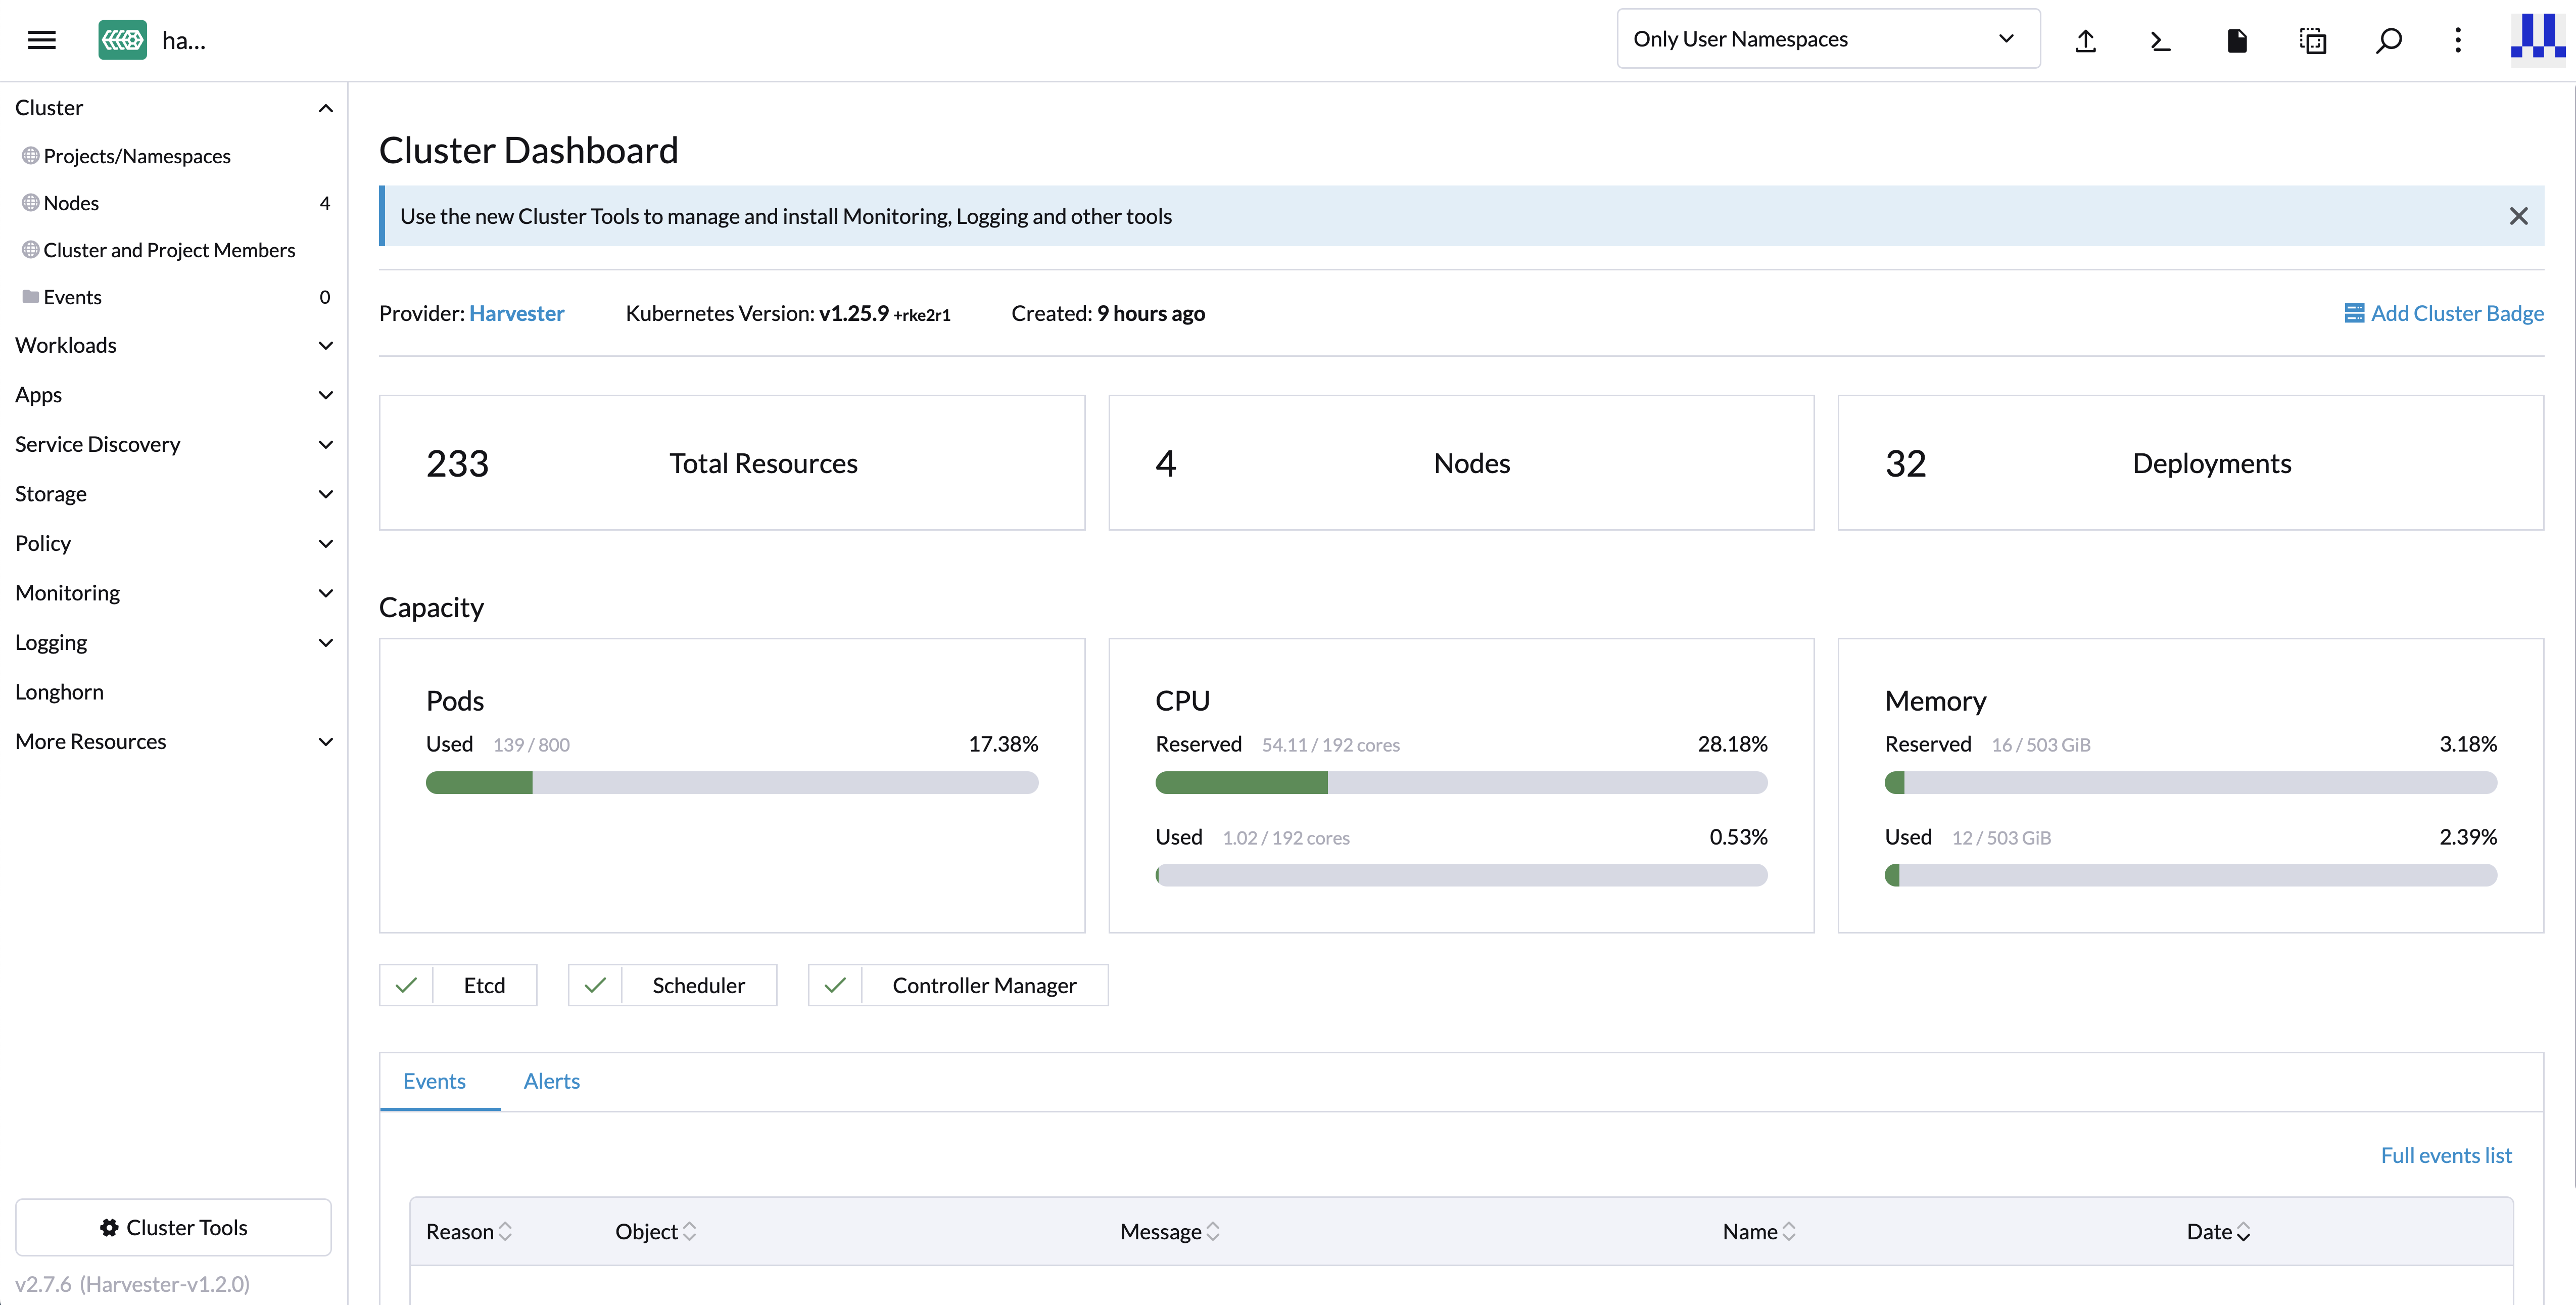
Unified Dashboard View: Once you’ve enabled the feature, you can explore the dashboard view of the SUSE Virtualization cluster, just like you would with other standard Kubernetes clusters. This unified experience simplifies the management and monitoring of both your virtual machines and container workloads from a single, user-friendly interface.
-
Deploy Custom Workloads: This feature lets you deploy custom container workloads directly to the bare-metal SUSE Virtualization cluster. While this functionality is experimental, it introduces exciting possibilities for optimizing your infrastructure. However, we recommend deploying container and virtual machine workloads in separate namespaces to ensure clarity and separation.
|
SUSE® Rancher Prime: Continuous Delivery support (Experimental)
You can leverage SUSE® Rancher Prime: Continuous Delivery for managing container workloads and configuring SUSE Virtualization with a GitOps-based approach.
|
The Rancher feature |
-
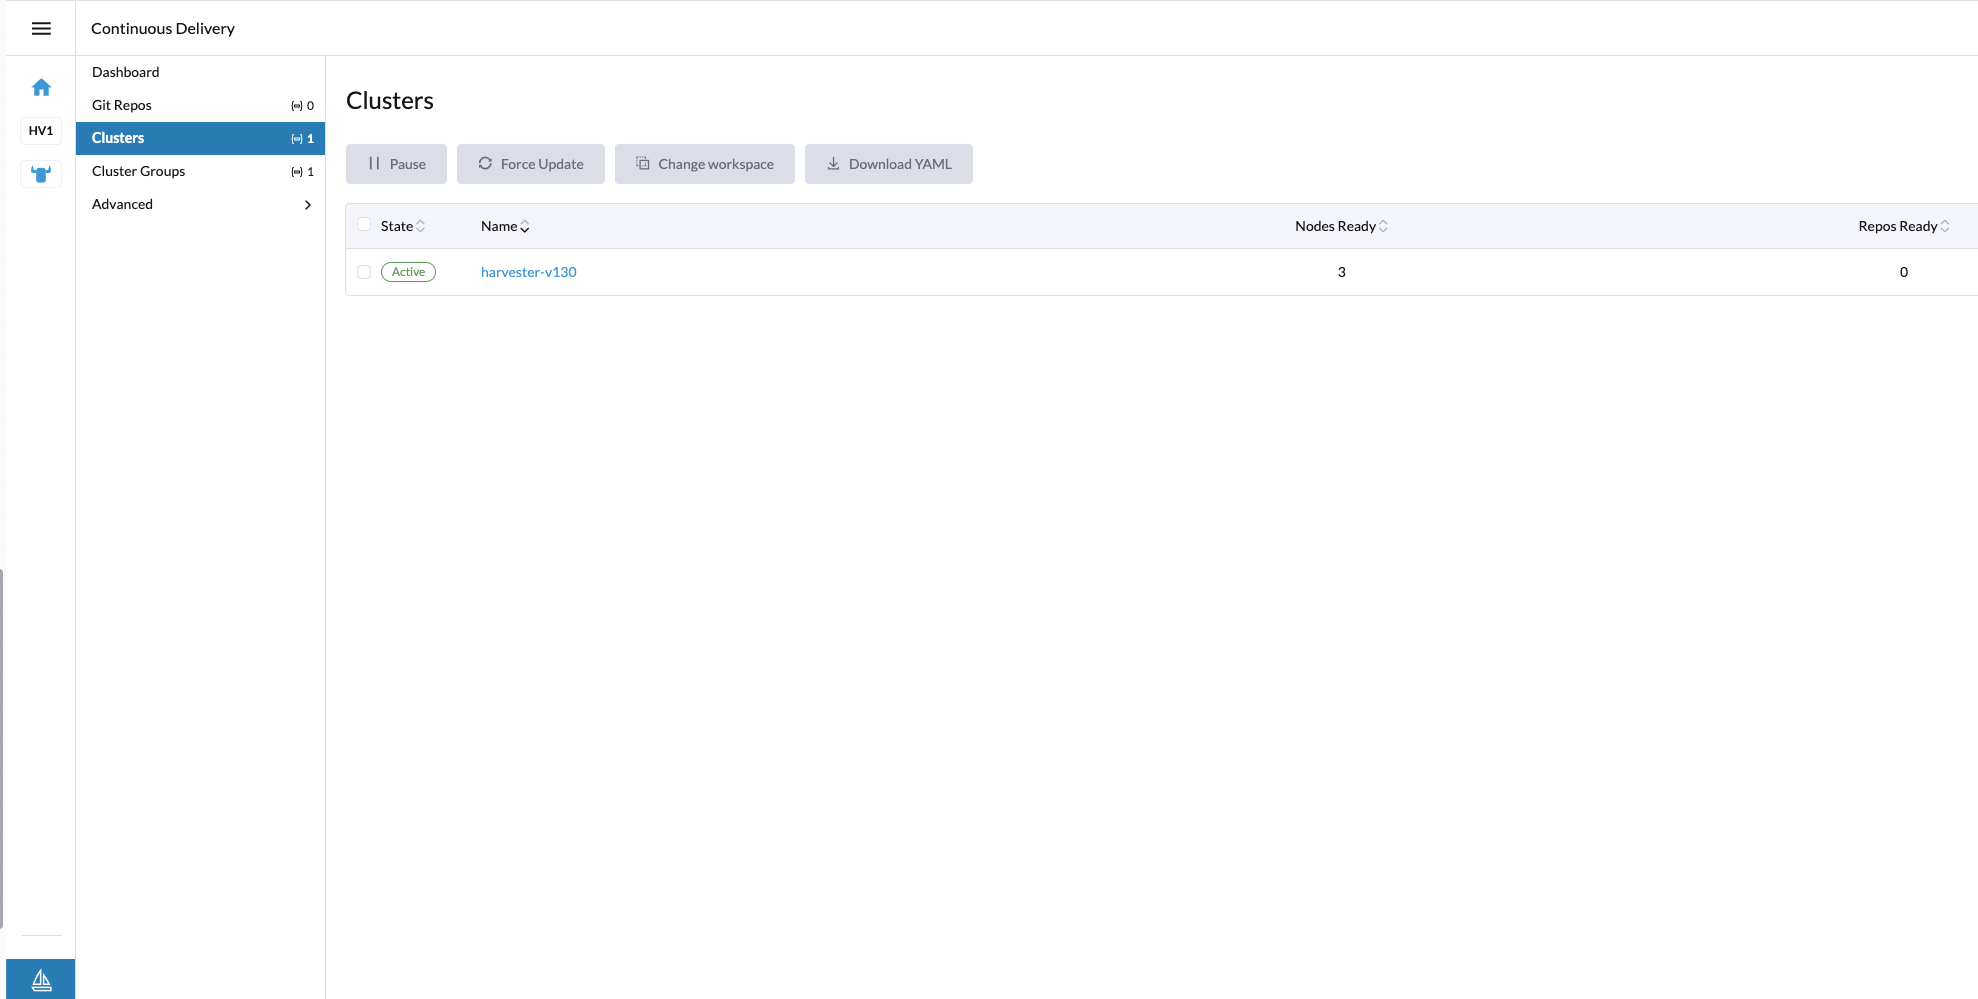
On the Rancher UI, go to ☰ → Continuous Delivery.
-
(Optional) On the Clusters tab, edit the Fleet cluster config to add labels that can be used to group SUSE Virtualization clusters.
In this example, the label
location=private-dcwas added.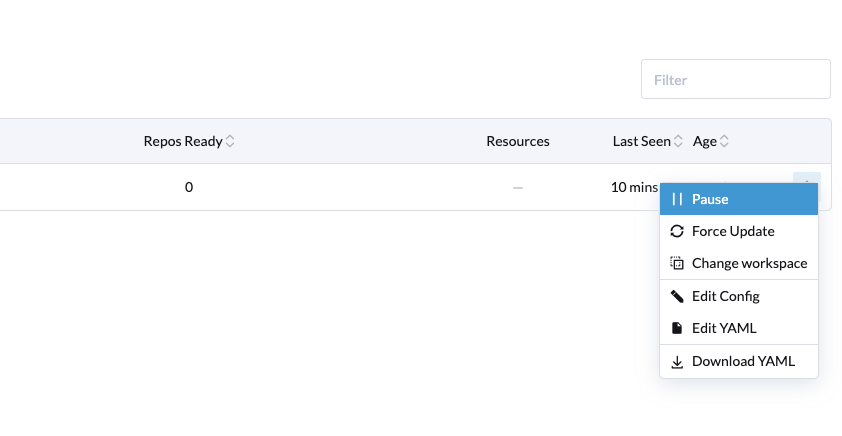

-
(Optional) On the Cluster Groups tab, create a cluster group.
In this example, the cluster group
private-dc-clustersis created with a cluster selector rule that matches the label key/value pair oflocation=private-dc.
-
On the Git Repos tab, create a Git repository named
harvester-configthat points to the harvester-fleet-examples repository, with the branch defined asmain. You must define the following paths:-
keypair -
vmimage -
vmnetwork -
cloudinit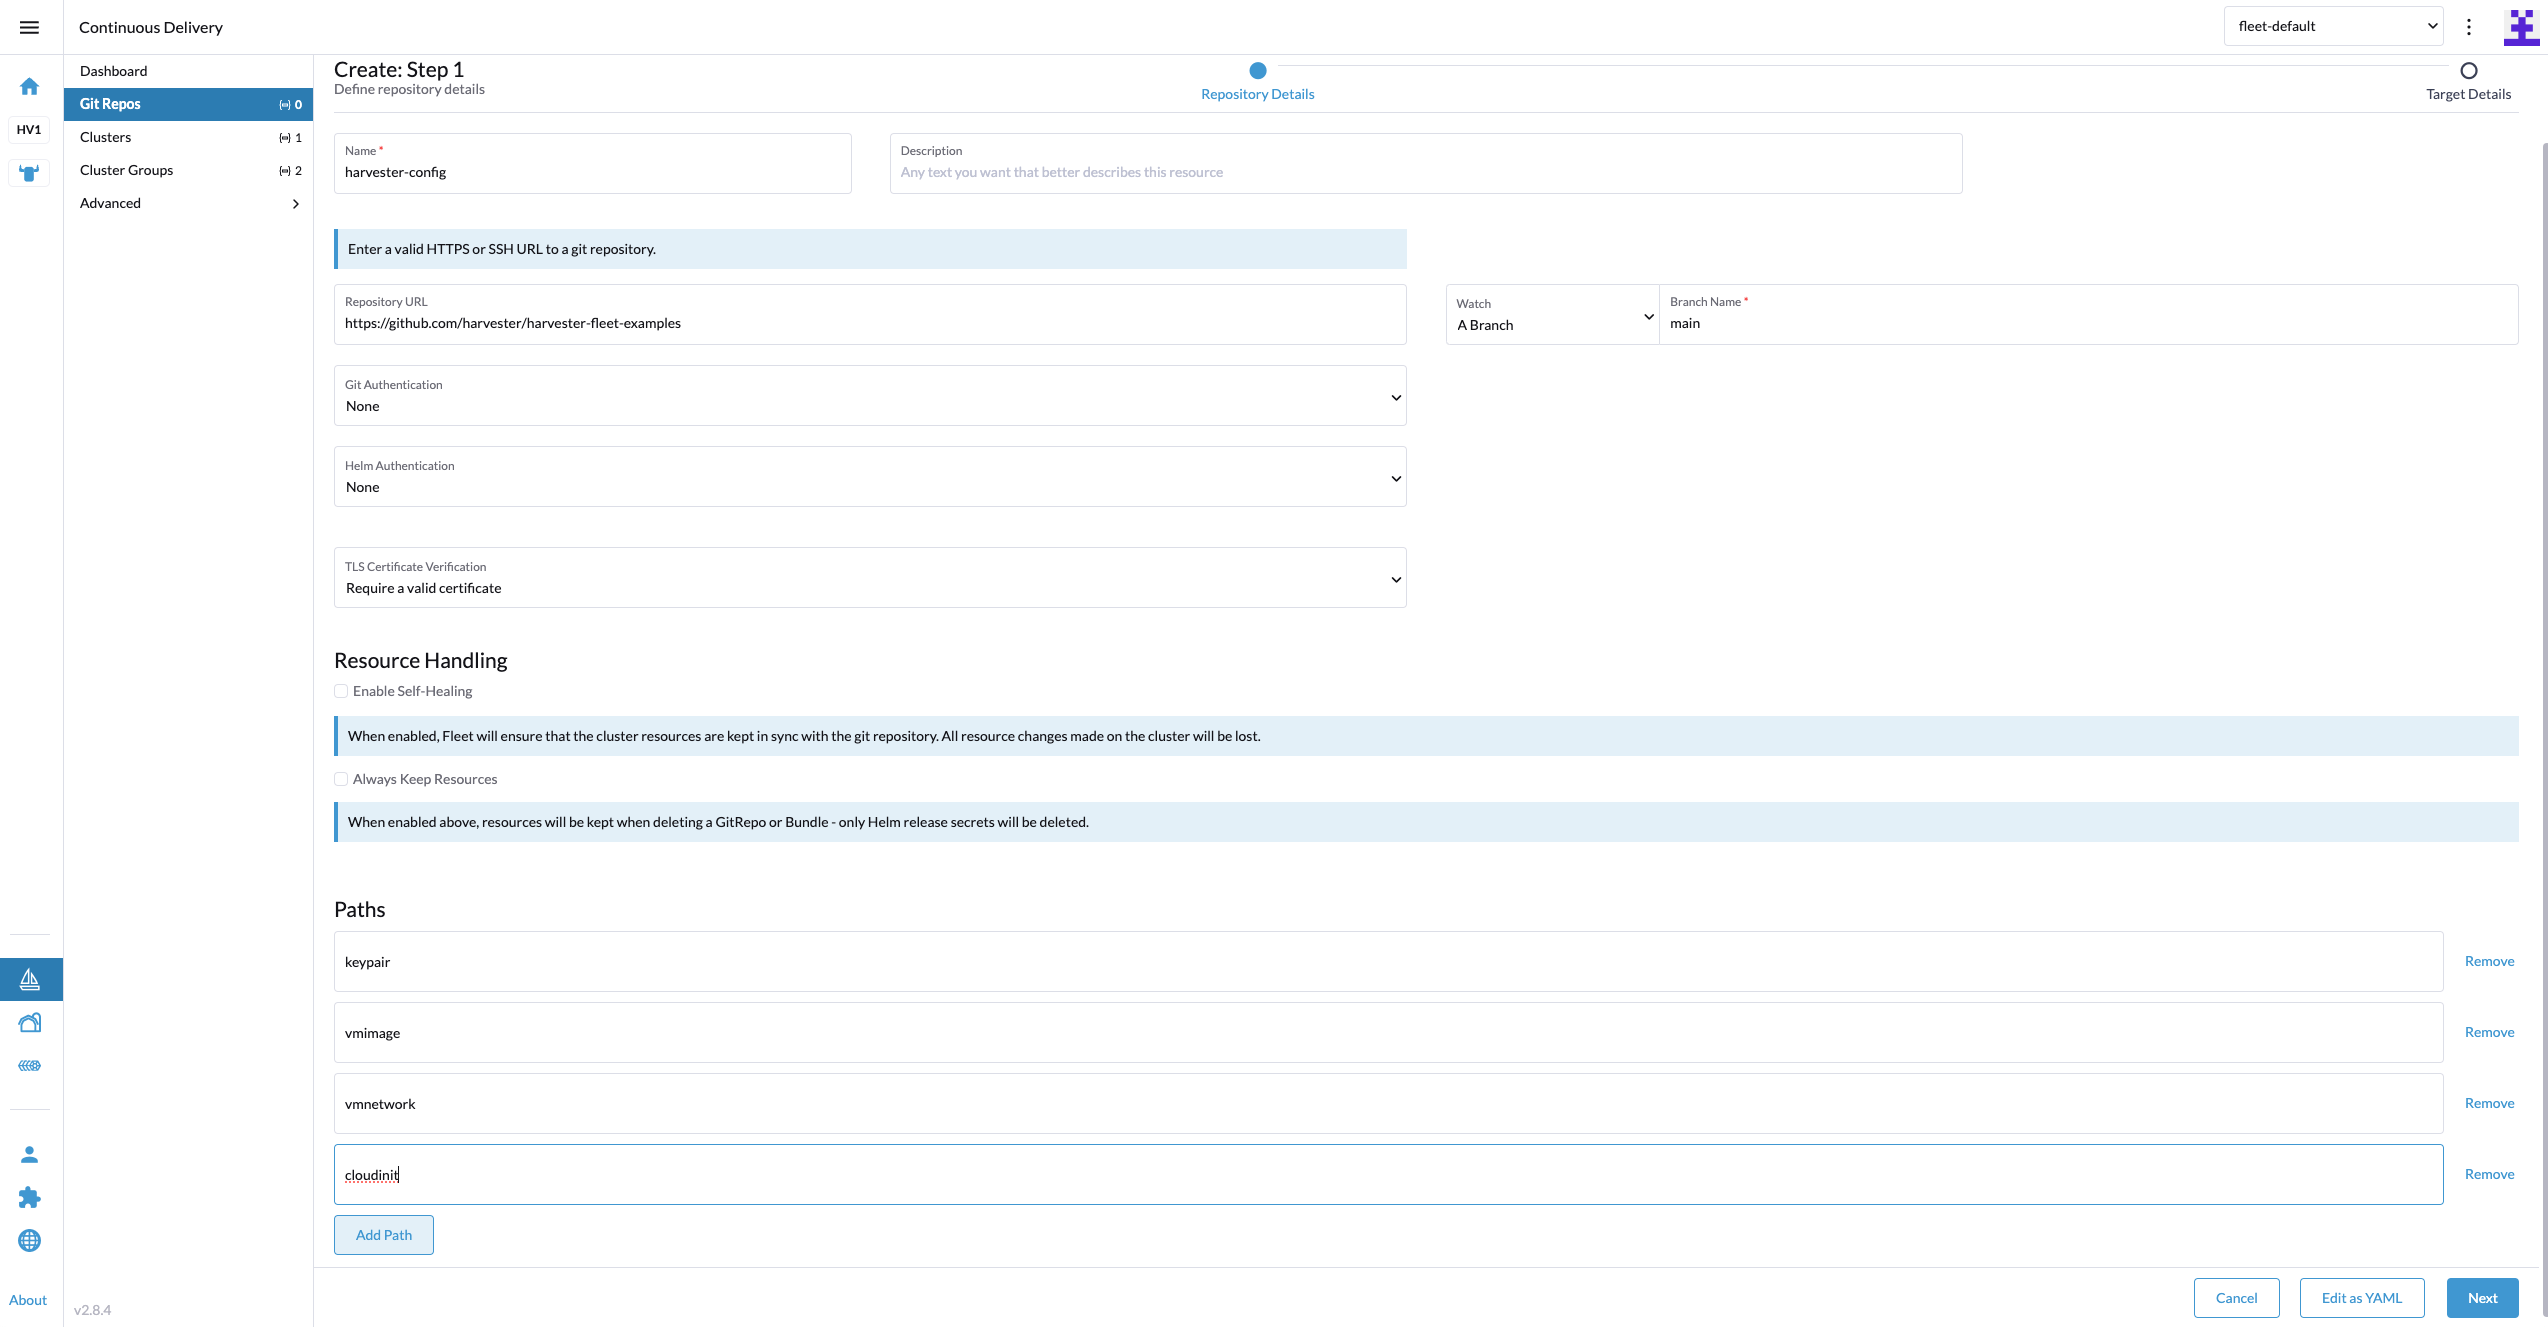
-
-
Click Next, and then define the Git repository targets. You can select all clusters, an individual cluster, or a group of clusters.
In this example, the cluster group named
private-dc-clustersis used.
-
Click Save. It may take a few seconds for the resources to be rolled out to the target clusters.
