Install SUSE Storage Using Rancher
One benefit of installing SUSE Storage through Rancher Apps Marketplace is that Rancher provides authentication to the SUSE Storage UI.
If there is a new version of SUSE Storage available, you will see an Upgrade Available sign on the Apps Marketplace screen. You can click Upgrade button to upgrade Longhorn Manager. See more about upgrade here.
Prerequisites
Each node in the Kubernetes cluster where SUSE Storage is installed must fulfill these requirements.
The Longhorn Command Line Tool can be used to check the SUSE Storage environment for potential issues.
Authentication
To create longhorn-system namespace, run the following command:
kubectl create namespace longhorn-systemFollow the Kubernetes authentication documentation to create a secret in the longhorn-system namespace.
kubectl create secret docker-registry application-collection \
  --docker-server=dp.apps.rancher.io \
  --namespace=longhorn-system \
  --docker-username=<your-username-or-service-account-username> \
  --docker-password=<access-token-or-service-account-secret>
Installation
To install SUSE Storage from SUSE Application Collection instead of Rancher’s default Longhorn community charts, configure a new repository in Rancher that points to SUSE Application Collection chart repository for SUSE Storage. Refer to this guide for details on the process and how to authenticate the chart repository.
The following steps provide an example in Rancher. For detailed instructions, refer to the Rancher documentation.
-
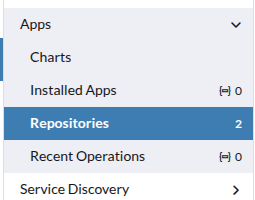
In Rancher, go to Apps > Repositories.
-
Click on the Create button.
-
Choose OCI Repository in the radio buttons and enter the OCI chart registry path
oci://dp.apps.rancher.io/charts/suse-storagealong with the authentication, then click Create.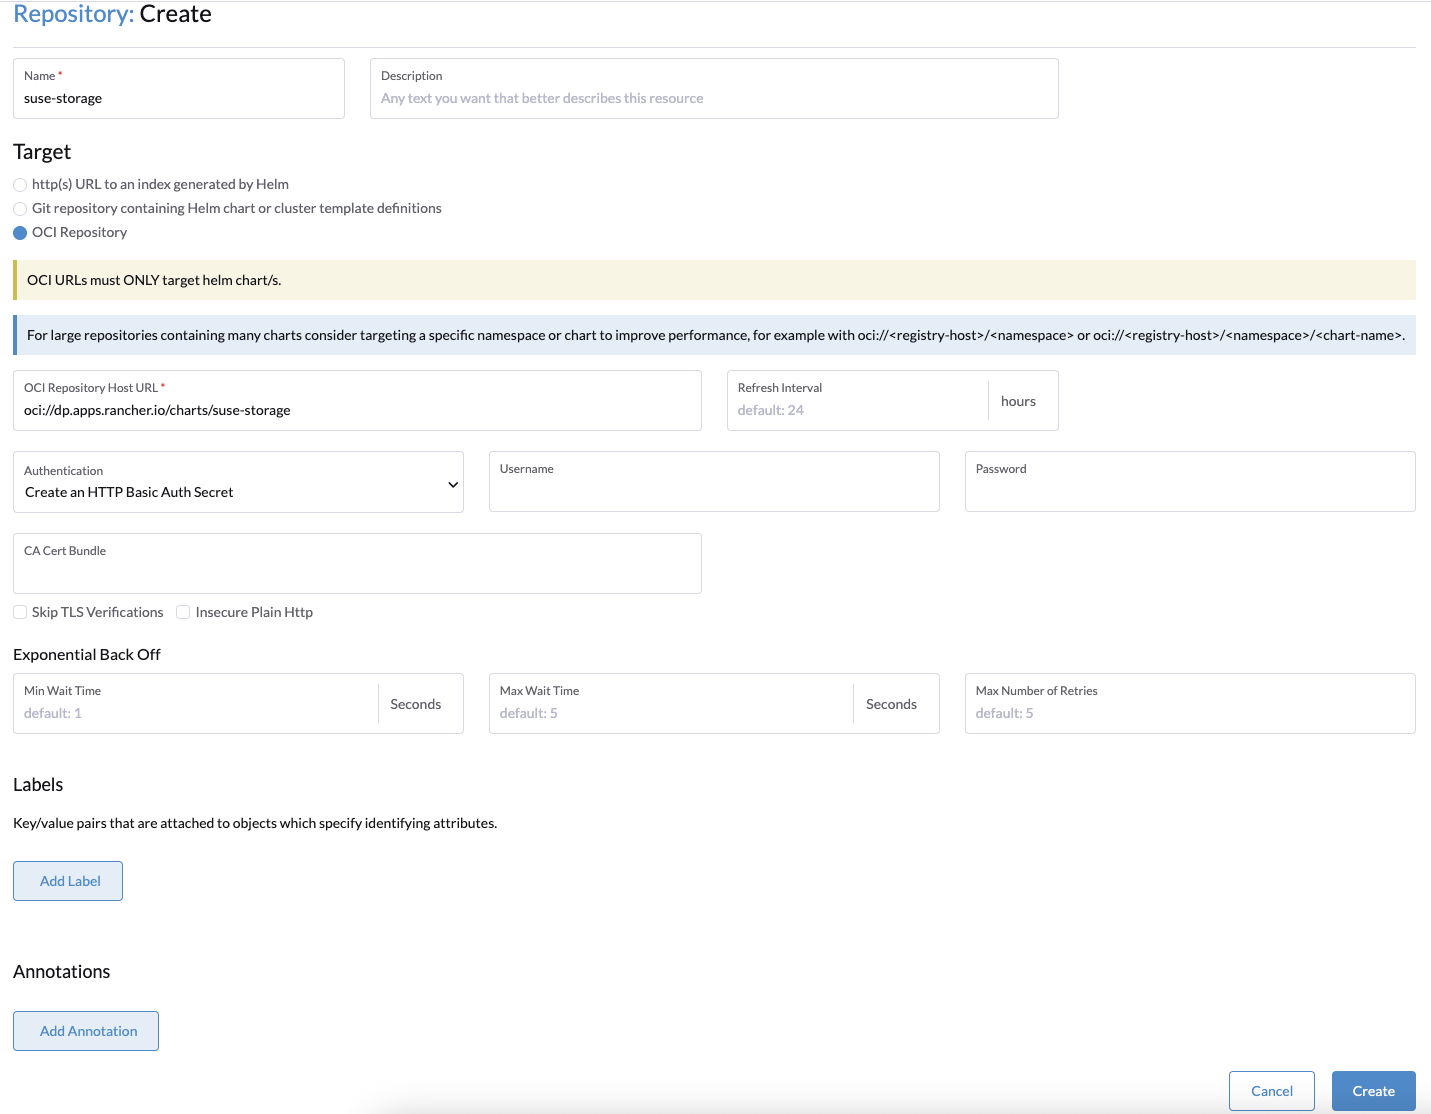
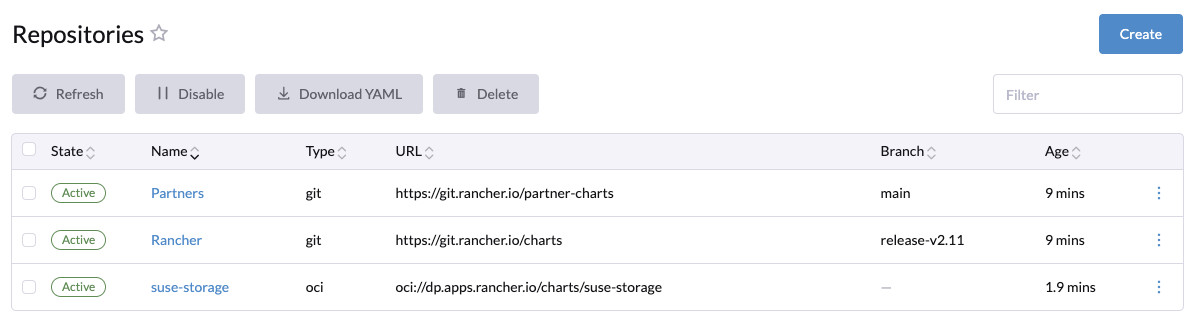
The repository should be added successfully.
-
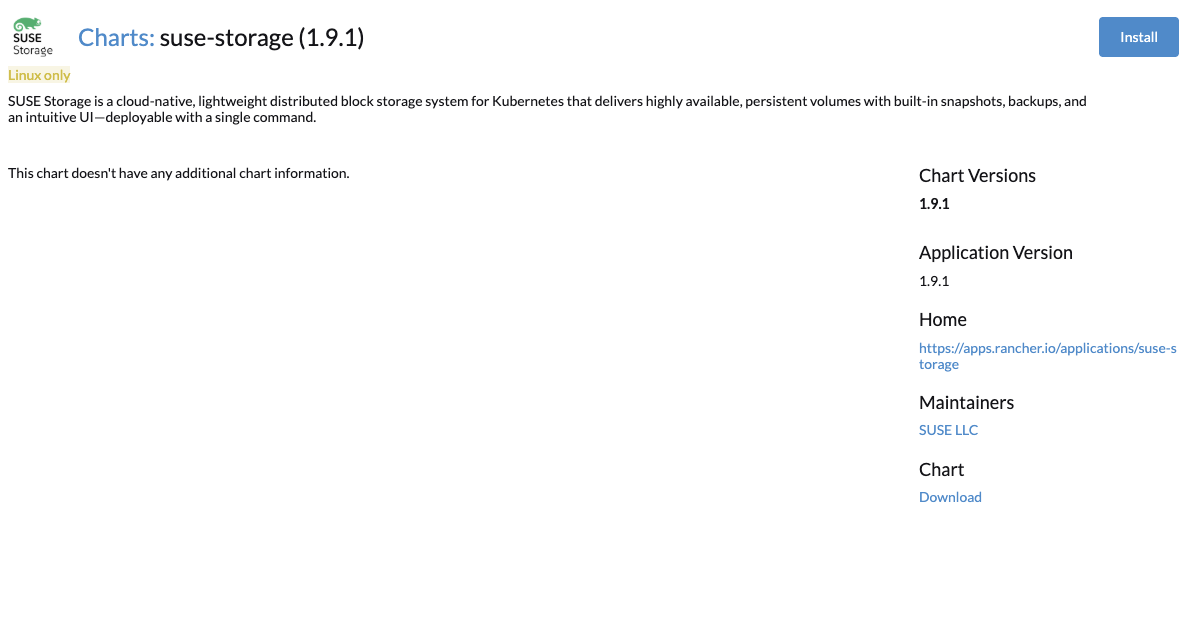
In Apps > Chart, you can see
suse-storageavailable for installation.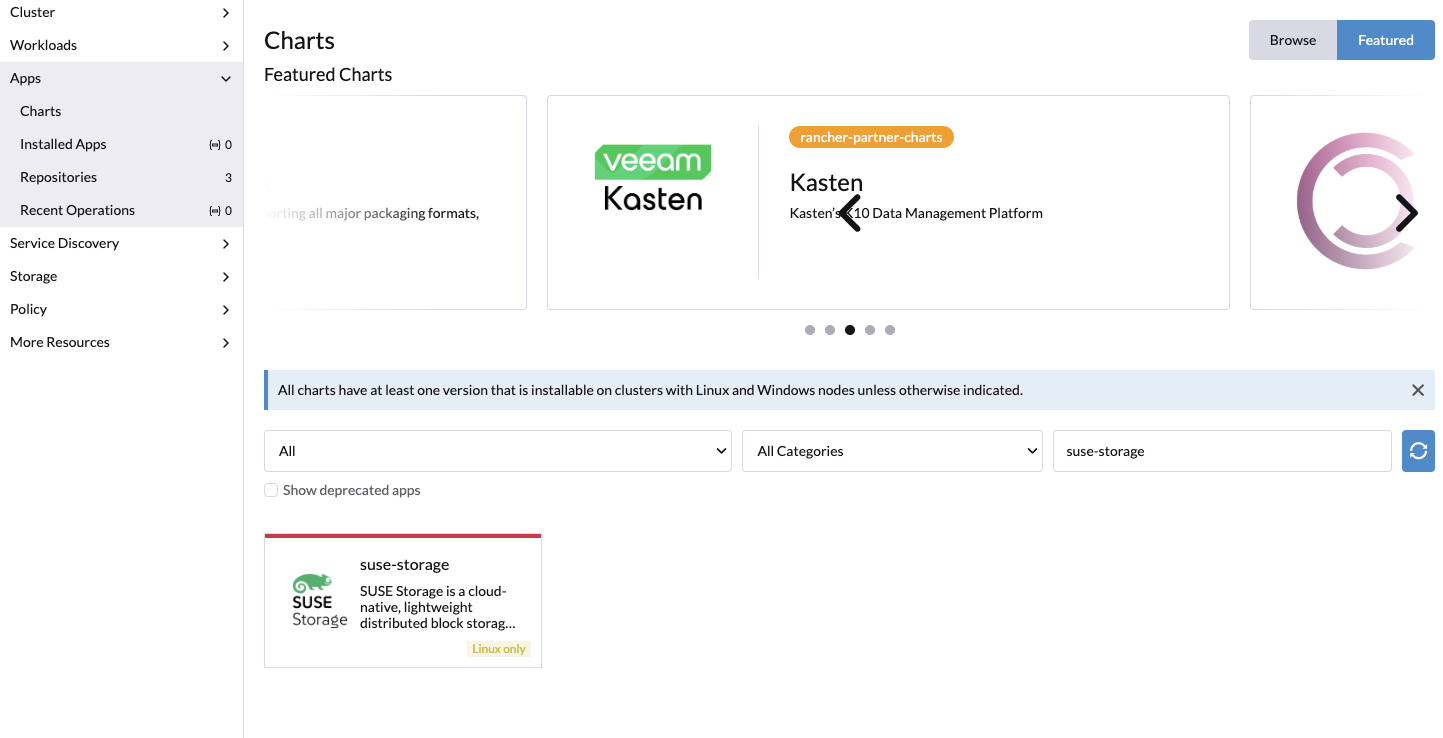
-
Click Install.
-
Optional: Select the project where you want to install SUSE Storage.
-
Optional: Customize the default settings.
If you are using SUSE Rancher Prime, it is mandatory to enable Container Registry for Rancher System Container Images and set the value to
dp.apps.rancher.ioto ensure images are pulled from the correct registry.
-
Click Next. In the yaml editor, add the value
application-collectionin theglobal.imagePullSecretsfield.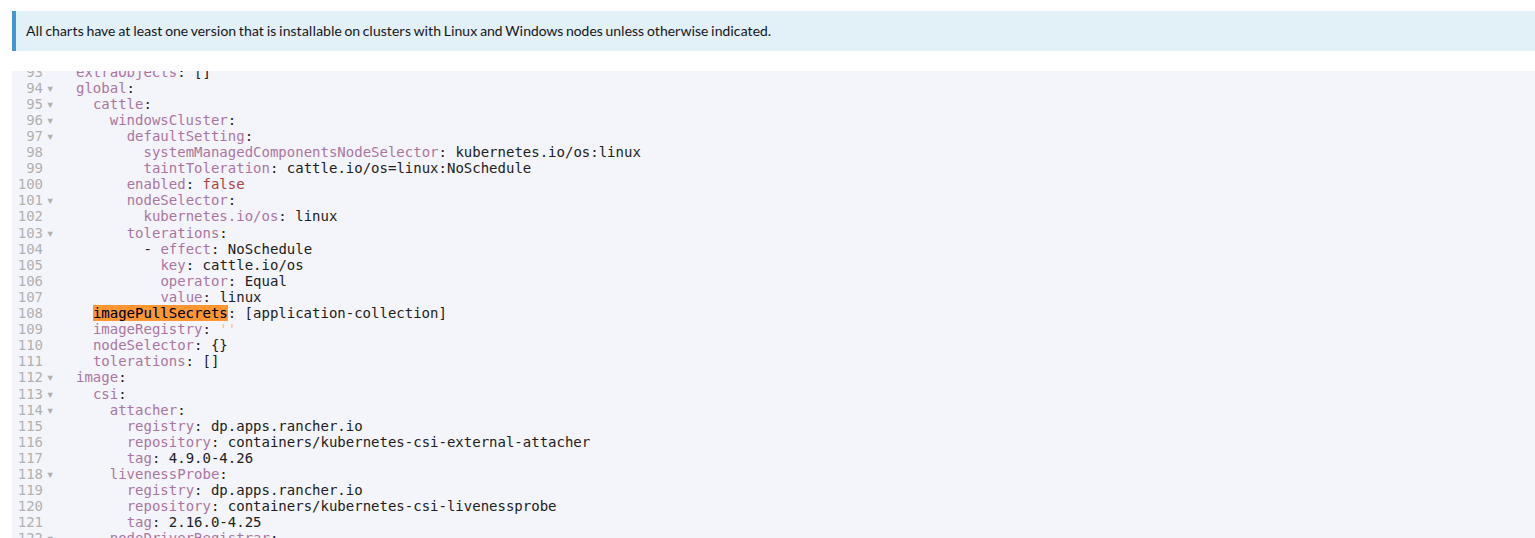
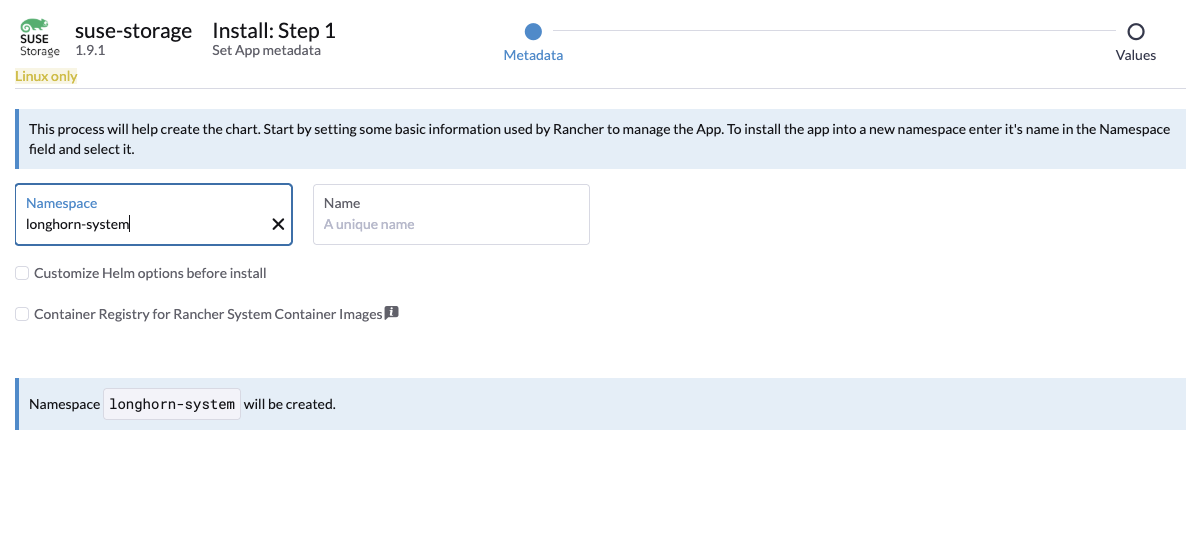
-
Click Next. SUSE Storage will be installed in the
longhorn-systemnamespace.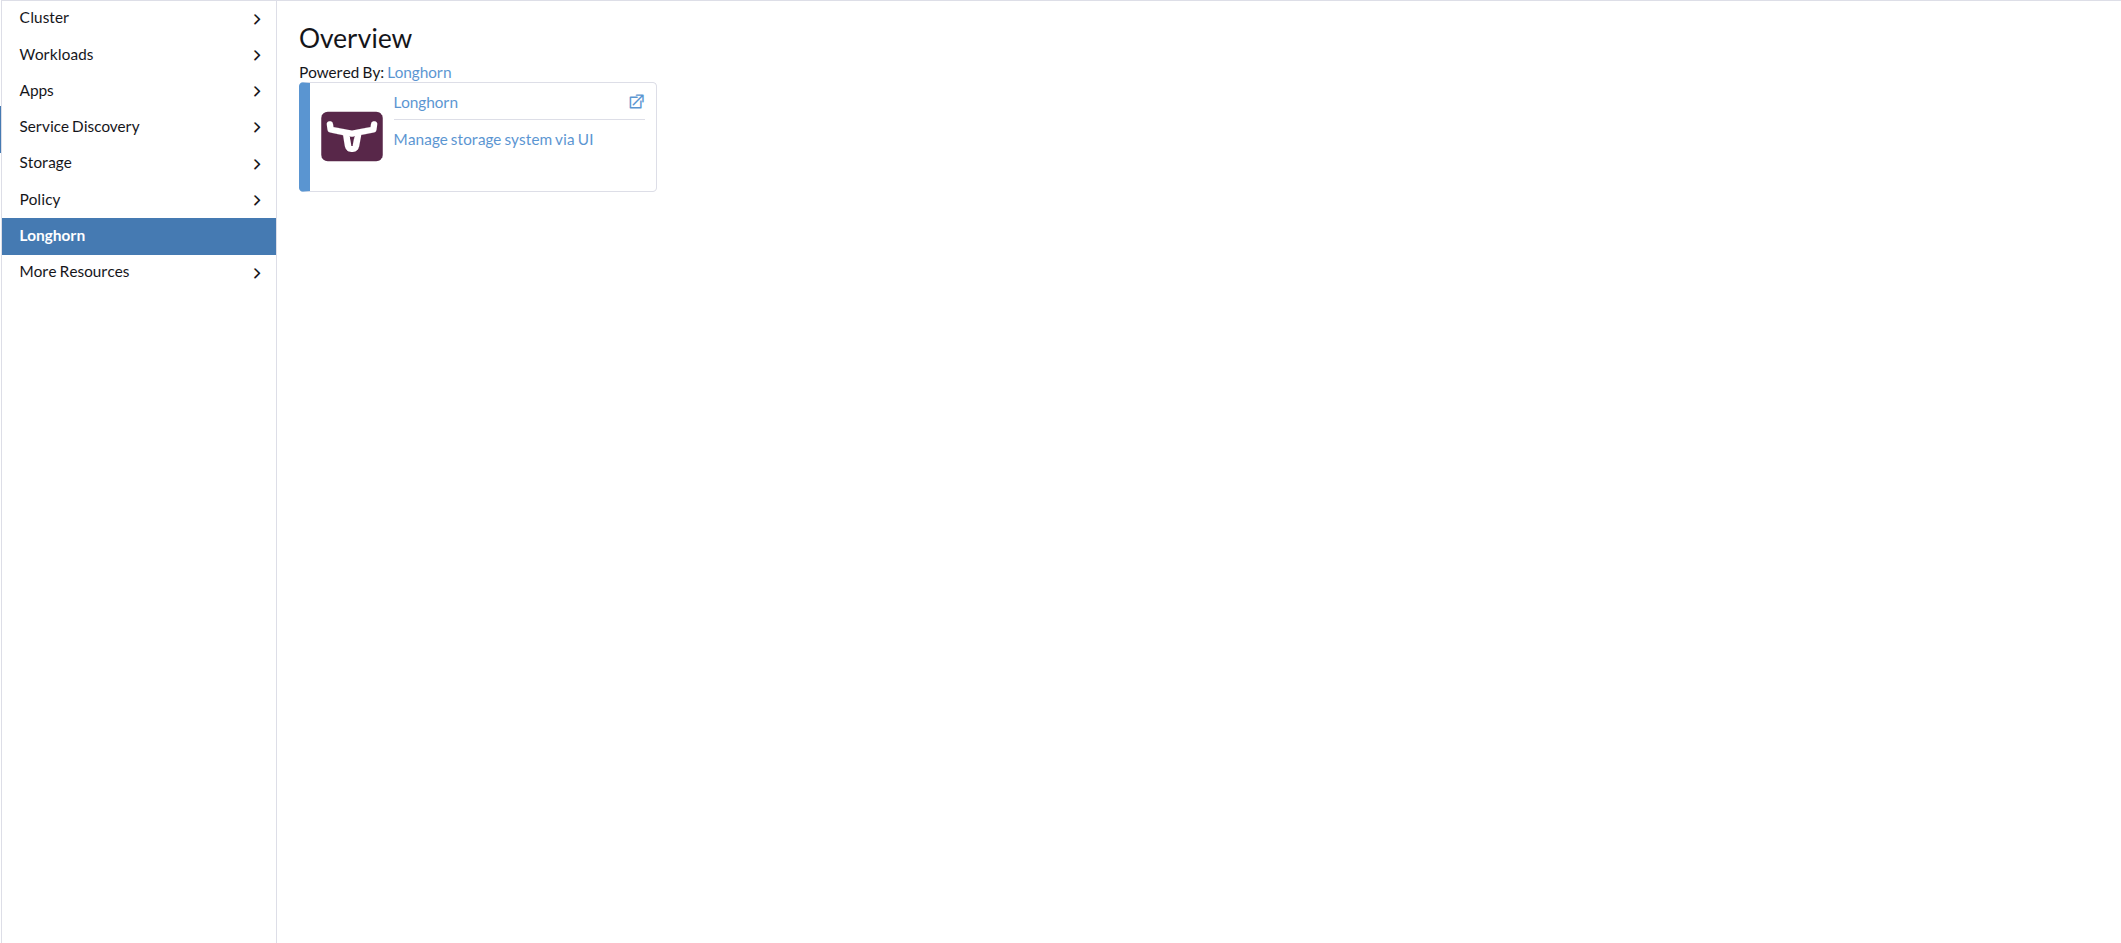
-
Click the SUSE Storage App Icon to navigate to the SUSE Storage dashboard.
After SUSE Storage is installed, you can access the SUSE Storage UI by navigating to the Longhorn option from Rancher left panel.
Access UI With Network Policy Enabled
Note that when the Network Policy is enabled, access to the UI from Rancher may be restricted.
Rancher interacts with the SUSE Storage UI via a service called remotedialer, which facilitates connections between Rancher and the downstream clusters it manages. This service allows a user agent to access the cluster through an endpoint on the Rancher server. Remotedialer connects to the SUSE Storage UI service by using the Kubernetes API Server as a proxy.
However, when the Network Policy is enabled, the Kubernetes API Server may be unable to reach pods on different nodes. This occurs because the Kubernetes API Server operates within the network namespace of host without a dedicated per-pod IP address. If you’re using the Calico CNI plugin, any process in the network namespace of host (such as the API Server) connecting to a pod triggers Calico to encapsulate the packet in IPIP before forwarding it to the remote host. The tunnel address is chosen as the source to ensure the remote host knows to encapsulate the return packets correctly.
In other words, to allow the proxy to work with the Network Policy, the Tunnel IP of each node must be identified and explicitly permitted in the policy.
You can find the Tunnel IP by:
$ kubectl get nodes -oyaml | grep "Tunnel"
      projectcalico.org/IPv4VXLANTunnelAddr: 10.42.197.0
      projectcalico.org/IPv4VXLANTunnelAddr: 10.42.99.0
      projectcalico.org/IPv4VXLANTunnelAddr: 10.42.158.0
      projectcalico.org/IPv4VXLANTunnelAddr: 10.42.80.0
Next, permit traffic in the Network Policy using the Tunnel IP. You may need to update the Network Policy whenever new nodes are added to the cluster.
apiVersion: networking.k8s.io/v1
kind: NetworkPolicy
metadata:
  name: longhorn-ui-frontend
  namespace: longhorn-system
spec:
  podSelector:
    matchLabels:
      app: longhorn-ui
  policyTypes:
  - Ingress
  ingress:
  - from:
    - ipBlock:
        cidr: 10.42.197.0/32
    - ipBlock:
        cidr: 10.42.99.0/32
    - ipBlock:
        cidr: 10.42.158.0/32
    - ipBlock:
        cidr: 10.42.80.0/32
    ports:
      - port: 8000
        protocol: TCP
Another way to resolve the issue is by running the server nodes with egress-selector-mode: cluster. For more information, see RKE2 Server Configuration Reference and K3s Control-Plane Egress Selector configuration.