User management
Users of the SUSE Cloud Observability tenants (SUSE Cloud Observability instances) are managed with Keycloak. Each customer (tenant) has a dedicated Keycloak realm. A link to the Keycloak console is sent in the welcome message when a user is created.
SUSE Cloud Observability redirects users to Keycloak for authentication. Users are expected to be members of one or more Keycloak groups.
The predefined Keycloak groups:
-
realm-admin: Members of this group can log in to the Keycloak realm console and perform user management operations.
-
stackstate-k8s-troubleshooter: Users in this group are assigned the
stackstate-k8s-troubleshooterKeycloak client role, which maps to the SUSE Cloud Observability role with the same name. The role grants regular SUSE Cloud Observability permissions. -
stackstate-k8s-admin: Users in this group are assigned the
stackstate-k8s-adminKeycloak client role, which maps to the SUSE Cloud Observability role with the same name. The role grants privileged SUSE Cloud Observability permissions.
User management URL
When a new user is created, they receive a welcome message containing a link to the Keycloak user management page. This link is exclusively for the tenant administrator, who is the first user by default. The URL format is: https://<keycloak_FQDN>/realms/<your_dedicated_Keycloak_realm>/account.
User management
-
Log in to Keycloak Admin Console.
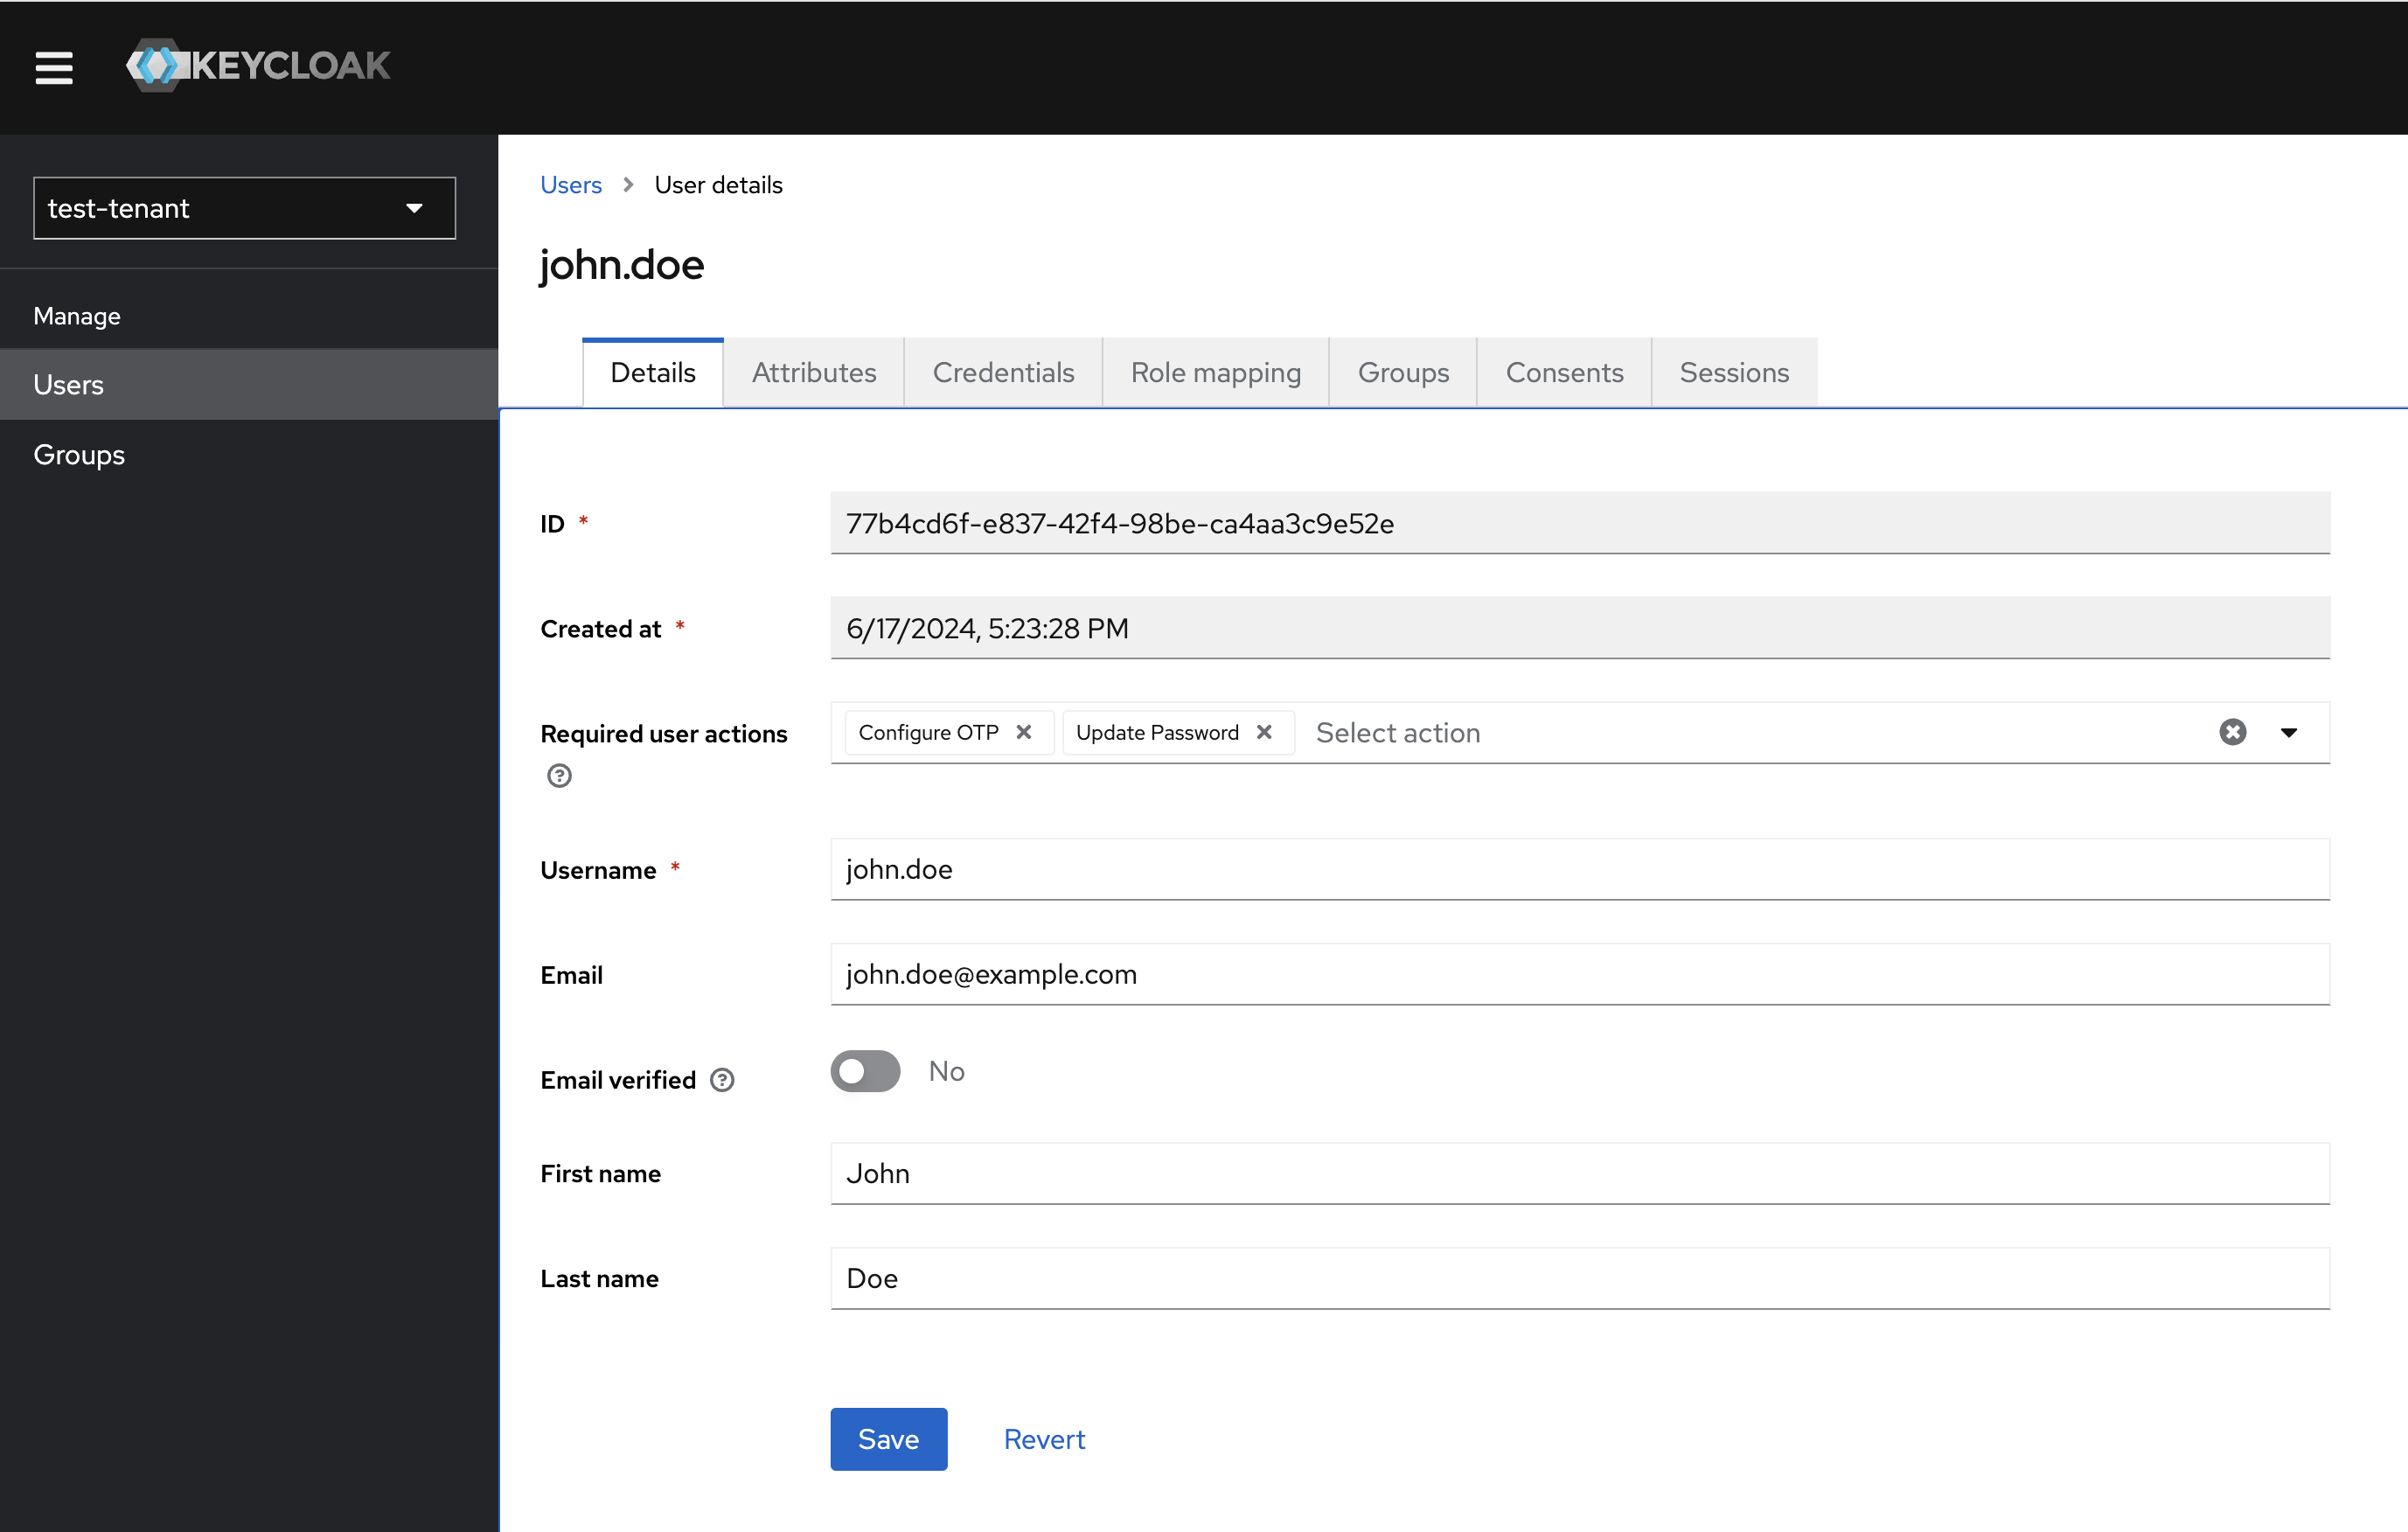
Manage users
-
In the left-hand menu, select
Usersunder theManagesection.
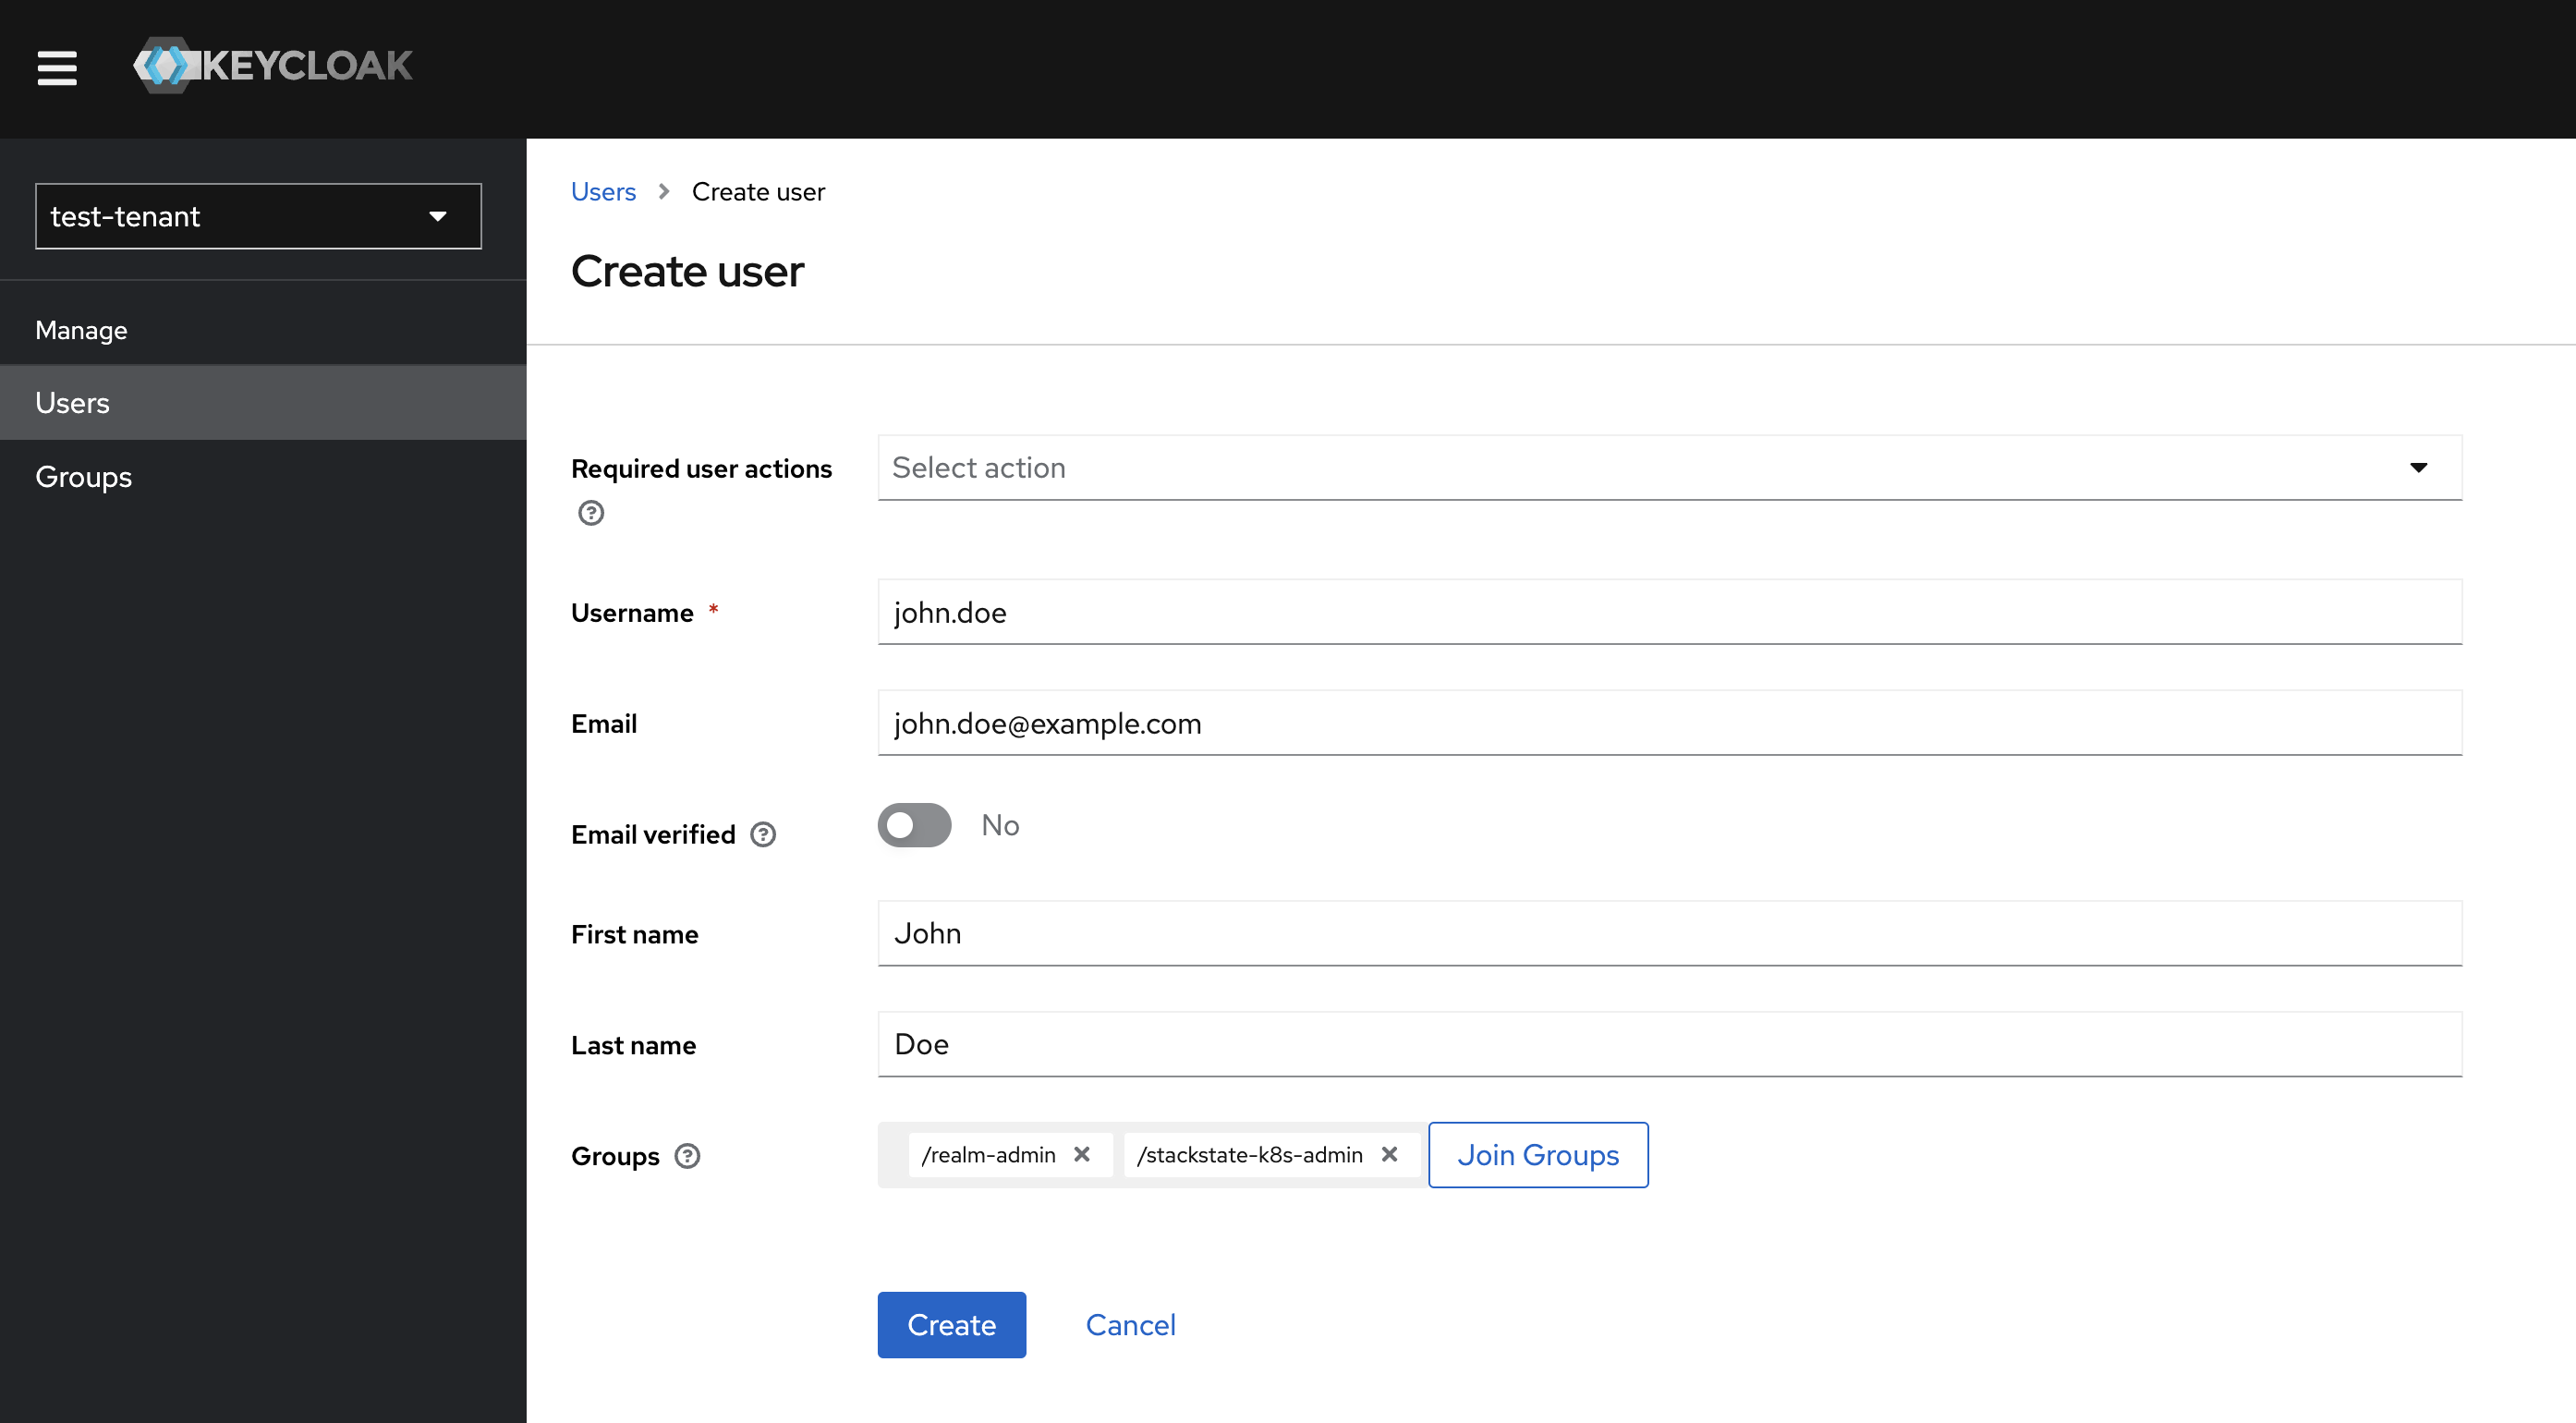
Adding a new user
Click the Add user button and enter the user information, such as 'Username', 'Email', 'First Name', and 'Last Name'.
-
Leave
Required users actionsfield empty. -
Add the user to the required groups.
-
Click
Save.The welcome message with the sign-up link and the links to the SUSE Cloud Observability tenant, Keycloak Admin and Account consoles are emailed to the user.
| To activate the account, which includes email confirmation and the password reset, the user must follow the sign-up link. |
Group membership
-
Log in to the Keycloak Admin Console.
-
In the
Groupssection, search for the group you want to manage. -
Click on the group name to open group details and go to the
Memberstab. -
To add a new group member, press the
Add Memberbutton and select the required users. -
To delete users from the group, select the users from the list, then from the menu that at the same line as the
Add memberbutton marked as "⋮", selectLeave group.