Creating an RKE2 Kubernetes Cluster
You can now provision SUSE® Rancher Prime: RKE2 Kubernetes clusters on top of the SUSE Virtualization cluster in SUSE Rancher Prime using the built-in Harvester Node Driver.
|
Backward Compatibility Notice
|
Please note a known backward compatibility issue if you’re using the Harvester Cloud Provider version v0.2.2 or higher. If your SUSE Virtualization version is below v1.2.0 and you intend to use newer RKE2 versions (i.e., >= For a detailed support matrix, please refer to the Harvester CCM & CSI Driver with RKE2 Releases section of the official website. |
Create your cloud credentials
-
Click ☰ > Cluster Management.
-
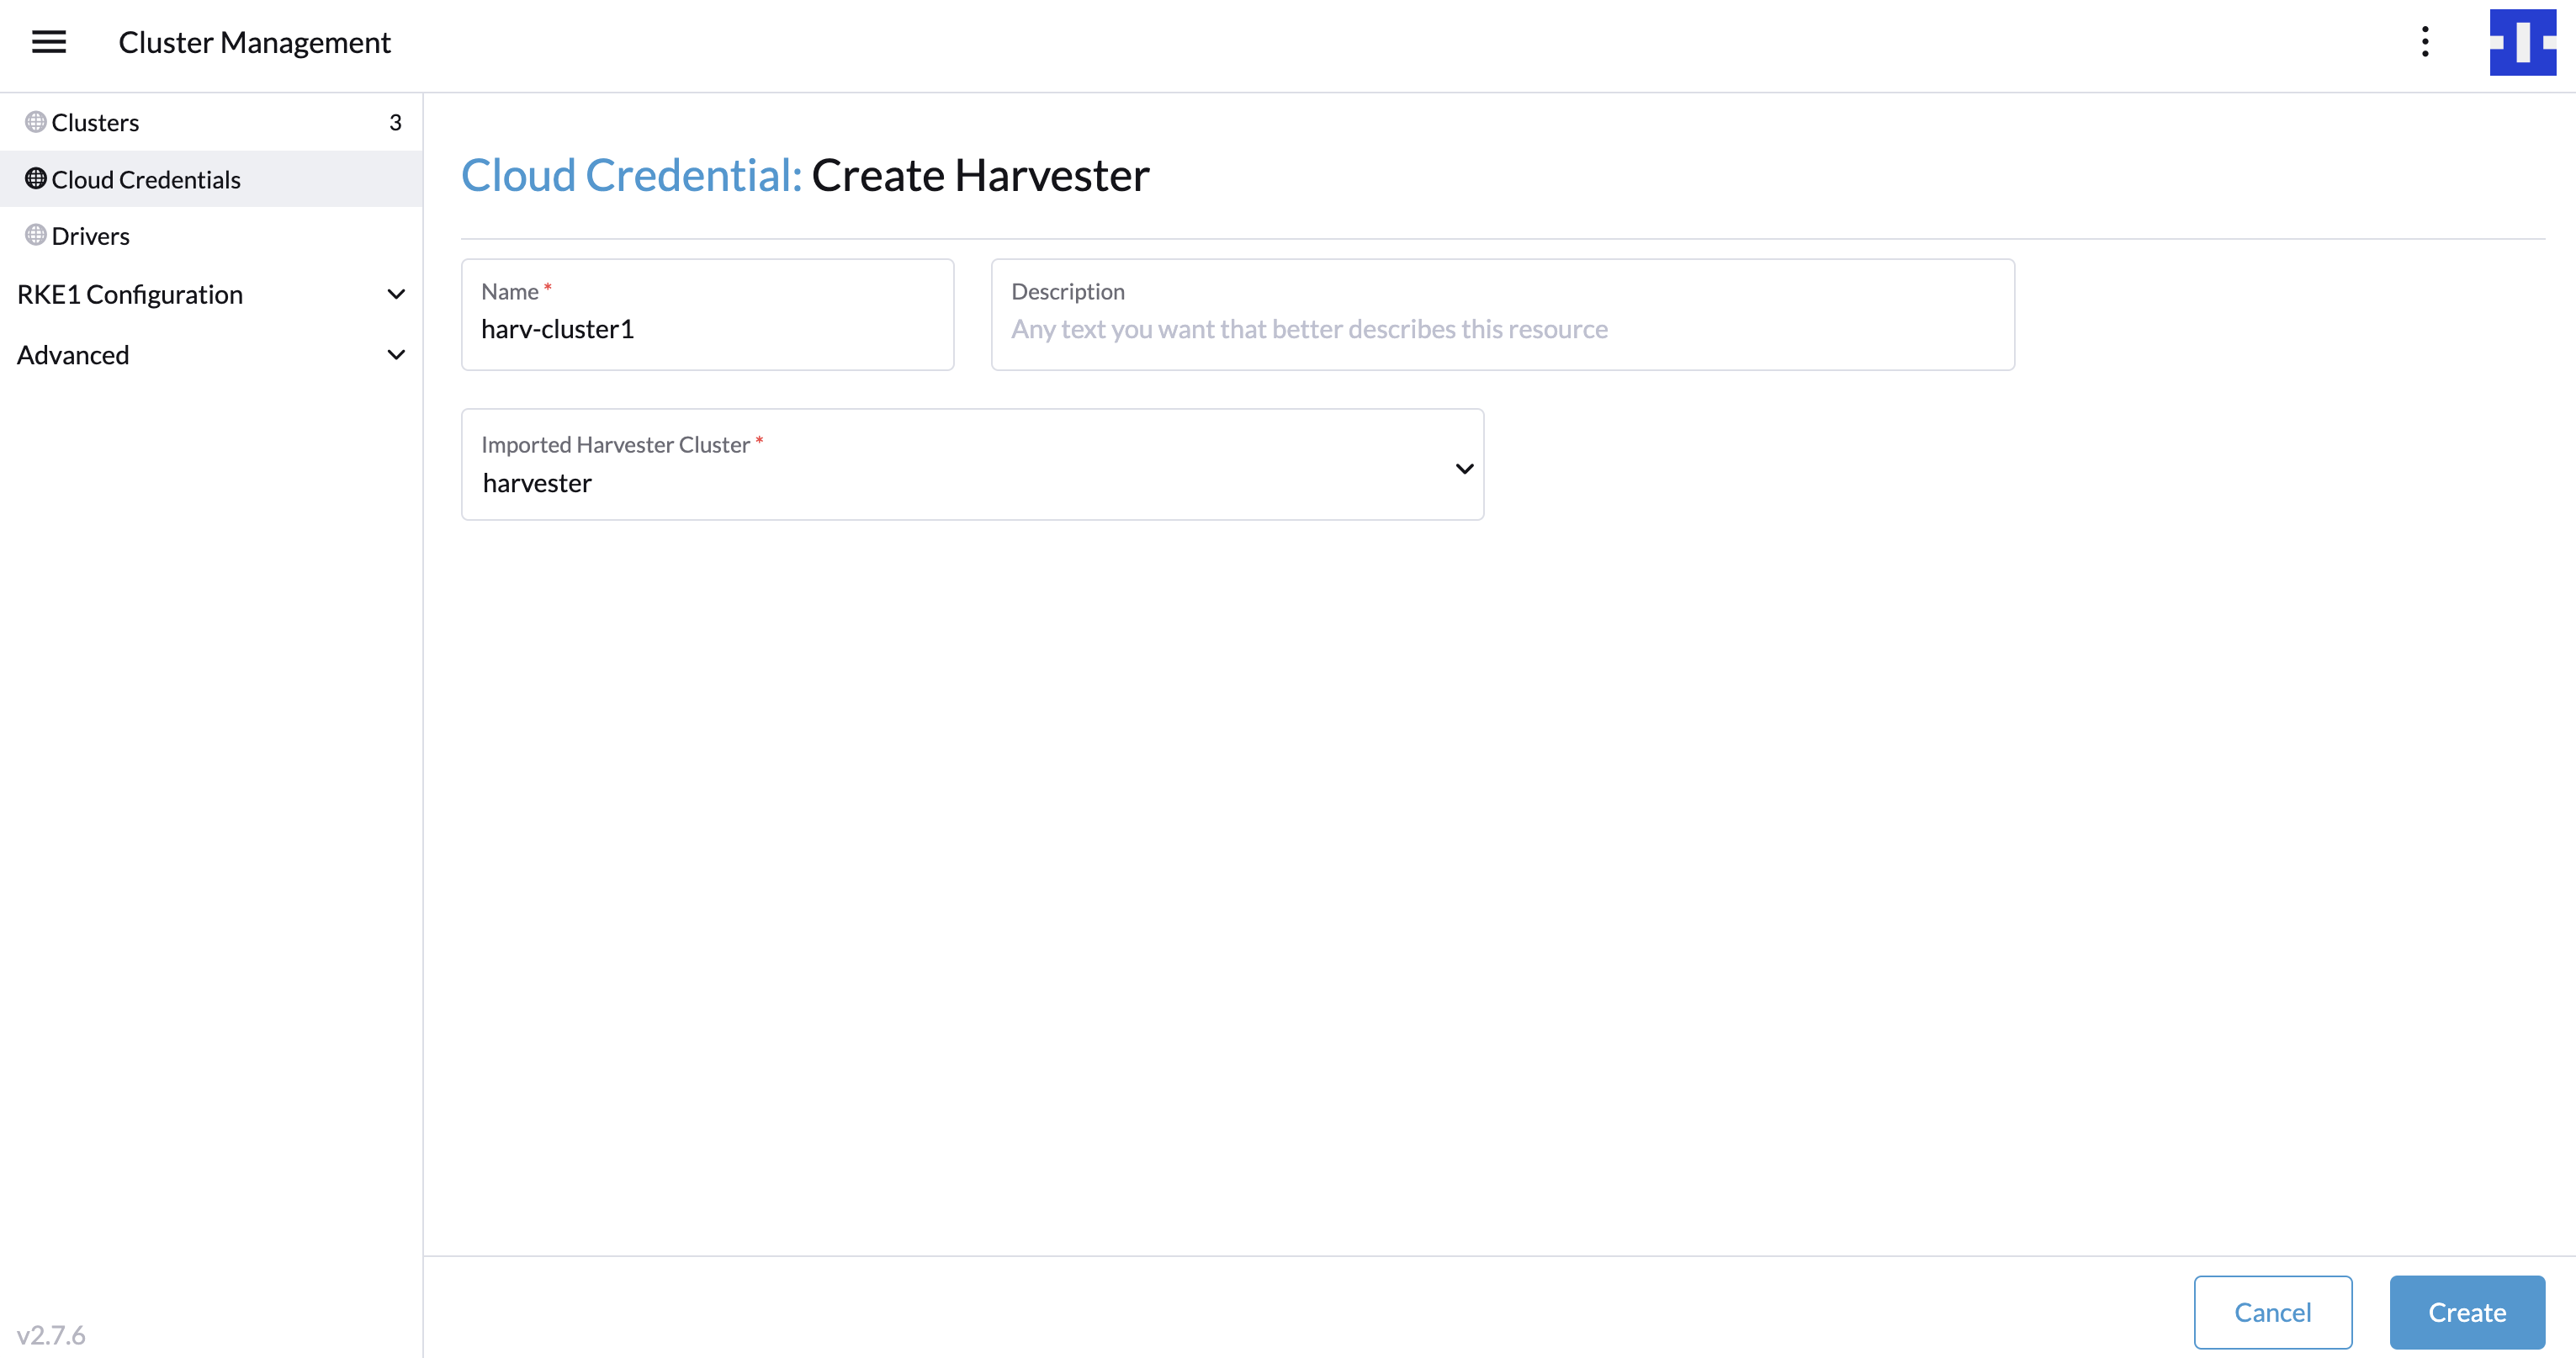
Click Cloud Credentials.
-
Click Create.
-
Click Harvester.
-
Enter your cloud credential name
-
Select "Imported Harvester Cluster".
-
Click Create.
Create RKE2 kubernetes cluster
Users can create a RKE2 Kubernetes cluster from the Cluster Management page via the RKE2 node driver.
-
Select Clusters menu.
-
Click Create button.
-
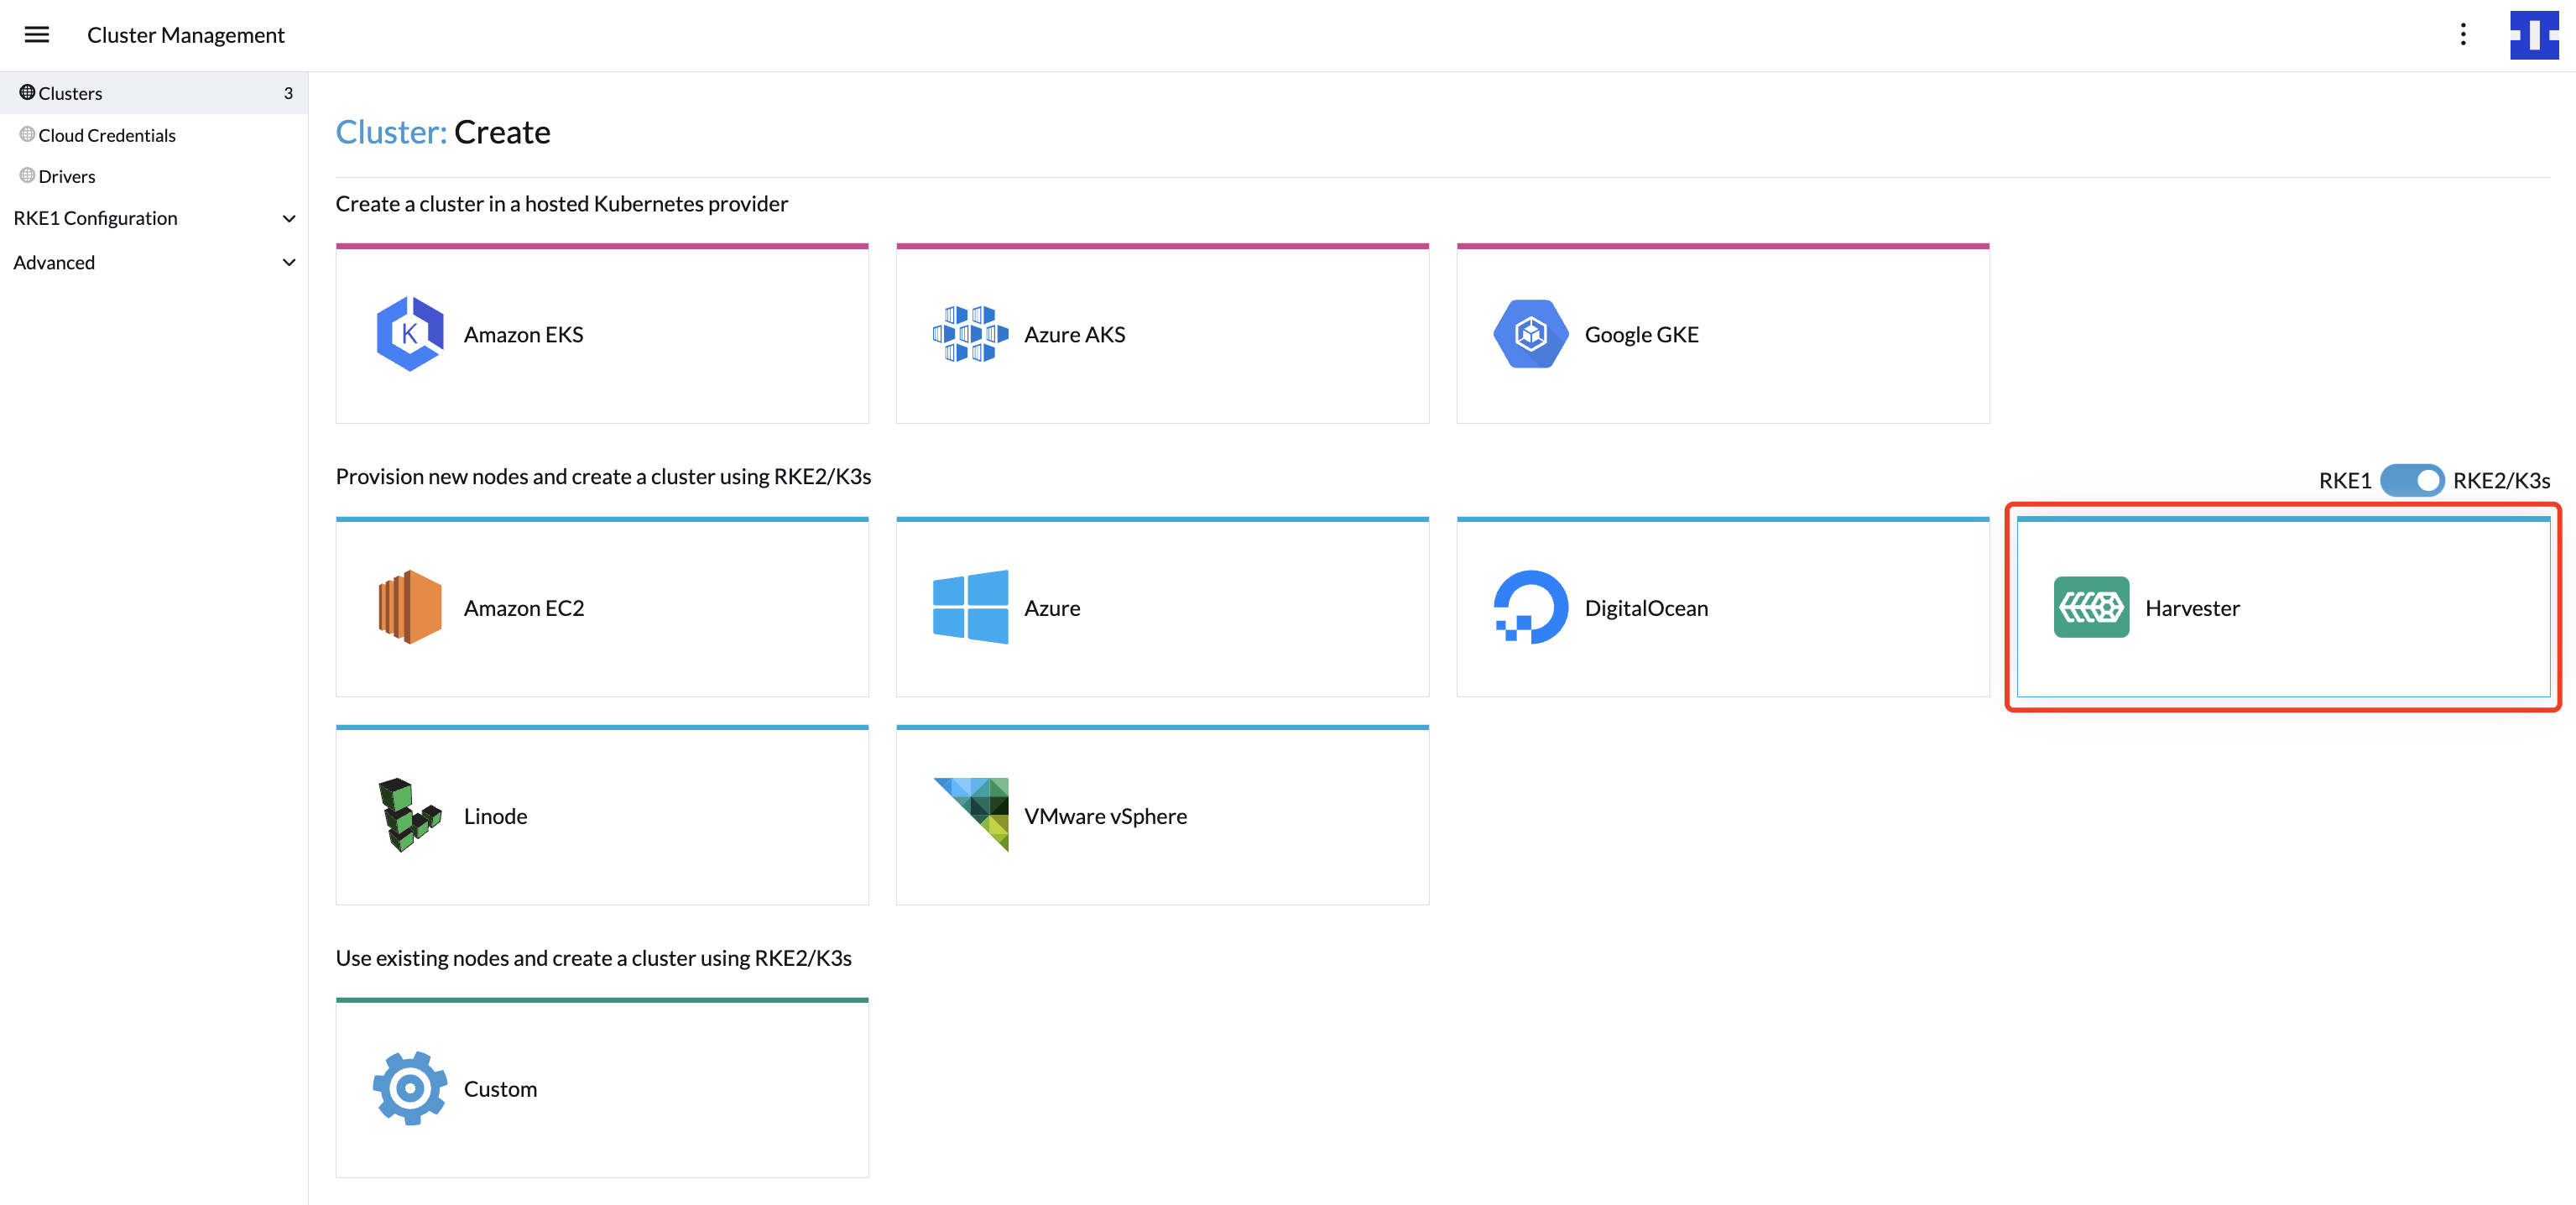
Toggle Switch to RKE2/K3s.
-
Select Harvester Node Driver.
-
Select a Cloud Credential.
-
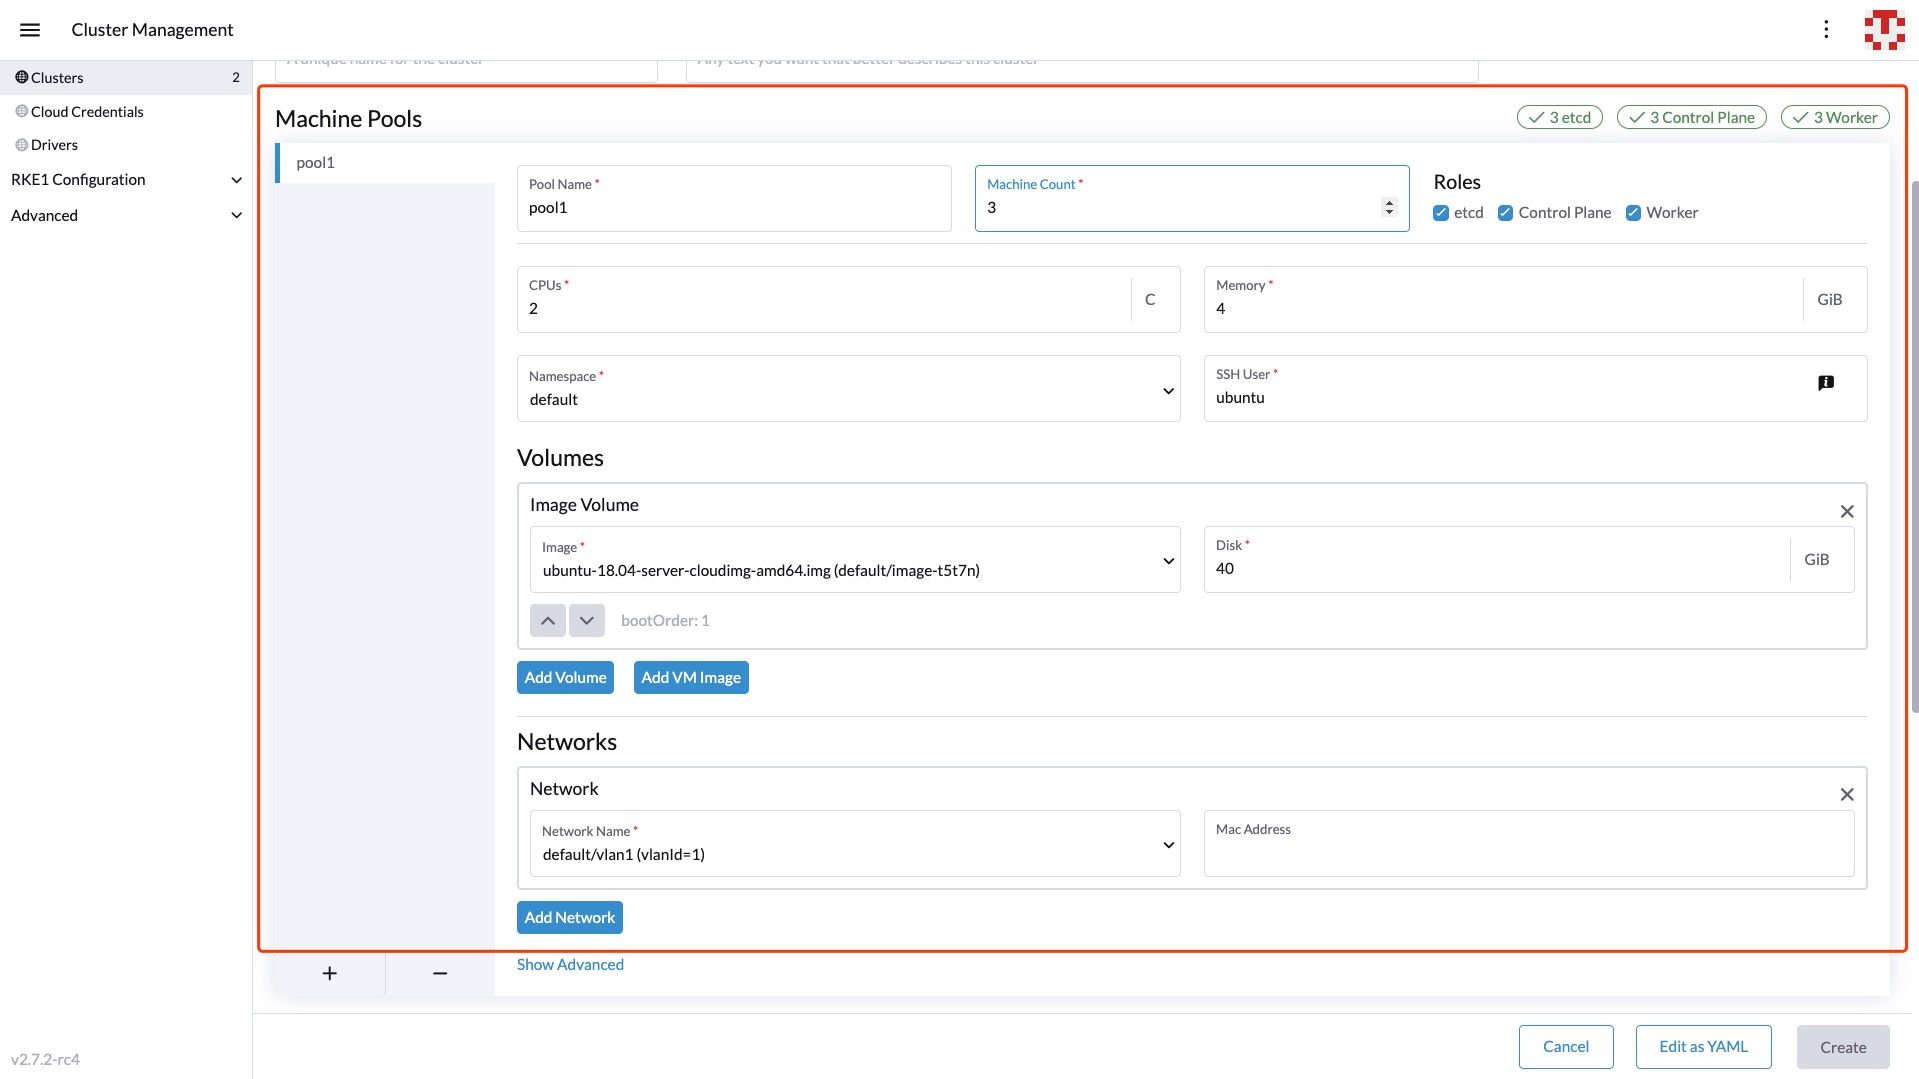
Enter Cluster Name (required).
-
Enter Namespace (required).
-
Enter Image (required).
-
Enter Network Name (required).
-
Enter SSH User (required).
-
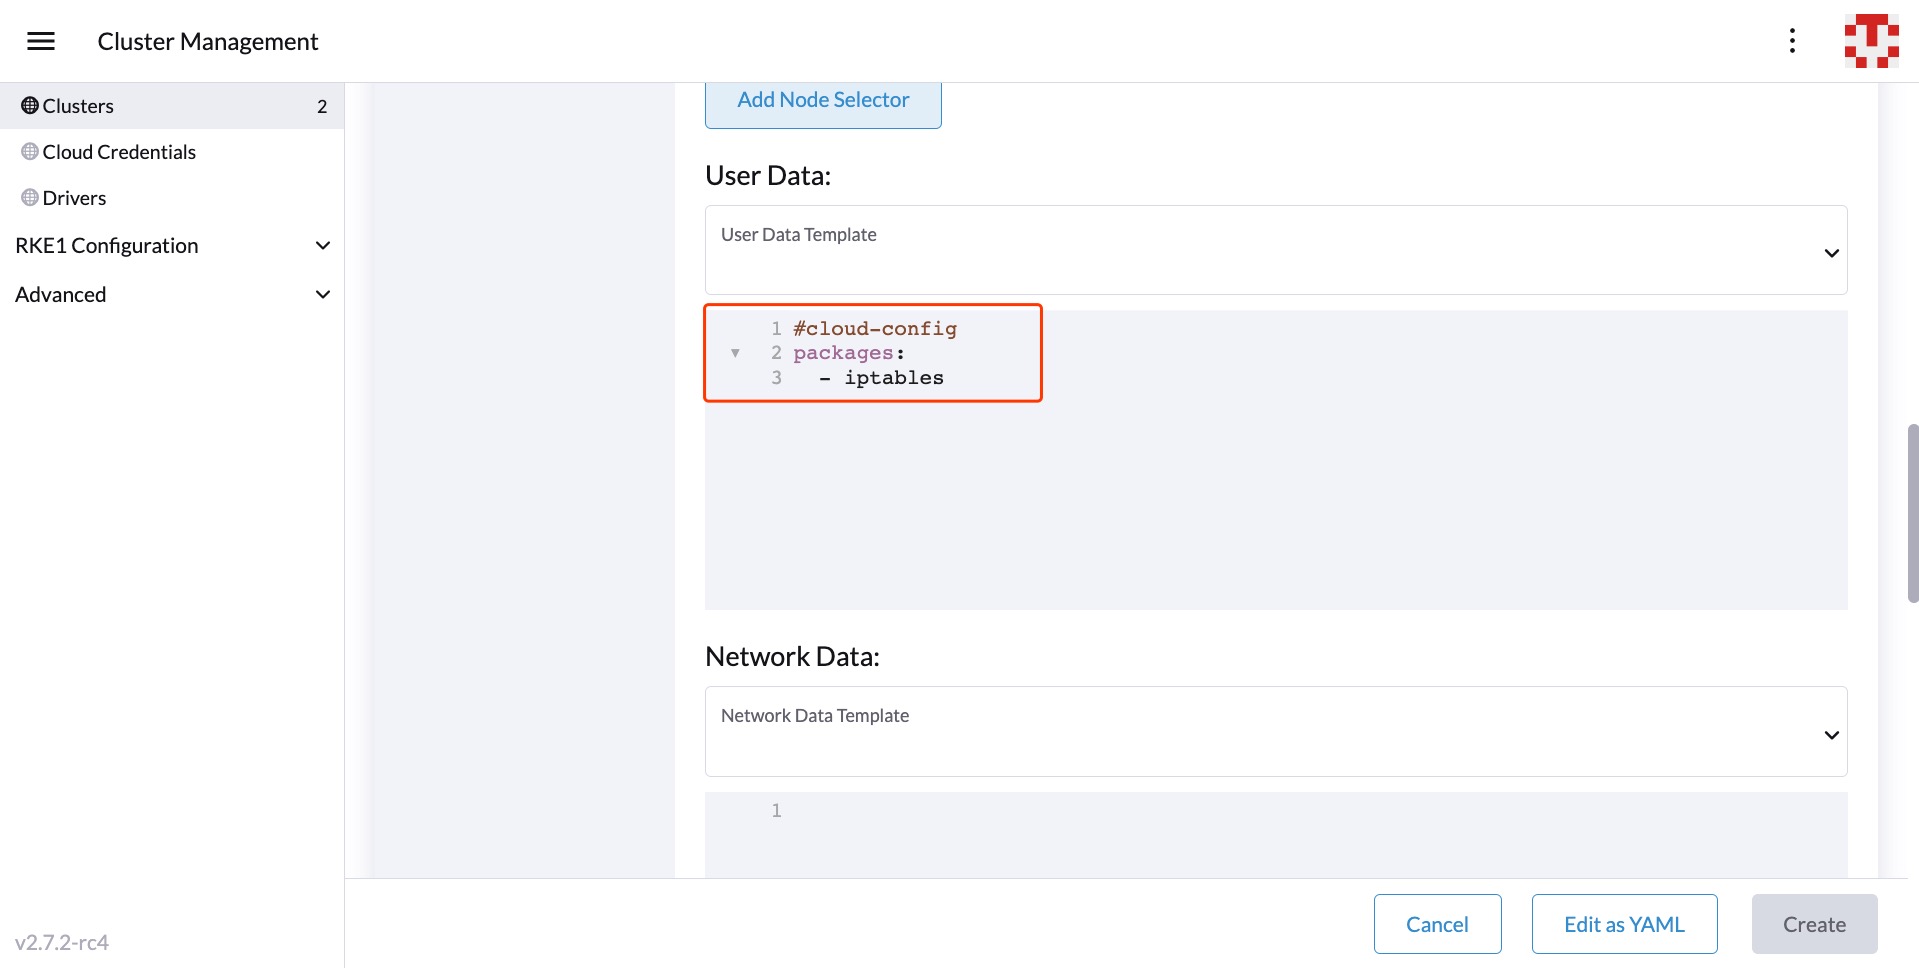
(optional) Configure the menu:Show Advanced[User Data] to install the required packages of VM.
#cloud-config
packages:
  - iptables
Calico and Canal networks require the
iptablesorxtables-nftpackage to be installed on the node. For more information, see Canal and IP exhaustion in the RKE2 documentation. -
Click Create.
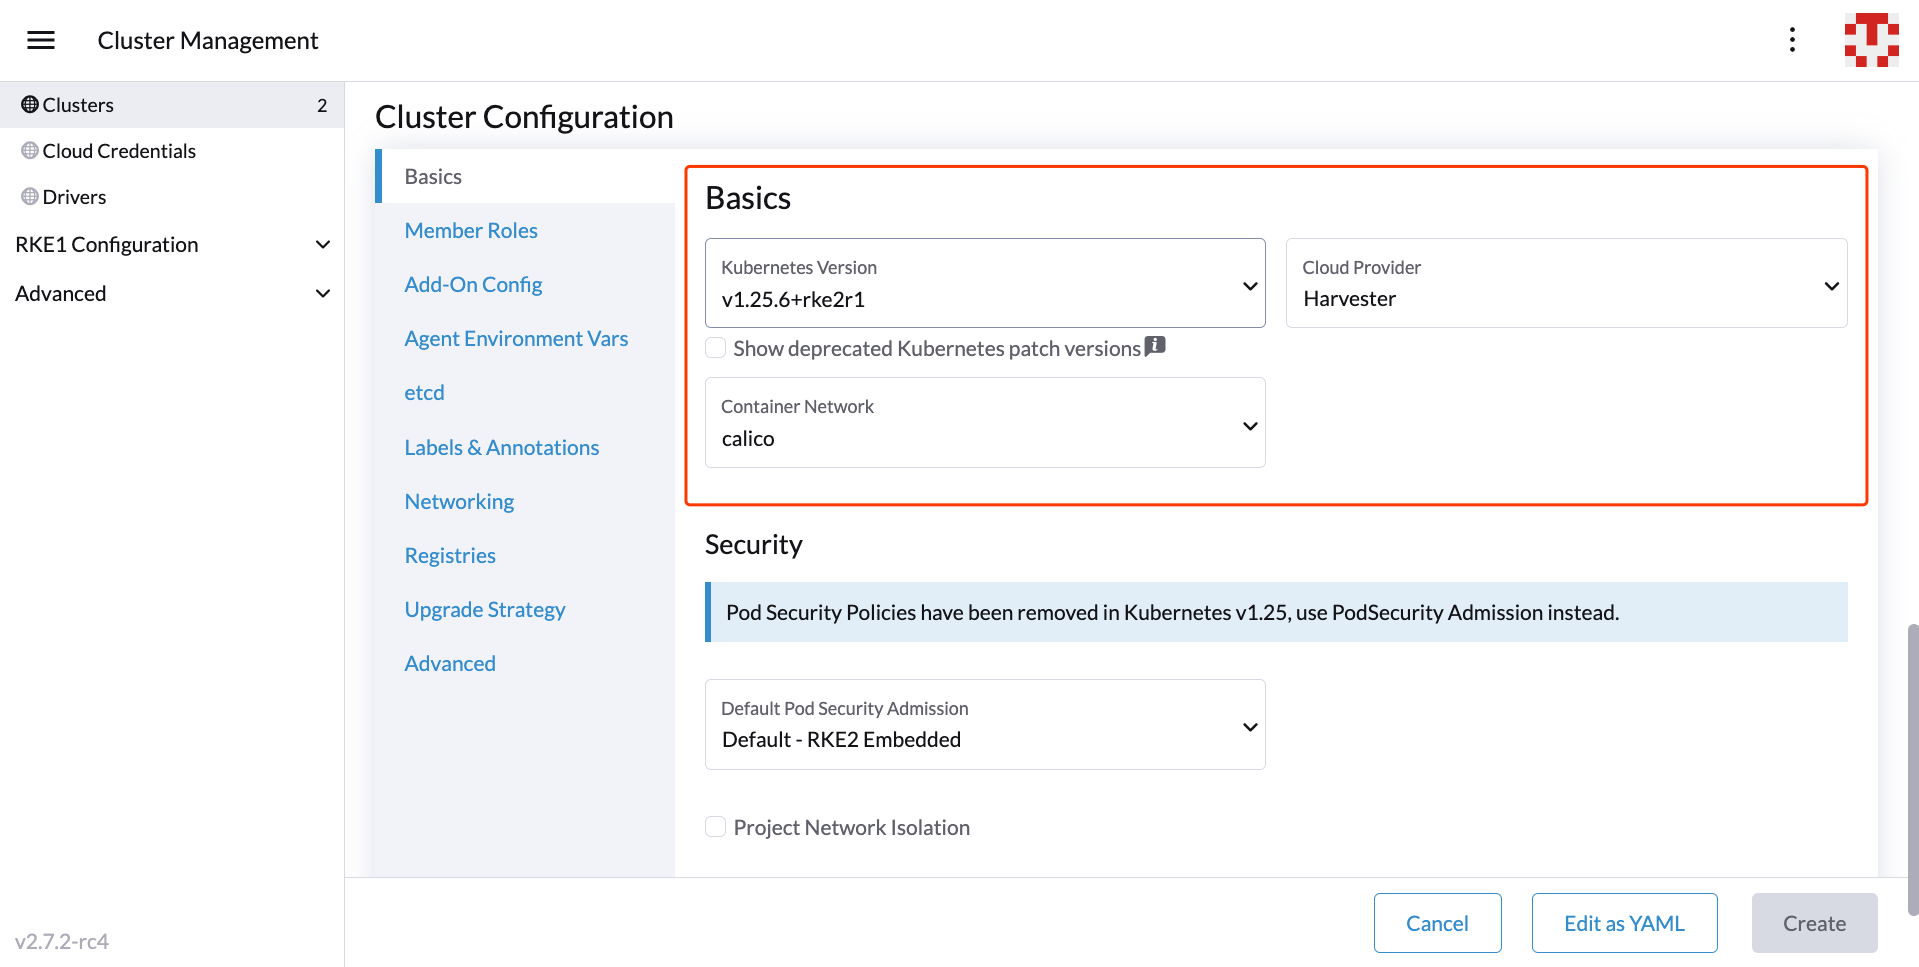
-
RKE2 v1.21.5+rke2r2 or above provides a built-in Harvester Cloud Provider and Guest CSI driver integration.
-
Only imported SUSE Virtualization clusters are supported by the Harvester Node Driver.
-
Add node affinity
The Harvester Node Driver now supports scheduling a group of machines to particular nodes through the node affinity rules, which can provide high availability and better resource utilization.
Node affinity can be added to the machine pools during the cluster creation:
-
Click the
Show Advancedbutton and click theAdd Node Selector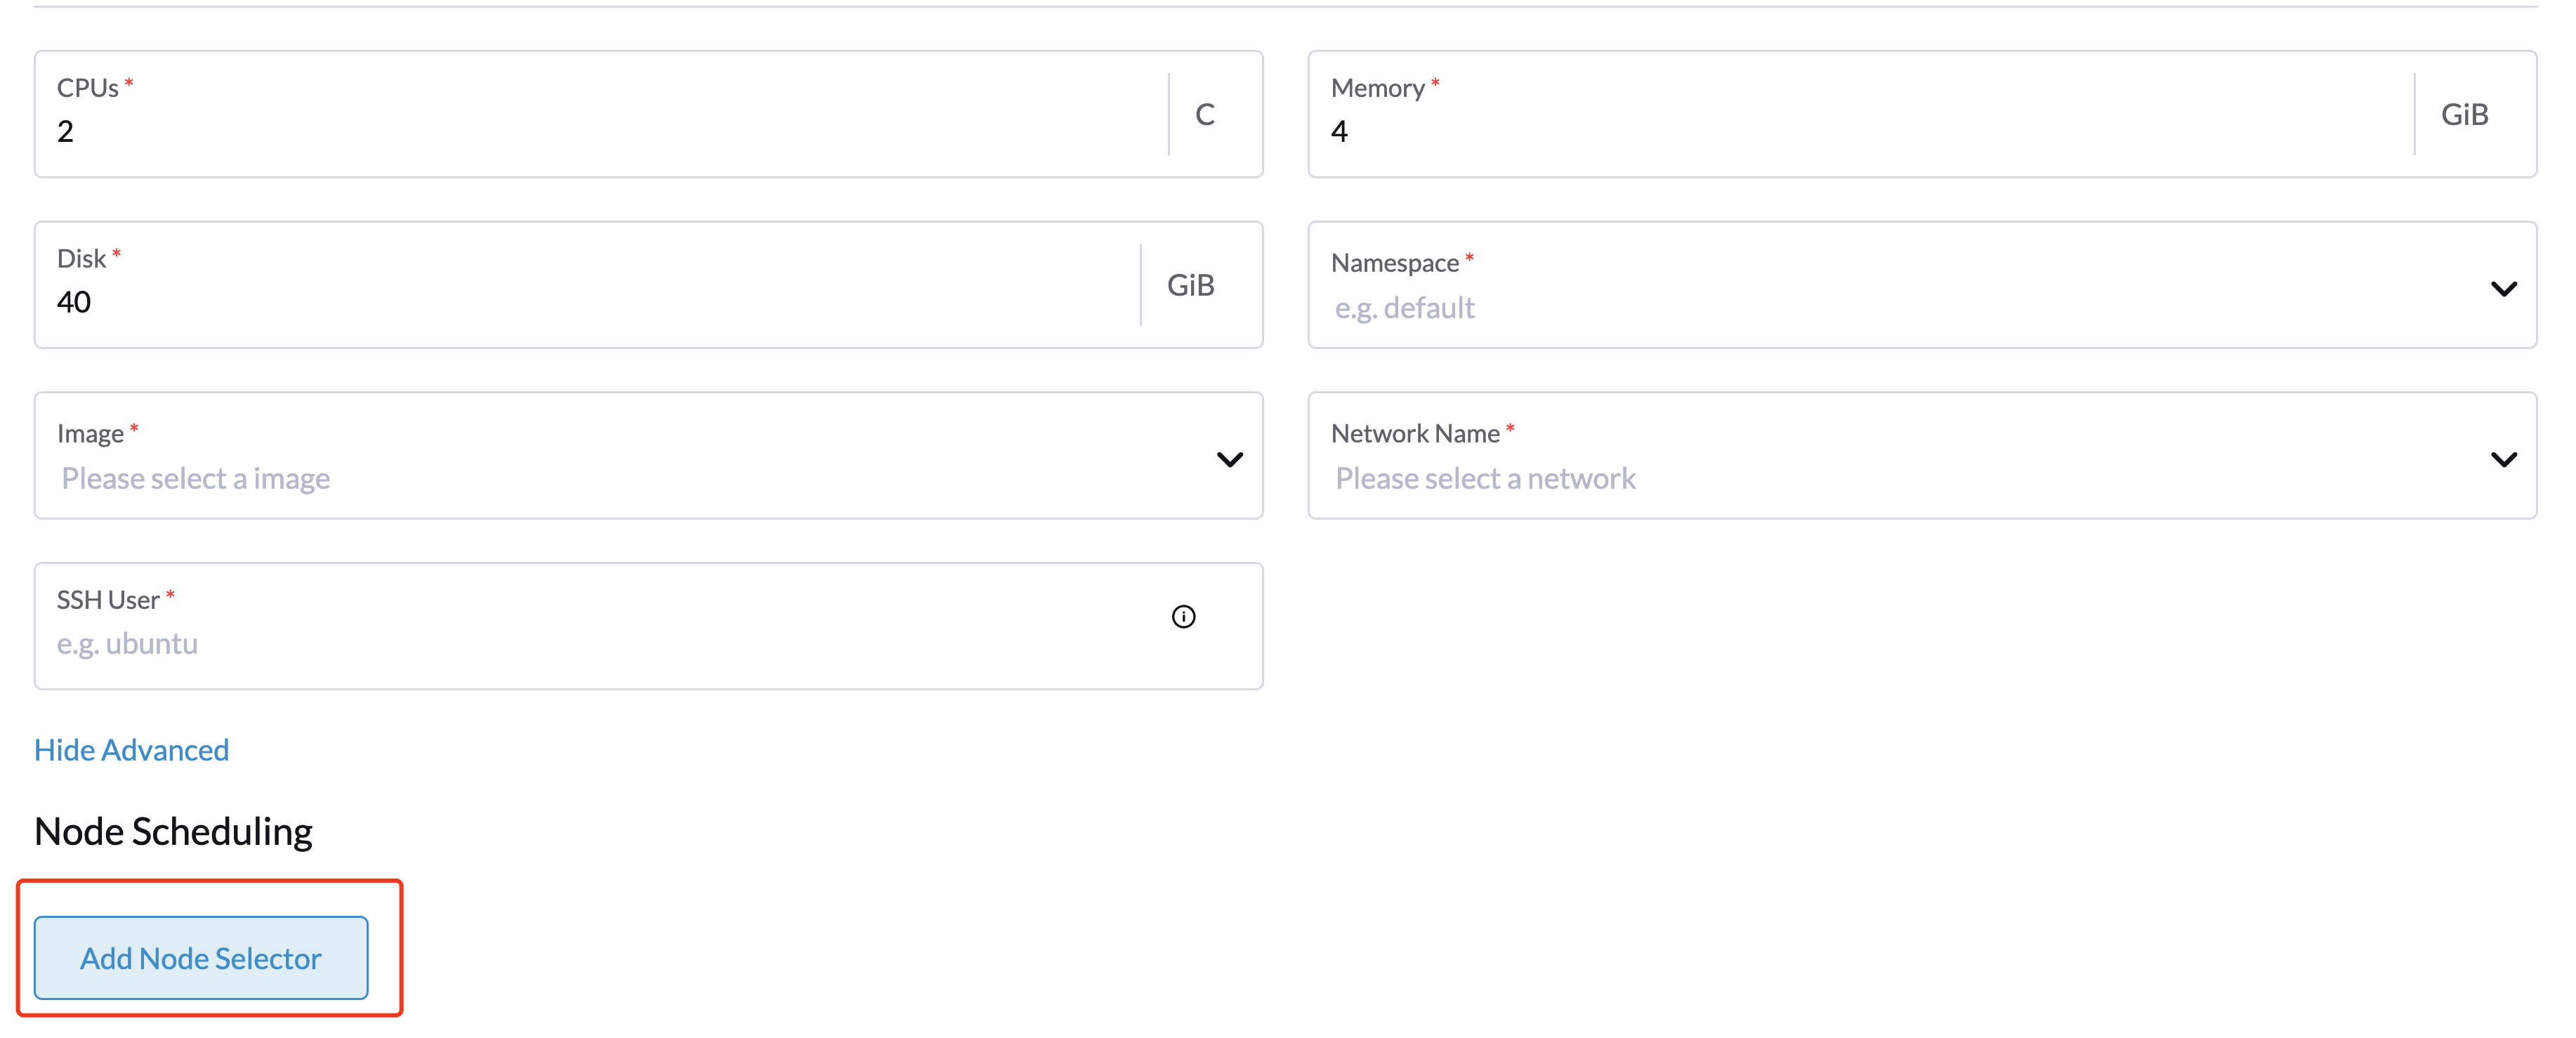
-
Set priority to
Requiredif you wish the scheduler to schedule the machines only when the rules are met. -
Click
Add Ruleto specify the node affinity rules, e.g., for the topology spread constraints use case, you can add theregionandzonelabels as follows:key: topology.kubernetes.io/region operator: in list values: us-east-1 --- key: topology.kubernetes.io/zone operator: in list values: us-east-1a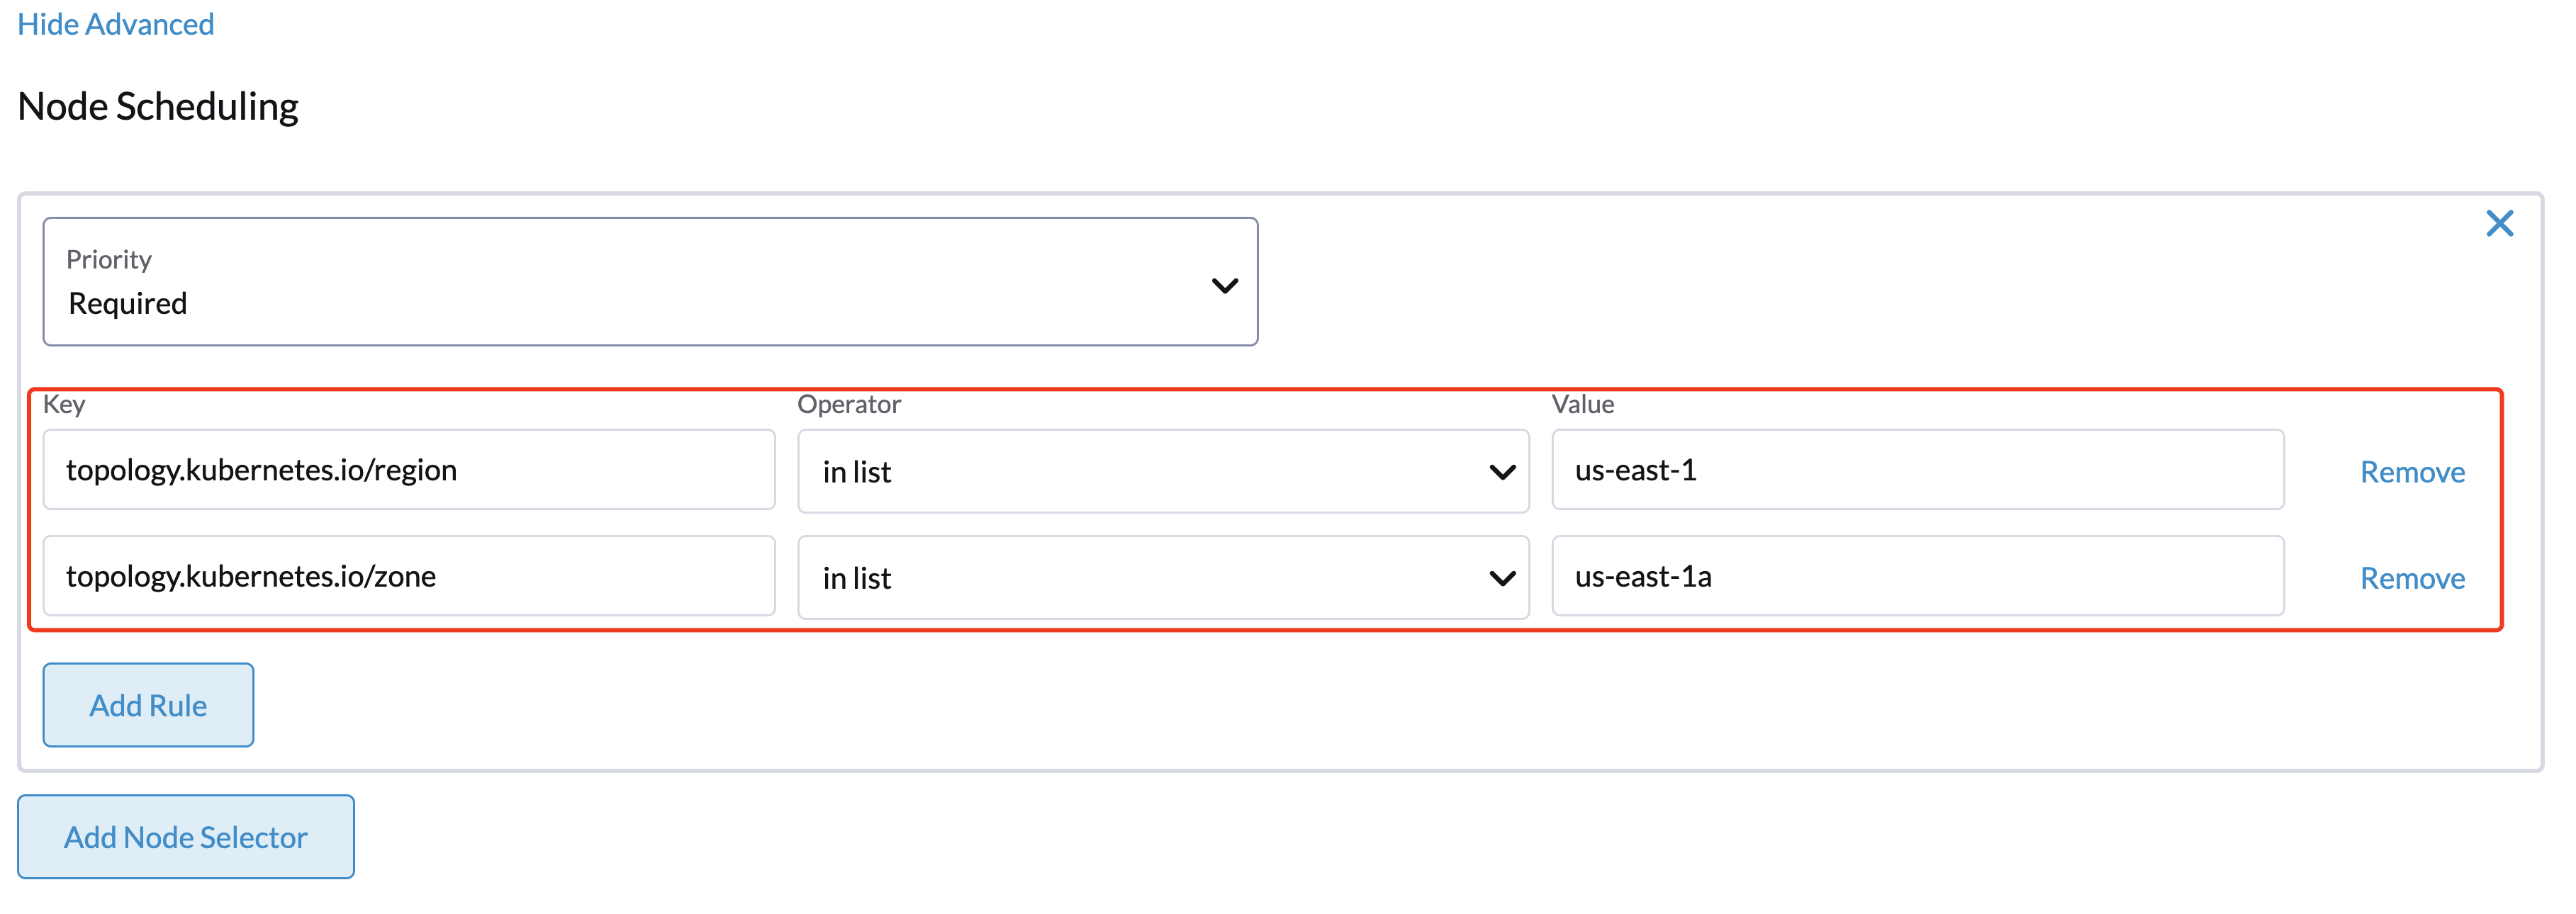
Add workload affinity
The workload affinity rules allow you to constrain which nodes your machines can be scheduled on based on the labels of workloads (VMs and Pods) already running on these nodes, instead of the node labels.
Workload affinity rules can be added to the machine pools during the cluster creation:
-
Select Show Advanced and choose Add Workload Selector.
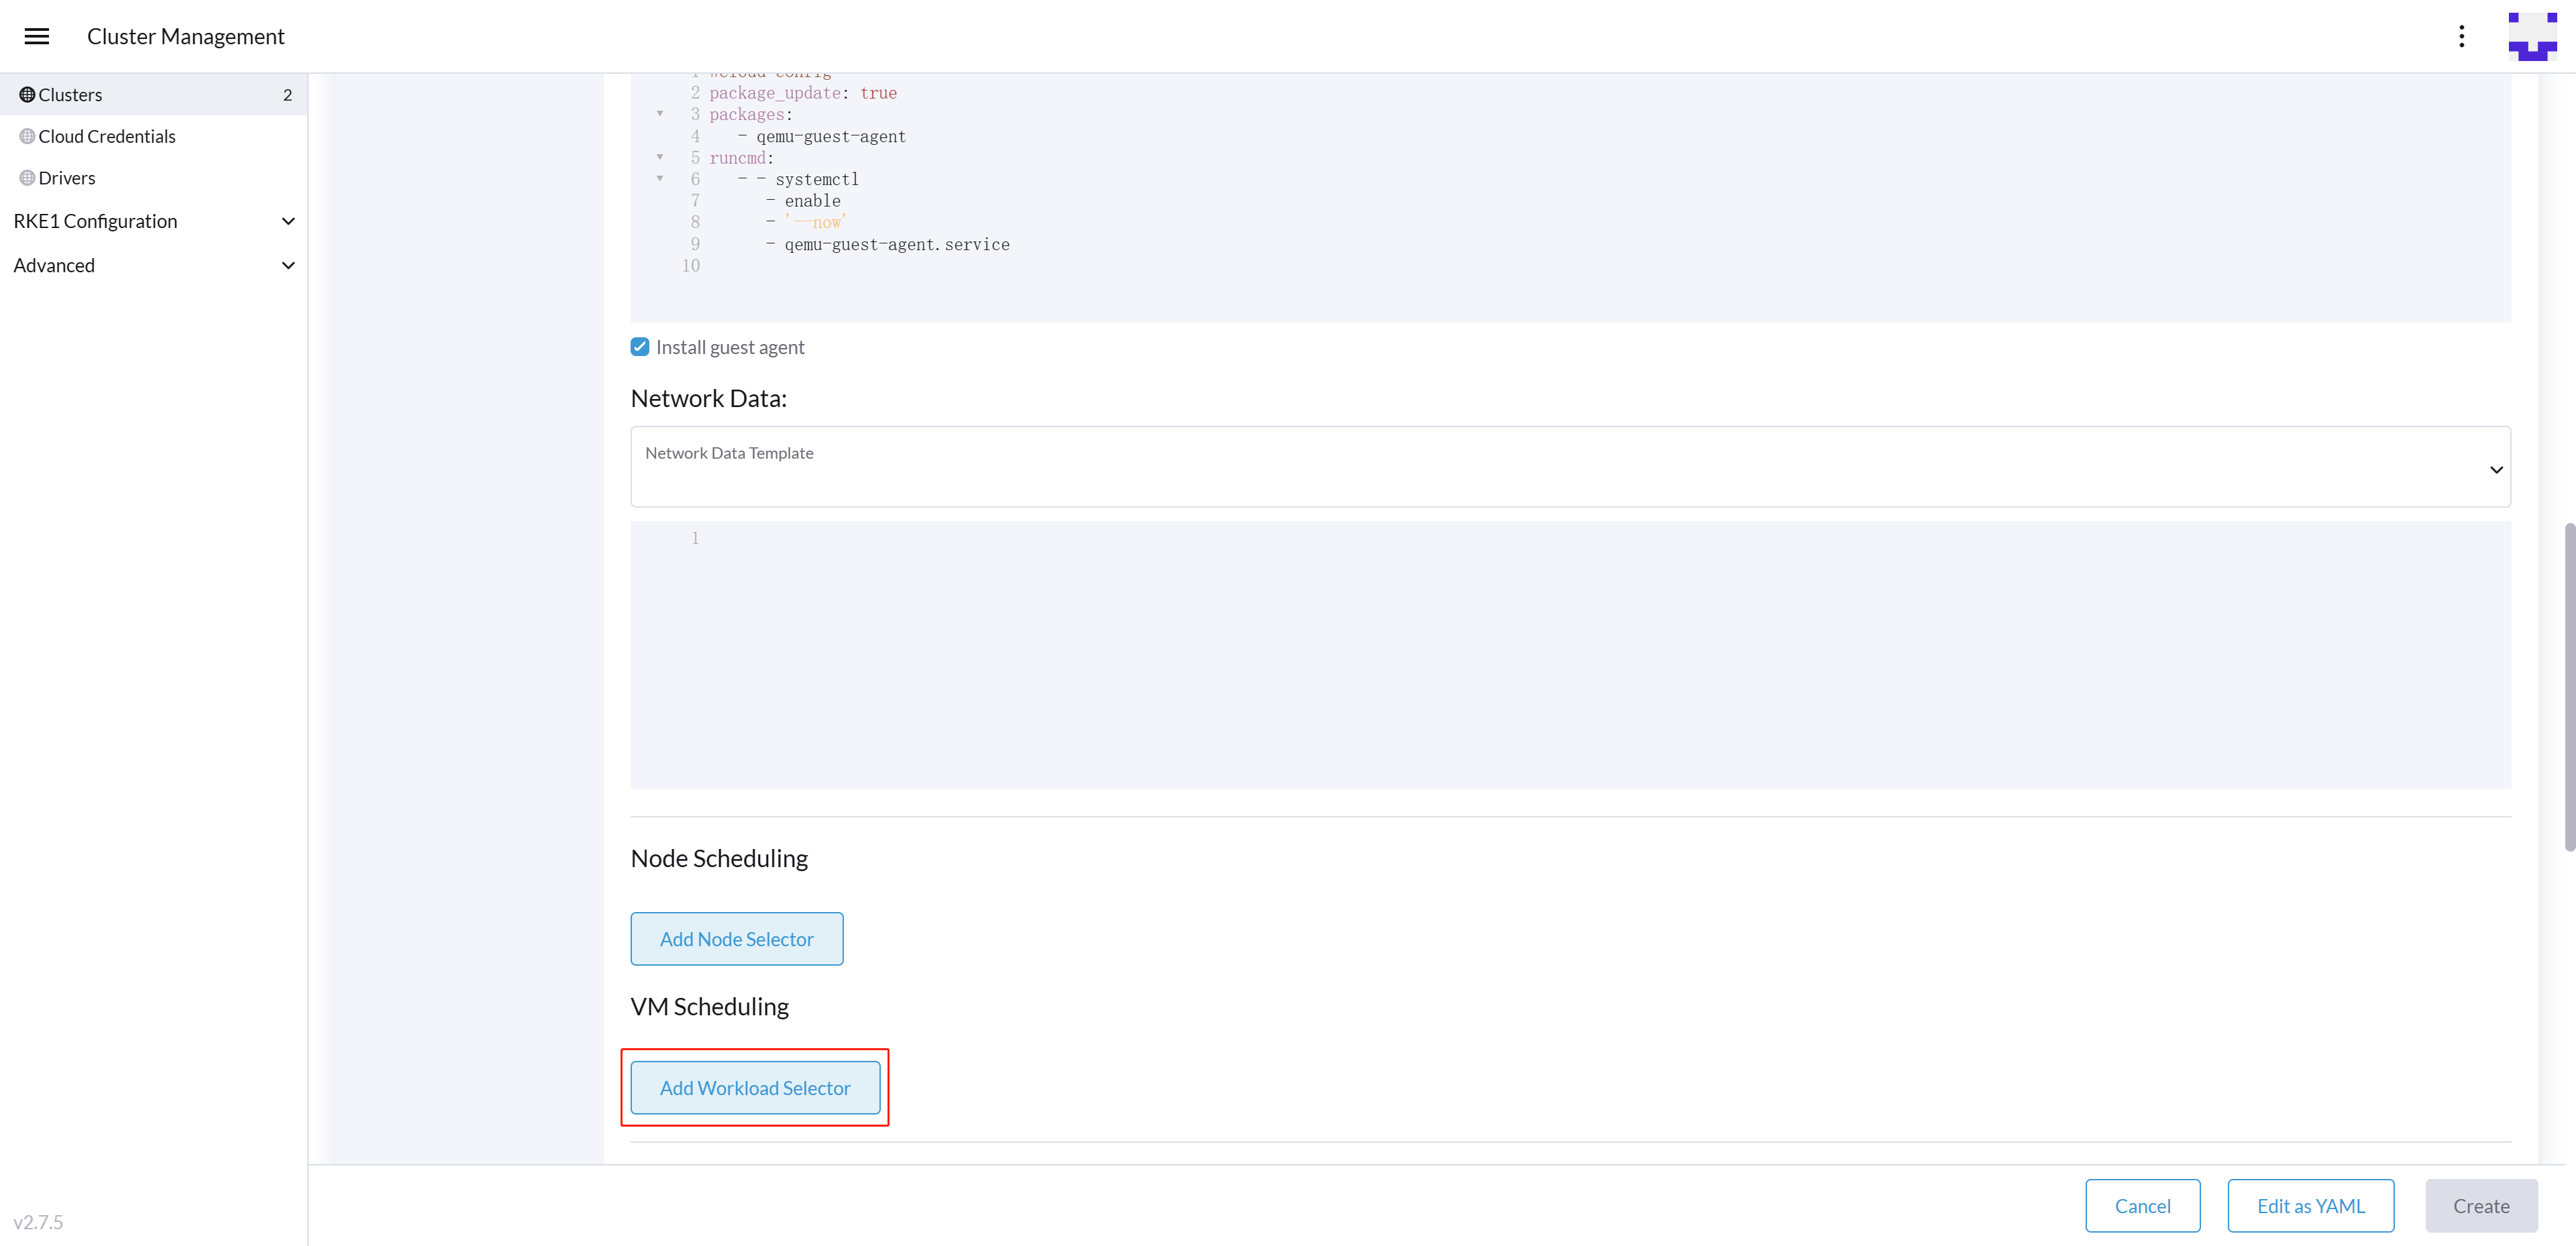
-
Select Type, Affinity or Anti-Affinity.
-
Select Priority. Prefered means it’s an optional rule, and Required means a mandatory rule.
-
Select the namespaces for the target workloads.
-
Select Add Rule to specify the workload affinity rules.
-
Set Topology Key to specify the label key that divides SUSE Virtualization hosts into different topologies.
See the Kubernetes Pod Affinity and Anti-Affinity Documentation for more details.
Update RKE2 Kubernetes cluster
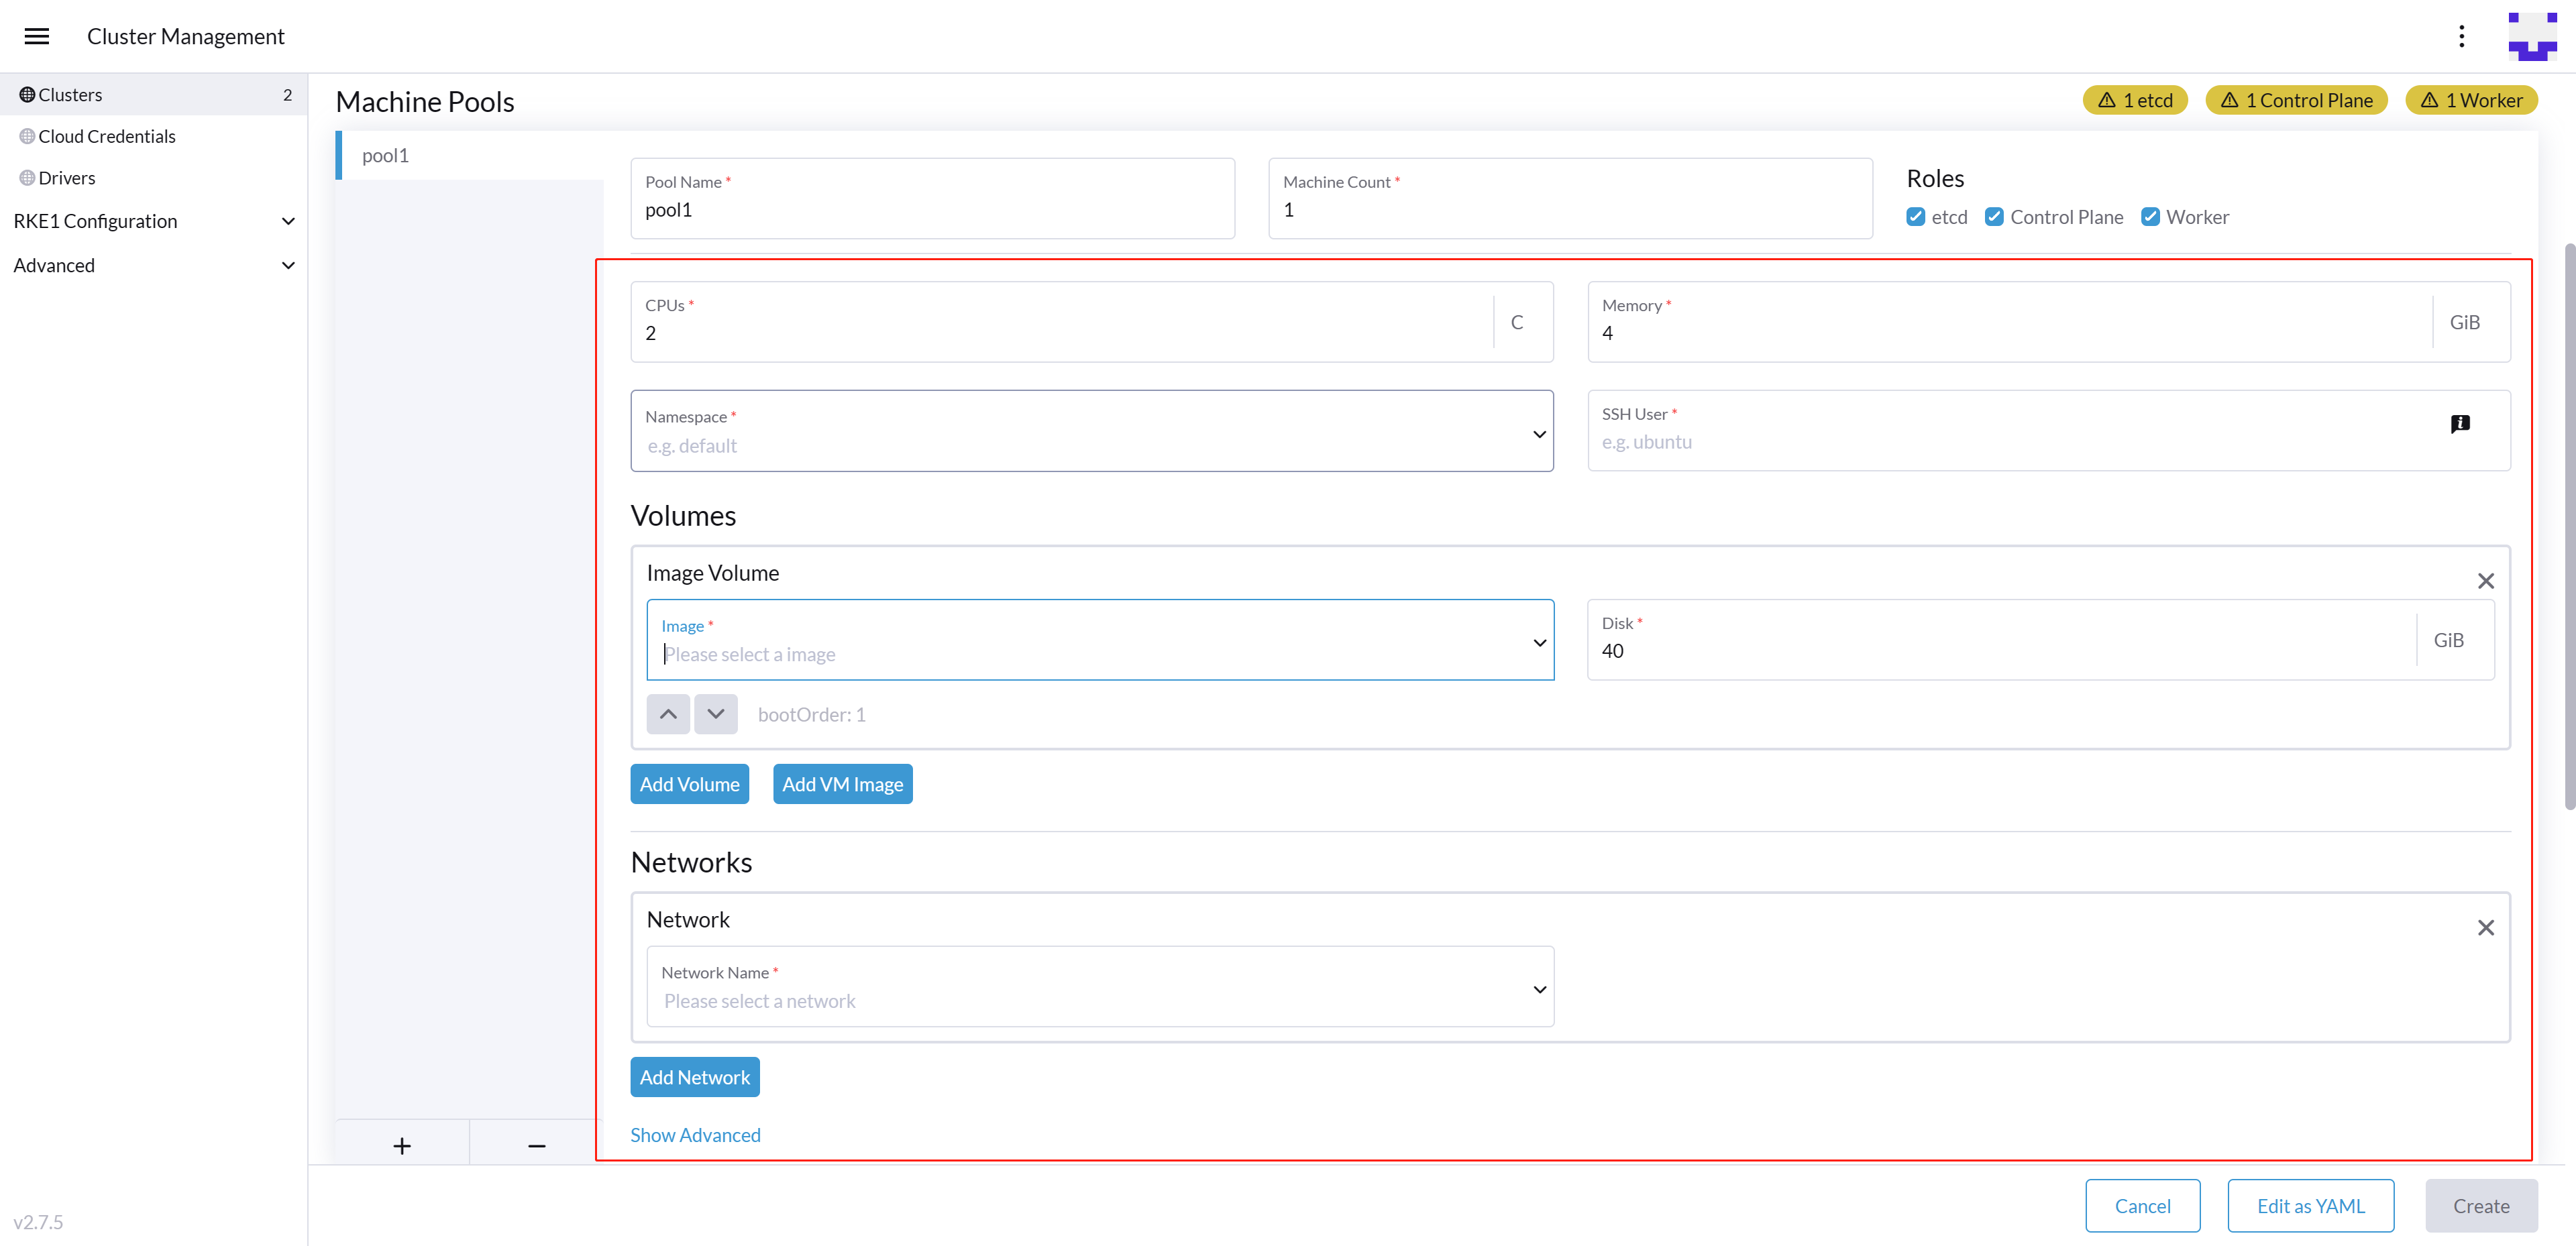
The fields highlighted below of the RKE2 machine pool represent the SUSE Virtualization VM configurations. Any modifications to these fields will trigger node reprovisioning.
Using Harvester RKE2 node driver in air gapped environment
RKE2 provisioning relies on the qemu-guest-agent package to get the IP of the virtual machine.
Calico and Canal require the iptables or xtables-nft package to be installed on the node.
However, it may not be feasible to install packages in an air gapped environment.
You can address the installation constraints with the following options:
-
Option 1. Use a VM image preconfigured with required packages (e.g.,
iptables,qemu-guest-agent). -
Option 2. Go to Show Advanced > User Data to allow VMs to install the required packages via an HTTP(S) proxy.
Example user data in SUSE Virtualization node template:
#cloud-config
apt:
  http_proxy: http://192.168.0.1:3128
  https_proxy: http://192.168.0.1:3128