A Using Cisco Nexus Switches with neutron #
A.1 Requirements #
The following requirements must be met to use Cisco Nexus switches with neutron:
Cisco Nexus series 3000, 5000 or 7000
All Compute Nodes must be equipped with at least two network cards.
The switch needs to have the XML management interface enabled. SSH access to the management interface must be enabled (refer to the switch's documentation for details).
Enable VLAN trunking for all neutron managed VLANs on the switch port to which the controller node running neutron is connected to.
Before deploying neutron, check if VLAN configurations for neutron managed VLANs already exist on the switch (for example, from a previous SUSE OpenStack Cloud deployment). If yes, delete them via the switch's management interface prior to deploying neutron.
When using the Cisco plugin, neutron reconfigures the VLAN trunk configuration on all ports used for the
nova-fixedtraffic (the traffic between the instances). This requires to configure separate network interfaces exclusively used bynova-fixed. This can be achieved by adjusting/etc/crowbar/network.json(refer to Section 7.5, “Custom Network Configuration”). The following example shows an appropriate configuration for dual mode, where has been mapped to conduit and all other networks to other conduits. Configuration attributes not relevant in this context have been replaced with....Example A.1: Exclusively Mapping to conduit in dual mode #{ "attributes" : { "network" : { "conduit_map" : [ ... ], "mode" : "single", "networks" : { "nova_fixed" : { ..., "conduit" : "intf1" }, "nova_floating" : { ..., "conduit" : "intf0" }, "public" : { ..., "conduit" : "intf0" }, "storage" : { ..., "conduit" : "intf0" }, "os_sdn" : { ..., "conduit" : "intf0" }, "admin" : { ..., "conduit" : "intf0" }, "bmc" : { ..., "conduit" : "bmc" }, "bmc_vlan" : { ..., "conduit" : "intf2" }, }, ..., }, } }Make a note of all switch ports to which the interfaces using the
nova-fixednetwork on the Compute Nodes are connected. This information will be needed when deploying neutron.
A.2 Deploying neutron with the Cisco Plugin #
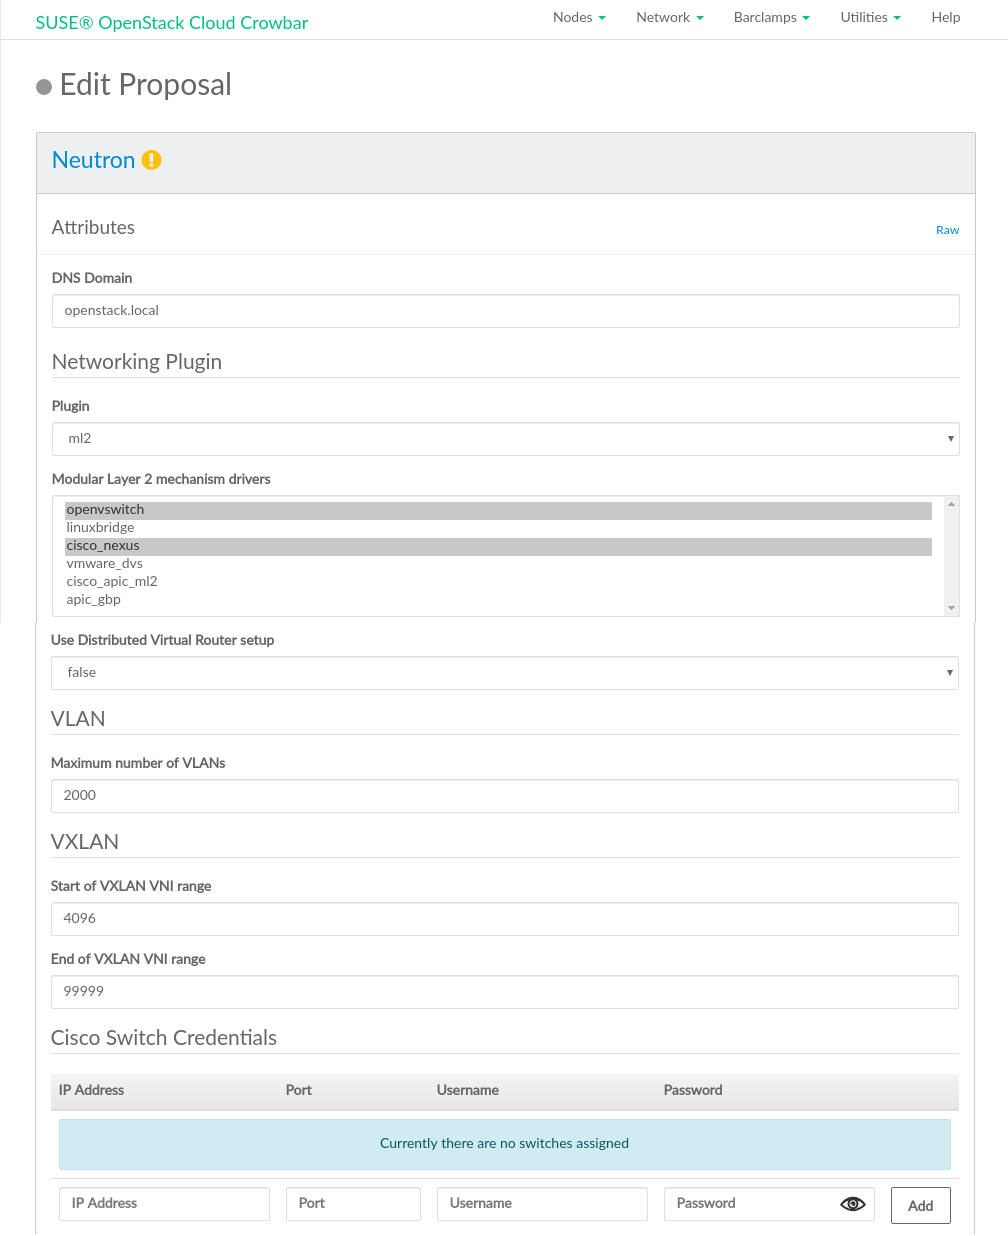
Create a neutron barclamp proposal in the Crowbar Web interface.
As the , select
ml2.As , select
cisco_nexus.In , select
vlan.In the table, enter the , the SSH number and the login credentials for the switch's management interface. If you have multiple switches, open a new row in the table by clicking and enter the data for another switch.
Figure A.1: The neutron barclamp: Cisco Plugin #Choose whether to encrypt public communication () or not (). If choosing , refer to SSL Support: Protocol for configuration details.
Choose a node for deployment and the proposal.
Deploy nova (see Section 12.11, “Deploying nova”), horizon (see Section 12.12, “Deploying horizon (OpenStack Dashboard)” and all other remaining barclamps.
When all barclamps have been deployed, return to the neutron barclamp by choosing › › › . The proposal now contains an additional table named , listing all Compute Nodes.
For each Compute Node enter the switch it is connected to and the port number from the notes you took earlier. The values need to be entered like the following:
1/13orEth1/20.When you have entered the data for all Compute Nodes, re-apply the proposal.
Important: Deploying Additional Compute NodesWhenever you deploy additional Compute Nodes to an active SUSE OpenStack Cloud deployment using the Cisco plugin with neutron, update the neutron barclamp proposal by entering their port data as described in the previous step.
To verify if neutron was correctly deployed, do the following:
Launch an instance (refer to the User Guide, chapter Launch and manage instances for instructions).
Find out which VLAN was assigned to the network by running the command
openstack network show fixed. The result lists a matching the VLAN.Log in to the switch's management interface and list the VLAN configuration. If the setup was deployed correctly, the port of the Compute Node the instance is running on, is in trunk mode for the matching VLAN.

