8 Starting the SUSE OpenStack Cloud Crowbar installation #
The last step in configuring the Administration Server is starting Crowbar.
Before starting the SUSE OpenStack Cloud Crowbar installation to finish the configuration of the Administration Server, make sure to double-check the following items.
Make sure the network configuration is correct. Run › to review/change the configuration. See Chapter 7, Crowbar Setup for further instructions.
Important: An HA Setup Requires Team Network ModeIf you are planning to make SUSE OpenStack Cloud highly available, whether upon the initial setup or later, set up the network in the team mode. Such a setup requires at least two network cards for each node.
Make sure
hostname-freturns a fully qualified host name. See Chapter 6, Service Configuration: Administration Server Network Configuration for further instructions.Make sure all update and product repositories are available. See Chapter 5, Software Repository Setup for further instructions.
Make sure the operating system and SUSE OpenStack Cloud Crowbar are up-to-date and have the latest patches installed. Run
zypper patchto install them.To use the Web interface for the SUSE OpenStack Cloud Crowbar installation you need network access to the Administration Server via a second network interface. As the network will be reconfigured during the SUSE OpenStack Cloud Crowbar installation, make sure to either have a bastion network or an external gateway configured. (For details on bastion networks, see Section 7.3.1, “Setting Up a Bastion Network”.)
Now everything is in place to finally set up Crowbar and install the Administration Server. Crowbar requires a MariaDB database—you can either create one on the Administration Server or use an existing PostgreSQL database on a remote server.
Start Crowbar:
sudo systemctl start crowbar-init
Create a new database on the Administration Server. By default the credentials
crowbar/crowbarare used:crowbarctl database create
To use a different user name and password, run the following command instead:
crowbarctl database create \
--db_username=USERNAME --db_password=PASSWORD
Run
crowbarctl database help createfor help and more information.
Start Crowbar:
sudo systemctl start crowbar-init
Make sure a user account that can be used for the Crowbar database exists on the remote MariaDB database. If not, create such an account.
Test the database connection using the credentials from the previous step:
crowbarctl database test --db-username=USERNAME \
--db-password=PASSWORD --database=DBNAME \
--host=IP_or_FQDN --port=PORT
You need to be able to successfully connect to the database before you can proceed. Run
crowbarctl database help testfor help and more information.To connect to the database, use the following command:
crowbarctl database connect --db-username=USERNAME \
--db-password=PASSWORD --database=DBNAME \
--host=IP_or_FQDN --port=PORT
Run
crowbarctl database help connectfor help and more information.
After the database is successfully created and you can connect to it, access the Web interface from a Web browser, using the following address:
http://ADDRESS
Replace ADDRESS either with the IP address of the
second network interface or its associated host name. Logging in to the
Web interface requires the credentials you configured with YaST Crowbar (see Section 7.1, “”). If you have not changed the
defaults, user name and password are both crowbar. Refer
to Chapter 10, The Crowbar Web Interface for details.
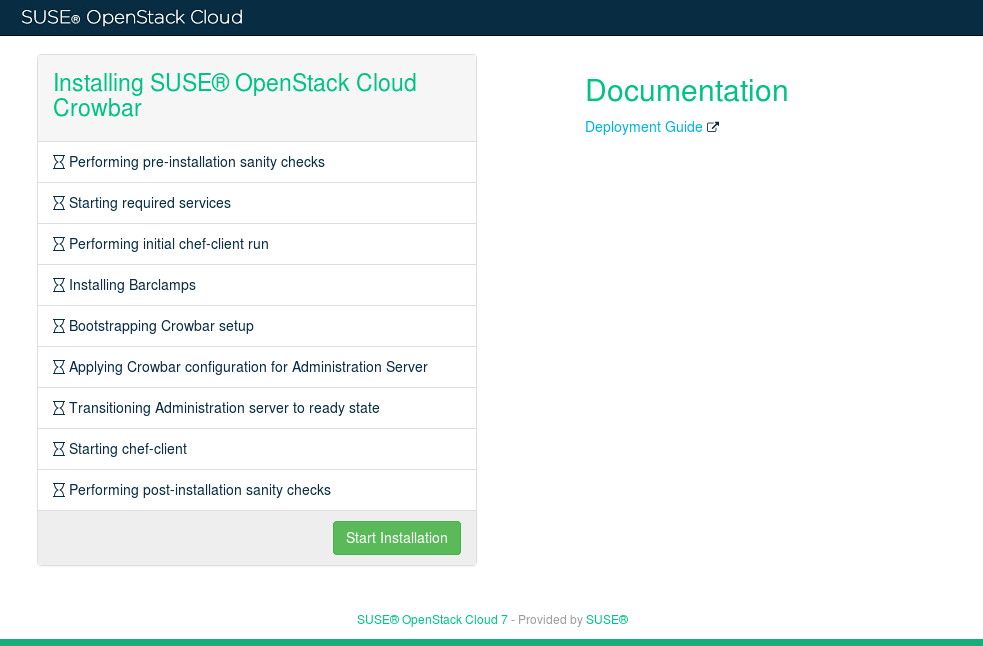
The Web interface shows the SUSE OpenStack Cloud installation wizard. Click to begin. The installation progress is shown in the Web interface:
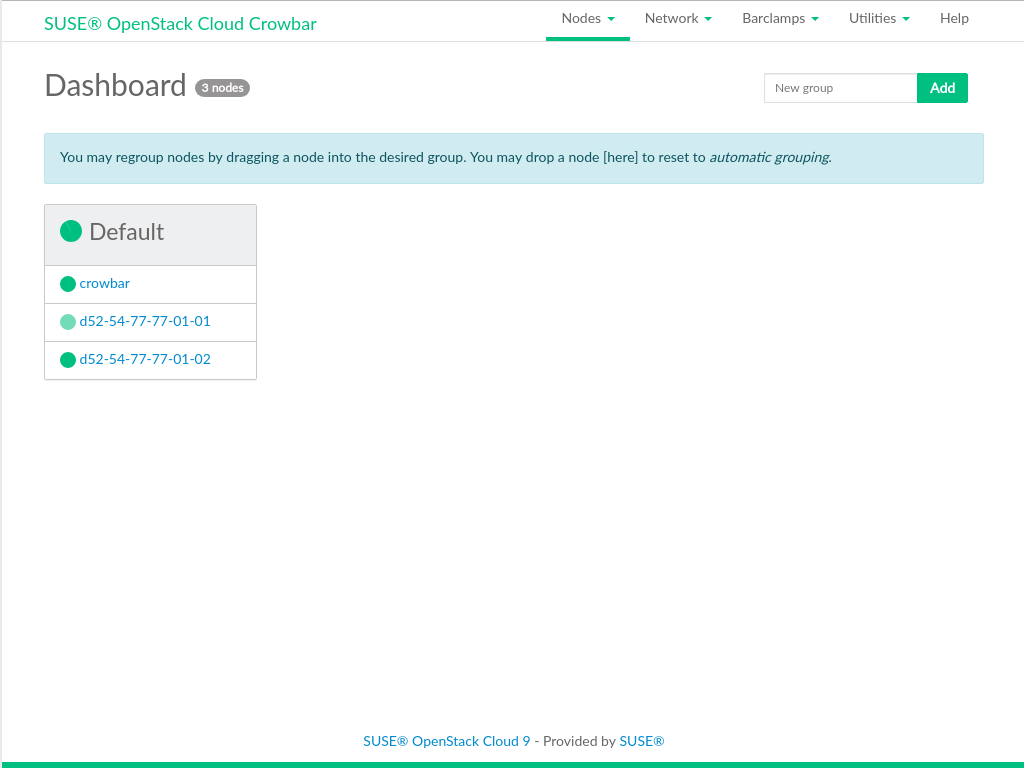
If the installation has successfully finished, you will be redirected to the Crowbar Dashboard:
From here you can start allocating nodes and then deploy the OpenStack services. Refer to Part III, “Setting Up OpenStack Nodes and Services” for more information.


