
SUSE Multi-Linux Manager仮想マシンとしてのプロキシのデプロイメント - KVM
この章では、SUSE Multi-Linux Manager 5.1プロキシのイメージとしてのデプロイメントに関する仮想マシンの設定を提供します。 KVMは、このインストールのためのサンドボックスとして、Virtual Machine Manager(virt-manager)と組み合わされます。
1. 利用可能なイメージ
|
SUSE Multi-Linux Managerプロキシをデプロイするための推奨方法は、以下の利用可能なイメージのいずれかを使用することです。 すべてのツールはこれらのイメージに含まれており、デプロイメントが簡素化されています。 |
SUSE Multi-Linux Manager 5.1プロキシのイメージは、SUSE Multi-Linux Manager 5.1 VMイメージで入手可能です。
|
カスタマイズされた SUSE Multi-Linux Manager 5.1 VM イメージは、SL Micro 6.1 のみ提供されます。 SUSE Linux Enterprise Server 15 SP7 で製品を実行するには、 https://www.suse.com/download/sles/ で入手可能な標準の SUSE Linux Enterprise Server 15 SP7 インストールメディアを使用し、その上に SUSE Multi-Linux Manager 5.1 拡張機能を有効にしてください。 |
| アーキテクチャ | イメージフォーマット |
|---|---|
aarch64 |
qcow2、vmdk |
x86_64 |
qcow2、vmdk、raw、セルフインストーラー |
2. 仮想マシンマネージャ(virt-manager)の設定
*virt-manager*を使用して新しい仮想マシンを作成する際に、次の設定を入力してください。
|
この表では、最低要件を指定しています。 これらは、クライアント1台のプロキシなど、迅速なテストインストールに適しています。 本番環境を使用したい場合や、ディスクスペースに関する背景情報が必要な場合は、ハードウェア要件を参照してください。 |
| KVMの設定 | |
|---|---|
インストール方法 |
既存のディスクイメージをインポート |
OS: |
Linux |
バージョン: |
SUSE Multi-Linux Manager-Proxy.x86_64-5.1.*.qcow2 |
メモリ: |
最小 *) |
CPU: |
最小 *) |
ストレージフォーマット: |
.qcow2 40 GB (デフォルト) ルートパーティション |
名前: |
test-setup |
ネットワーク |
ブリッジ br0 |
*) 最小値については、installation-and-upgrade:hardware-requirements.adoc#proxy-hardware-requirementsを参照してください。
|
|
3. KVMの初期セットアップ
設定については、仮想マシンマネージャ(virt-manager)の設定を参照してください。
-
ダウンロードした Minimal KVMイメージを使用して新しい仮想マシンを作成し、
Import existing disk imageを選択します。 -
RAMおよびCPU数を最小値で設定します。*)
-
KVMマシンに名前を付け、
Customize configuration before installチェックボックスを選択します。 -
インストールの開始 をクリックして、イメージからブートします。
-
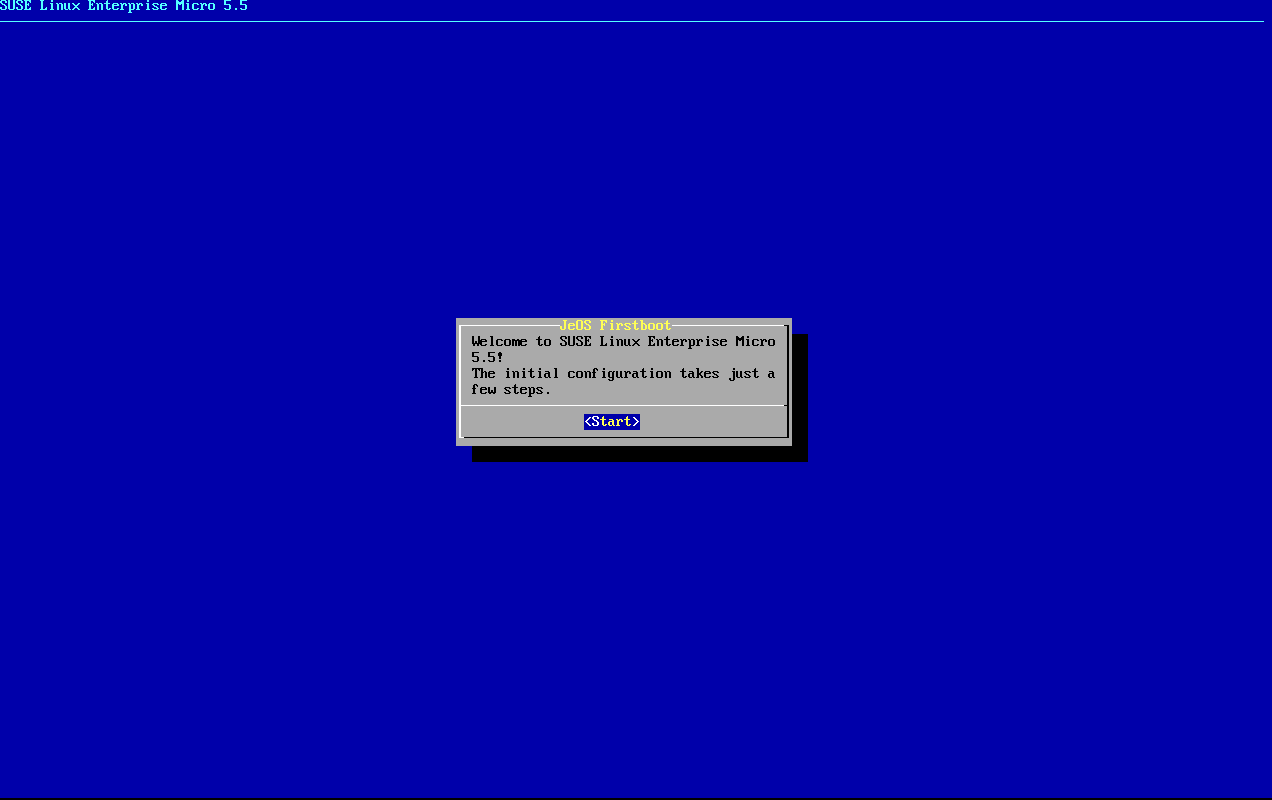
[JeOS Firstboot]の画面で、[Start]を選択して続行します。
-
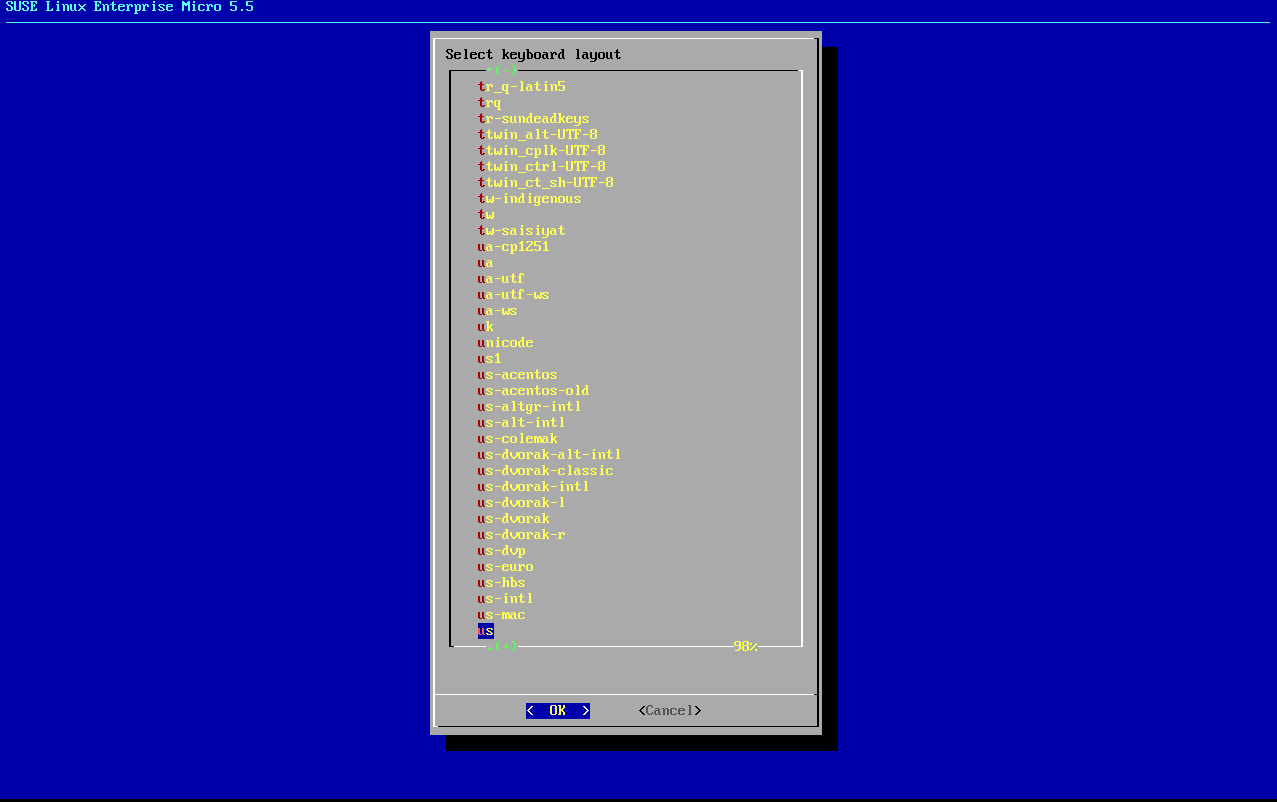
キーボードレイアウトを選択します。
-
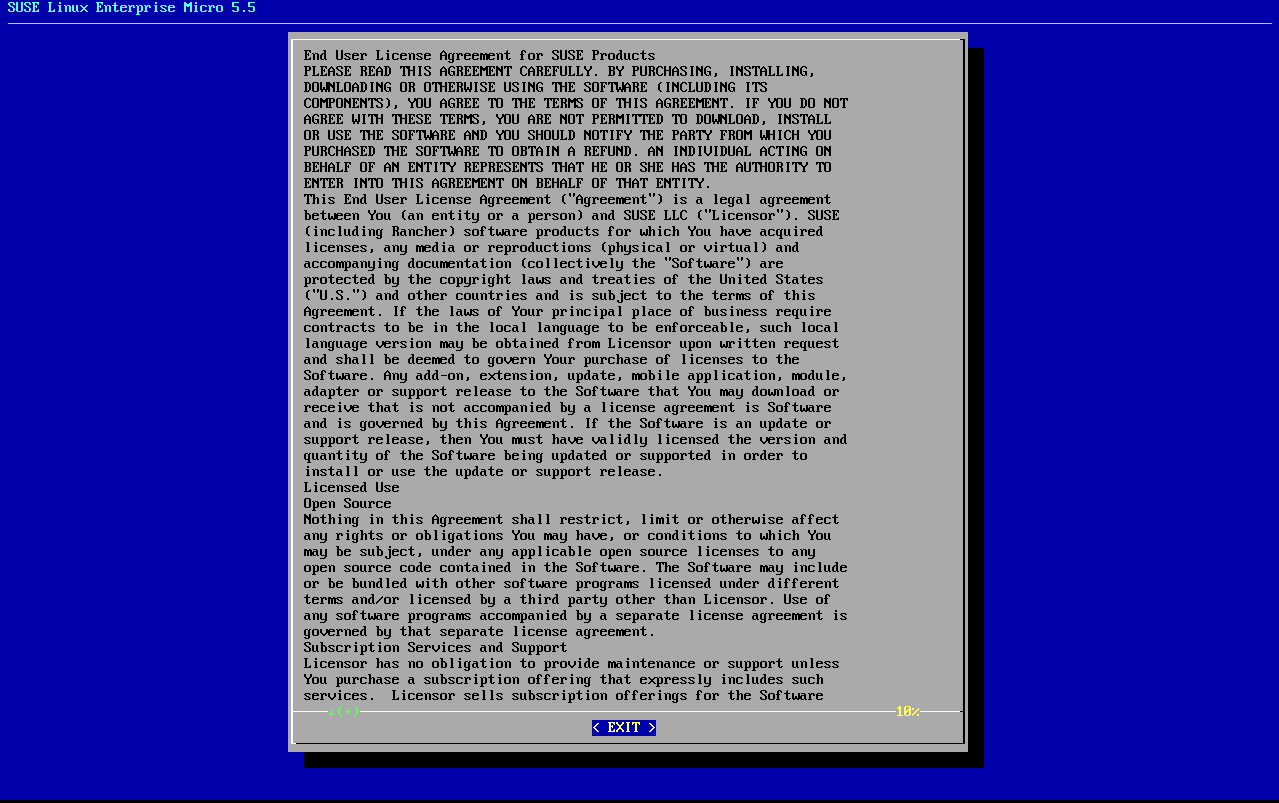
ライセンス契約に同意します。
-
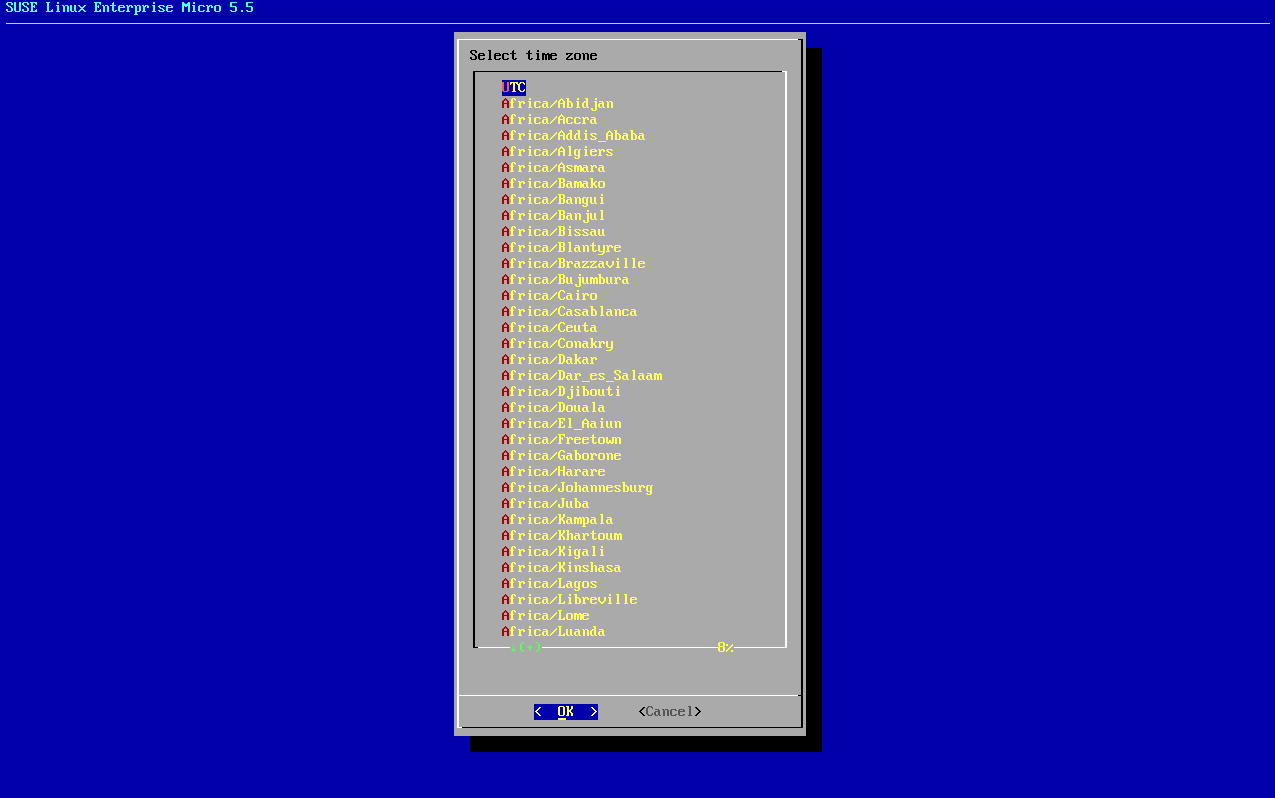
タイムゾーンを選択します。
-
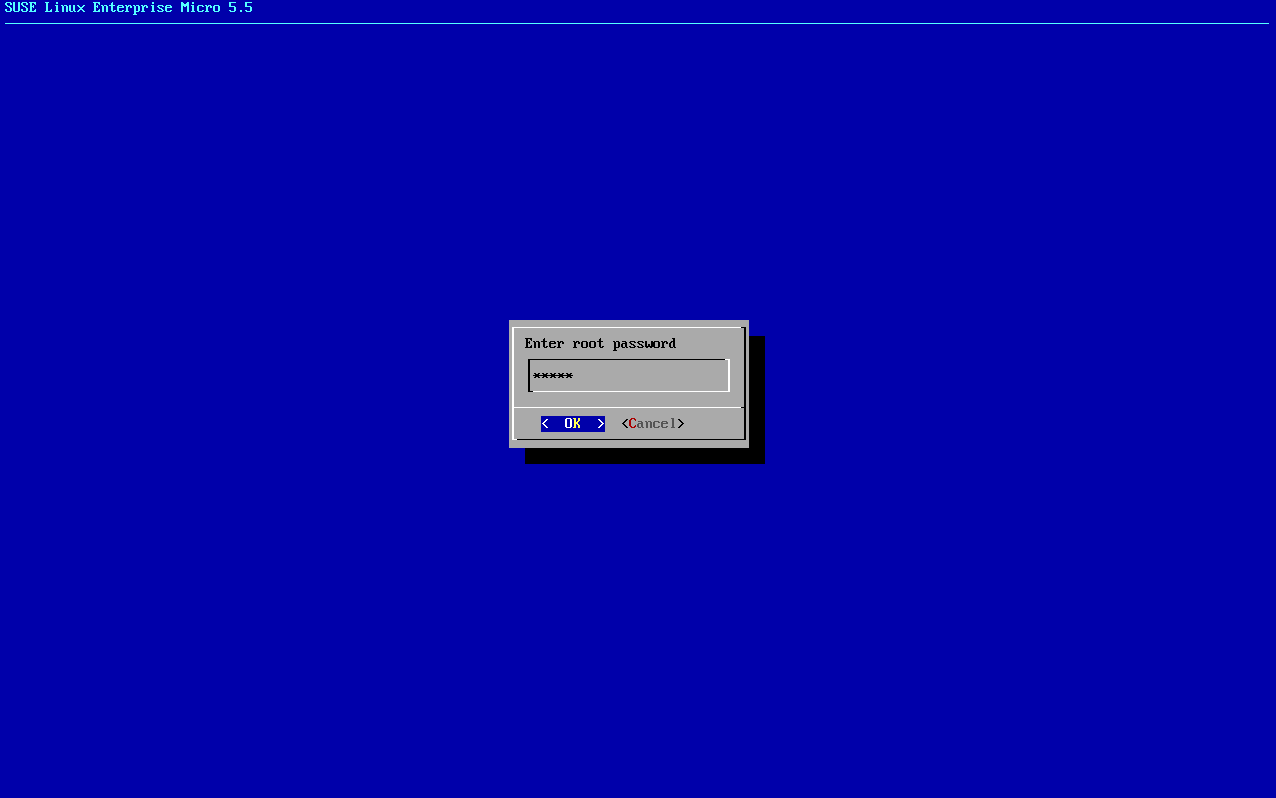
rootのパスワードを入力します。
-
インストールが完了したら、rootとしてログインします。
-
次のセクションに進みます。
*) 最小値については、installation-and-upgrade:hardware-requirements.adoc#proxy-hardware-requirementsを参照してください。
4. SL MicroとSUSE Multi-Linux Managerの5.1プロキシを登録する
-
仮想マシンをブートします。
-
`root`としてログインします。
-
SL Micro を SCC に登録
transactional-update register -r <REGCODE> -e <your_email>
-
再起動します。
-
SUSE Multi-Linux Managerの5.1プロキシをSUSE Customer Centerに登録する
transactional-update register -p Multi-Linux-Manager-Proxy/5.1/x86_64 -r <REGCODE>
-
再起動します。
-
システムを更新します。
transactional-update
-
更新が適用されていた場合は再起動します。
-
このステップはオプションです。 ただし、ご使用のインフラストラクチャにカスタム永続ストレージが必要な場合は、`mgr-storage-proxy`ツールを使用します。
-
詳細については、`mgr-storage-proxy --help`を参照してください。 このツールは、コンテナボリュームの作成を簡素化します。
-
このコマンドは次のように使用します。
mgr-storage-proxy <storage-disk-device>
例:
mgr-storage-proxy /dev/nvme1n1
このコマンドは、`/var/lib/containers/storage/volumes`にある永続ストレージボリュームを指定されたストレージデバイスに移動します。
詳細については、以下を参照してください。
-
5. プロキシのアクティベーションキーの作成
に移動し、キーを作成をクリックします。
親チャネルとしてSL Micro 6.1またはSUSE Linux Enterprise Server 15 SP7を使用して、プロキシホストのアクティベーションキーを作成します。 このキーには、推奨されるすべてのチャンネルと、拡張機能の子チャンネルとしてのプロキシを含める必要があります。
続行して、プロキシホストを`default`クライアントとしてブートストラップします。
|
プロキシは元のベンダーチャネルのみに割り当てられていることを確認してください。 クローンチャネルの割り当ては現時点ではサポートされていません。 |
6. プロキシ設定の生成
SUSE Multi-Linux Managerプロキシの設定アーカイブは、SUSE Multi-Linux Managerサーバによって生成されます。 追加のプロキシごとに、それぞれ独自の設定アーカイブが必要です。
コンテナ化されたSUSE Multi-Linux Managerプロキシの場合、新しいプロキシ設定ファイルを作成し、変更を反映させるためにコンテナを再デプロイする必要があります。 これは、SSL証明書を含む設定を更新するプロセスです。
|
Podmanのデプロイメントでは、SUSE Multi-Linux ManagerプロキシのコンテナホストをSUSE Multi-Linux Managerサーバにクライアントとして登録してから、このプロキシ設定を生成する必要があります。 |
プロキシFQDNが登録されたクライアントではないプロキシコンテナ設定を生成するために使用される場合(Kubernetesの使用例のように)、新しいシステムエントリがシステムリストに表示されます。 この新しいエントリは、以前に入力されたプロキシFQDN値の下に表示され、`Foreign`システムタイプになります。
|
周辺サーバは常にサードパーティのSSL証明書を使用しています。 ハブサーバが周辺サーバのために証明書を生成した場合、各プロキシの証明書も生成する必要があります。 そのためには、次のコマンドを実行します。 使用するファイルは以下の通りです。 |
6.1. Web UIを使用してプロキシ設定を生成します。
Web UIで、に移動し、必要なデータを入力します。
`Proxy FQDN`フィールドに、プロキシの完全修飾ドメイン名を入力します。
`Parent FQDN`フィールドに、SUSE Multi-Linux Managerサーバまたは別のSUSE Multi-Linux Managerプロキシの完全修飾ドメイン名を入力します。
`Proxy SSH port`フィールドに、SUSE Multi-Linux ManagerプロキシでSSHサービスがリスンしているSSHポートを入力します。推奨されるのは、デフォルトの8022を維持することです。
`Max Squid cache size [MB]`フィールドに、Squidキャッシュの最大許容サイズを入力します。 コンテナのために利用可能なストレージの80%までの使用を推奨します。
2 GBはデフォルトのプロキシキャッシュサイズ(Squid)を表します。 この値は、ご利用の環境に合わせて調整する必要があります。
`SSL certificate`の選択リストで、SUSE Multi-Linux Managerプロキシ用に新しいサーバ証明書を生成するか、既存のものを使用するかを選択します。 生成された証明書は、SUSE Multi-Linux Manager組み込み(自己署名)証明書と見なすことができます。
選択に応じて、新しい証明書を生成するための署名CA証明書へのパス、またはプロキシ証明書として使用される既存の証明書とそのキーへのパスのいずれかを指定します。
サーバによって生成されたCA証明書は、`/var/lib/containers/storage/volumes/root/_data/ssl-build`ディレクトリに格納されます。
既存の証明書またはカスタム証明書、および企業証明書と中間証明書の概念の詳細については、SSL証明書のインポートを参照してください。
生成をクリックして、SUSE Multi-Linux Managerサーバに新しいプロキシFQDNを登録し、コンテナホストの詳細情報を含む設定アーカイブ(
config.tar.gz)を生成します。しばらくすると、ダウンロードするファイルが表示されます。 このファイルをローカルに保存します。
6.2. `spacecmd`と自己署名証明書を使用したプロキシ設定の生成
`spacecmd`を使用してプロキシ設定を生成できます。
SSHでコンテナホストに接続します。
次のコマンドを実行してサーバとプロキシFQDNを置き換えます。
mgrctl exec -ti 'spacecmd proxy_container_config_generate_cert -- dev-pxy.example.com dev-srv.example.com 2048 email@example.com -o /tmp/config.tar.gz'生成された設定をサーバコンテナからコピーします。
mgrctl cp server:/tmp/config.tar.gz .
6.3. `spacecmd`とカスタム証明書を使用したプロキシ設定の生成
デフォルトの自己署名証明書ではなくカスタム証明書に対して`spacecmd`を使用して、プロキシ設定を生成できます。
サーバコンテナホストにSSHで接続します。
次のコマンドを実行してサーバとプロキシFQDNを置き換えます。
for f in ca.crt proxy.crt proxy.key; do
  mgrctl cp $f server:/tmp/$f
done
mgrctl exec -ti 'spacecmd proxy_container_config -- -p 8022 pxy.example.com srv.example.com 2048 email@example.com /tmp/ca.crt /tmp/proxy.crt /tmp/proxy.key -o /tmp/config.tar.gz'
セットアップで中間CAを使用している場合は、それもコピーし、`-i`オプション付きでコマンドに追加します(必要に応じて複数回指定できます):
mgrctl cp intermediateCA.pem server:/tmp/intermediateCA.pem
mgrctl exec -ti 'spacecmd proxy_container_config -- -p 8022 -i /tmp/intermediateCA.pem pxy.example.com srv.example.com 2048 email@example.com /tmp/ca.crt /tmp/proxy.crt /tmp/proxy.key -o /tmp/config.tar.gz'
生成された設定をサーバコンテナからコピーします。
mgrctl cp server:/tmp/config.tar.gz .
7. プロキシ設定の転送
Web UIは設定アーカイブを生成します。 このアーカイブはプロキシコンテナホストで利用できるようにする必要があります。
まだ実行していない場合は、前のステップで生成された設定アーカイブ (
config.tar.gz) をコンテナからサーバホストにコピーします。mgrctl cp server:/root/config.tar.gz .まだ実行していない場合は、サーバホストからプロキシホストにファイルをコピーします。
scp config.tar.gz <proxy-FQDN>:/root
8. SUSE Multi-Linux Manager 5.1プロキシを起動します。
コンテナは、`mgrpxy`コマンドで起動できるようになりました。
-
次のコマンドを呼び出してプロキシを起動します。
mgrpxy start
-
次のコマンドを呼び出してコンテナのステータスを確認します。
mgrpxy status
5つのSUSE Multi-Linux Managerプロキシコンテナが存在し、`proxy-pod`コンテナポッドの一部である必要があります。
-
proxy-salt-broker
-
proxy-httpd
-
proxy-tftpd
-
proxy-squid
-
proxy-ssh
-
8.1. サービスにカスタムコンテナイメージを使用する
デフォルトでは、SUSE Multi-Linux Managerプロキシスイートは、各サービスに対して同じイメージバージョンとレジストリパスを使用するように設定されています。
ただし、-tag および -image で終わるインストールパラメータを使用することで、特定のサービスのデフォルト値を上書きすることが可能です。
たとえば、次のように使用します。
mgrpxy install podman --httpd-tag 0.1.0 --httpd-image registry.opensuse.org/uyuni/proxy-httpd /path/to/config.tar.gz
httpdサービスの設定ファイルを調整し(registry.opensuse.org/uyuni/proxy-httpds は使用するイメージ、0.1.0 はバージョンタグ)、その後再起動します。
値をデフォルトにリセットするには、これらのパラメータを指定せずにもう一度installコマンドを実行します。
mgrpxy install podman /path/to/config.tar.gz
このコマンドは、すべてのサービスの設定をグローバルデフォルトにリセットして再ロードします。