仮想マシンとしてのSUSE Multi-Linux Manager 5.1サーバの配備 - KVM
この章では、SUSE Multi-Linux Manager 5.1をイメージとして配備するために必要な仮想マシン設定について説明します。このインストールでは、KVMを仮想マシンマネージャ(virt-manager)と組み合わせてサンドボックスとして使用します。
1. 利用可能なイメージ
|
SUSE Multi-Linux Manager 5.1サーバを配備する際に推奨される方法は、利用可能な次のイメージの1つを使用することです。これらのイメージにはすべてのツールが含まれており、配備が大幅に容易になります。 |
SUSE Multi-Linux Manager 5.1のイメージはSUSE Multi-Linux Manager 5.1 VM imagesで入手できます。
|
カスタマイズされたSUSE Multi-Linux Manager 5.1 VMイメージは、SL Micro 6.1にのみ提供されます。SUSE Linux Enterprise Server 15 SP7で製品を実行するには、https://www.suse.com/download/sles/で入手可能な標準のSUSE Linux Enterprise Server 15 SP7インストールを使用し、その上でSUSE Multi-Linux Manager 5.1拡張機能を有効にします。 |
| アーキテクチャ | イメージの形式 |
|---|---|
aarch64 |
qcow2、vmdk |
x86_64 |
qcow2、vmdk、raw、セルフインストーラ |
ppc64le |
raw、セルフインストーラ |
s390x * |
qcow2、raw |
* s390xでは、CDL DASDとFBAの2つのストレージオプションが利用可能です。
2. 仮想マシンマネージャ(virt-manager)の設定
virt-managerを使用して、新しい仮想マシンを作成するときに、次の設定を入力します。
|
次の表は、最低要件を指定しています。これらは、クライアントが1つある1つのサーバなど、テスト用の簡易的なインストールに適しています。運用環境を使用する場合、ディスク容量に関する背景情報が必要な場合は、ハードウェア要件を参照してください。 |
| KVMの設定 | |
|---|---|
インストール方法 |
既存のディスクイメージのインポート |
OS: |
Linux |
バージョン: |
SUSE Multi-Linux Manager-Server.x86_64-5.1.*.qcow2 |
メモリ: |
最小*) |
CPU: |
最小*) |
ストレージフォーマット: |
.qcow2 40 GB (デフォルト)ルートパーティション |
名前: |
test-setup |
ネットワーク |
Bridge br0 |
*) 最小値については、installation-and-upgrade:hardware-requirements.adoc#server-hardware-requirementsを参照してください。
3. KVMの初期セットアップ
-
Create a new virtual machine using the downloaded Minimal KVM image and select
Import existing disk image. -
RAMおよびCPU数を設定します。
-
KVMマシンに名前を付けます。
-
Begin Installation(インストールの開始)をクリックし、イメージからブートします。
-
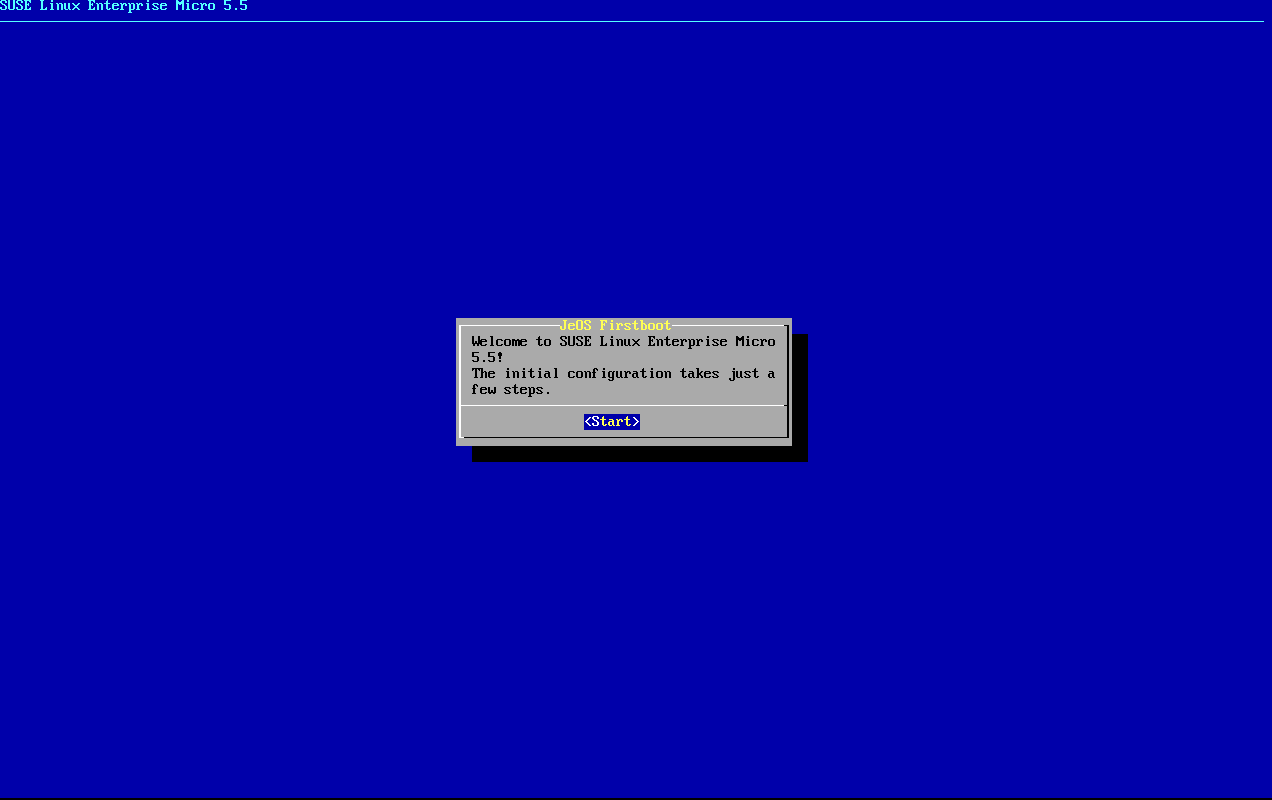
[JeOS Firstboot]の画面で、[Start]を選択して続行します。
-
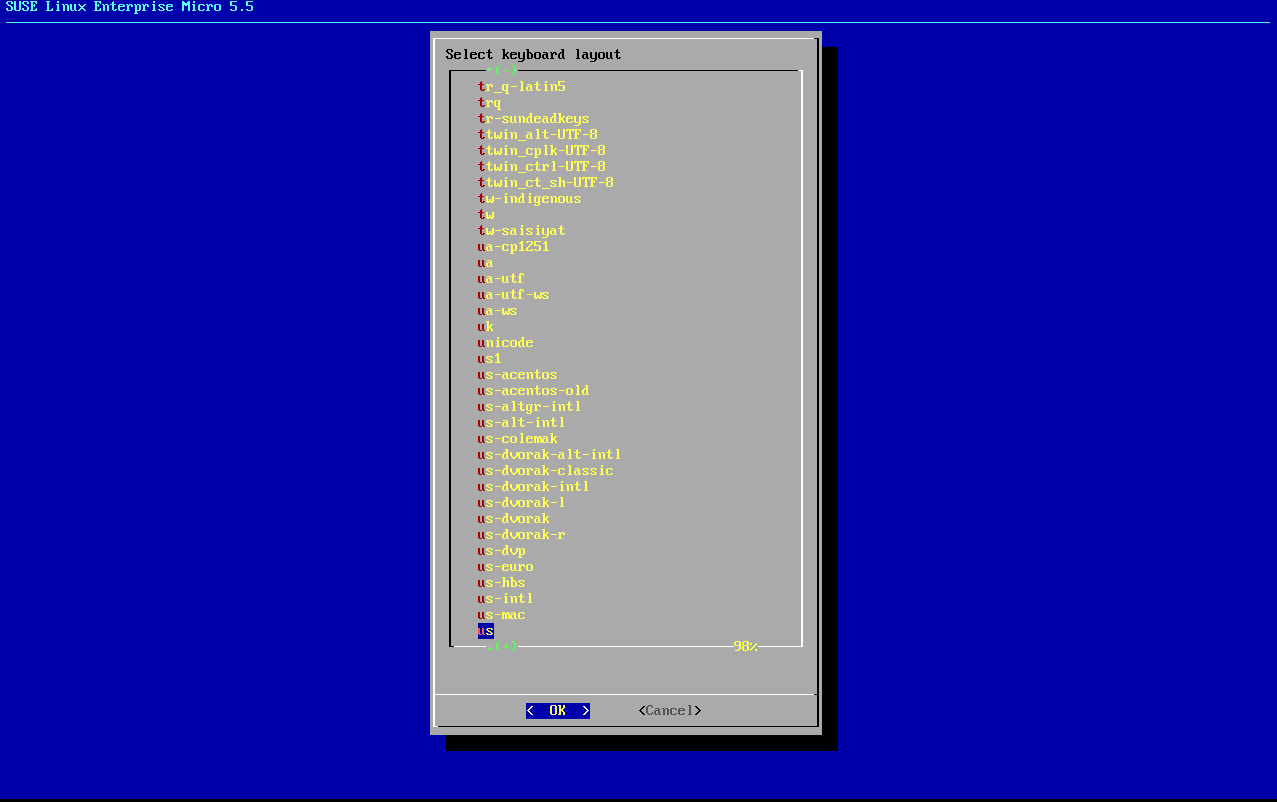
キーボードレイアウトを選択します。
-
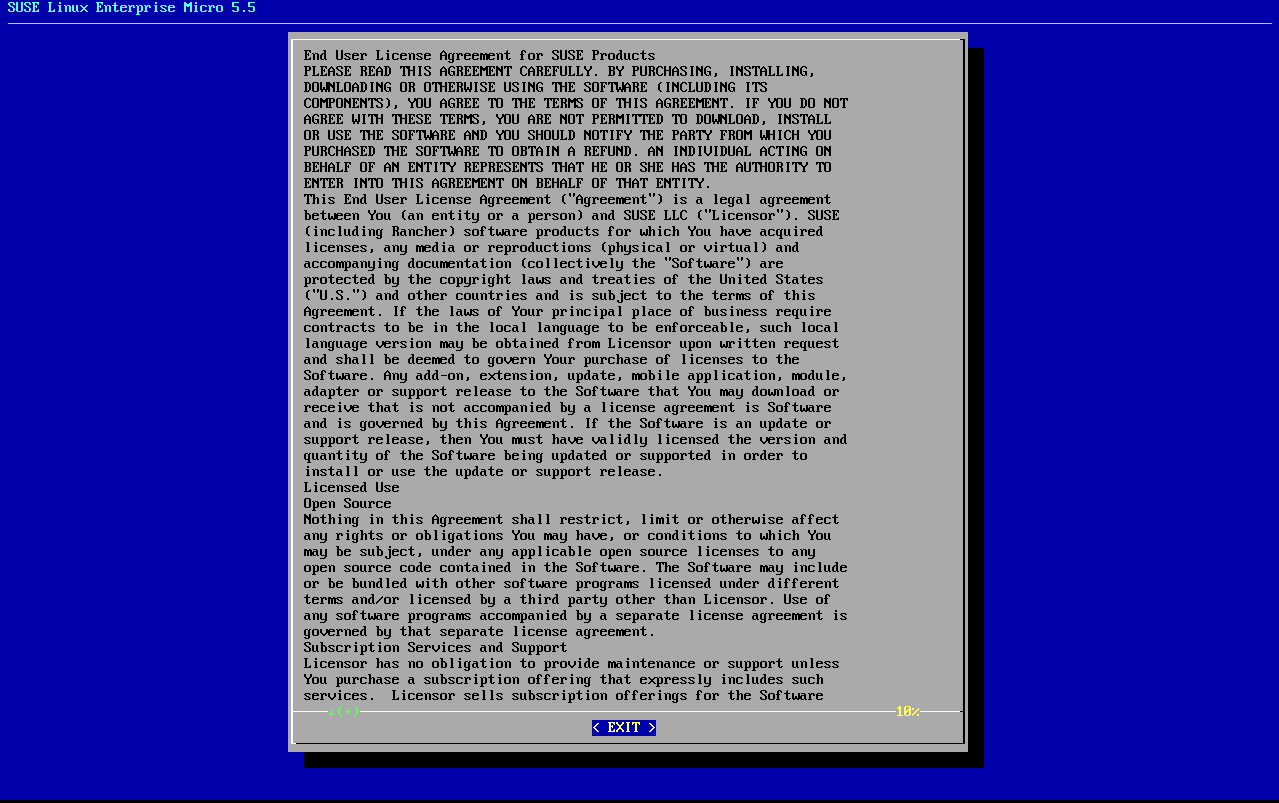
ライセンス契約に同意します。
-
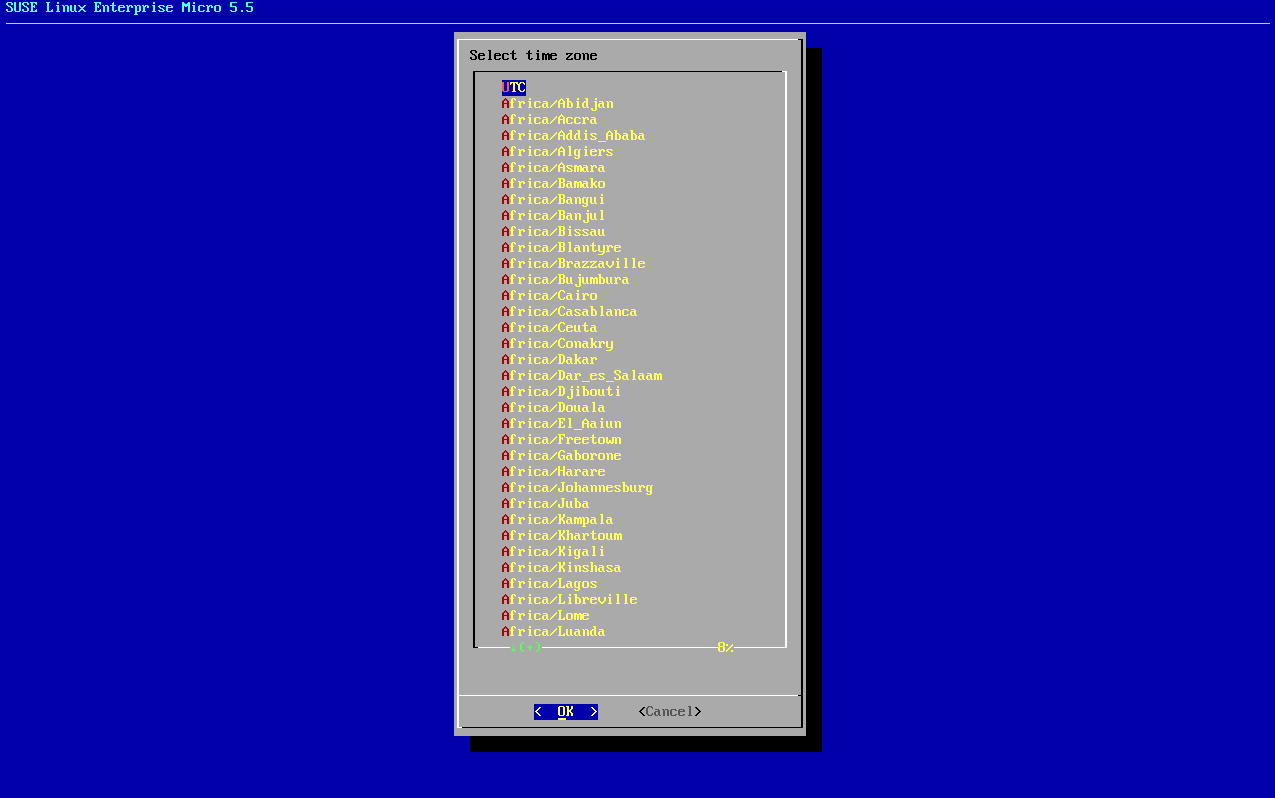
タイムゾーンを選択します。
-
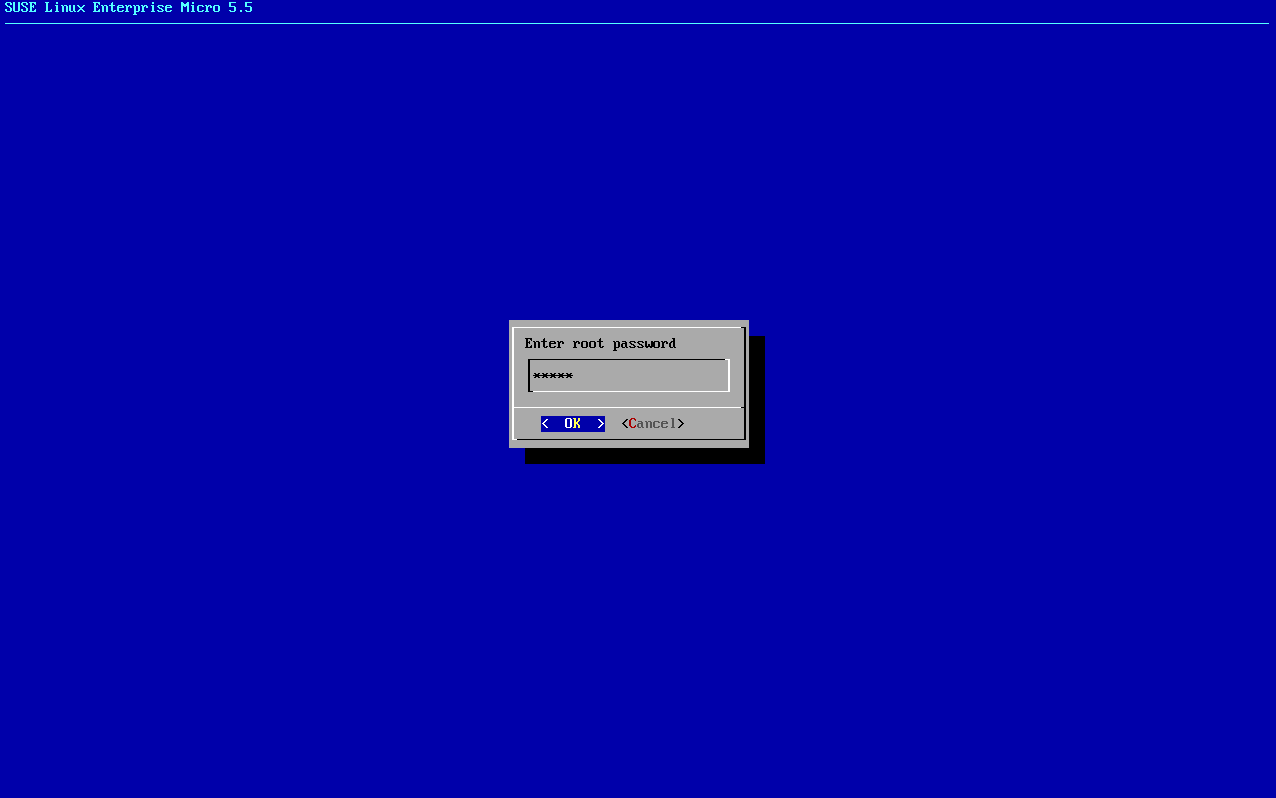
rootのパスワードを入力します。
-
インストールが完了したら、rootとしてログインします。
-
次のセクションに進みます。
4. SL MicroおよびSUSE Multi-Linux Manager 5.1サーバの登録
|
SL Micro 6.1エンタイトルメントは、SUSE Multi-Linux Managerエンタイトルメント内に含まれているため、別途登録コードは必要ありません。 |
|
SUSE Multi-Linux Manager server hosts that are hardened for security may restrict execution of files from the 例: SUSE Multi-Linux Managerの更新では、この回避策が不要になるようにツールが変更されます。 |
-
仮想マシンをブートします。
-
rootとしてログインします。 -
SCCでSL Microを登録します。
transactional-update register -r <REGCODE> -e <your_email>
-
再起動します。
-
SUSE Customer CenterでSUSE Multi-Linux Manager 5.1を登録します。
transactional-update register -p Multi-Linux-Manager-Server/5.1/x86_64 -r <REGCODE>
-
再起動します。
-
システムを更新します。
transactional-update
-
更新が適用されていた場合は再起動します。
-
This step is optional. However, if custom persistent storage is required for your infrastructure, use the
mgr-storage-servertool.For more information, see
mgr-storage-server --help. This tool simplifies creating the container storage and database volumes. Use the command in the following manner:mgr-storage-server <storage-disk-device> [<database-disk-device>]
例:
mgr-storage-server /dev/nvme1n1 /dev/nvme2n1
This command will move the persistent storage volumes at
/var/lib/containers/storage/volumesto specified storage devices.詳細については、以下を参照してください。
-
SUSE Multi-Linux Managerを配備します。
If you use VM images as a migration target, here as the last step, execute the command
mgradm migrateinstead ofmgradm install.SSL証明書の種類(自己署名またはサードパーティ)に応じて、以下のいずれかのコマンドを実行します。
<FQDN>をSUSE Multi-Linux Managerサーバの完全修飾ドメイン名に置き換えます。-
SUSE Multi-Linux Managerで提供される自己署名証明書を使用する場合:
mgradm install podman <FQDN> -
サードパーティSSL証明書フラグを使用してSSL証明書をインポートする場合(これらすべての証明書が必要なわけではない場合は例を調整可能):
mgradm install podman <FQDN> \
  --ssl-ca-intermediate <strings> \
  --ssl-ca-root <string> \
  --ssl-server-cert <string> \
  --ssl-server-key <string> \
  --ssl-db-ca-intermediate <strings> \
  --ssl-db-ca-root <string> \
  --ssl-db-cert <string> \
  --ssl-db-key <string>
For more information, see
mgradm install podman --help.
-