Service Pack Upgrade via Web UI
If you want to migrate the registered SUSE Linux Enterprise client’s service pack (SP) to a newer version, it can be done either on the command line or via Web UI.
This document describes and illustrates in detail the migration using the Web UI.
|
SP versions used are not reflective of the actual latest versions available. They are used for illustration purposes only. |
-
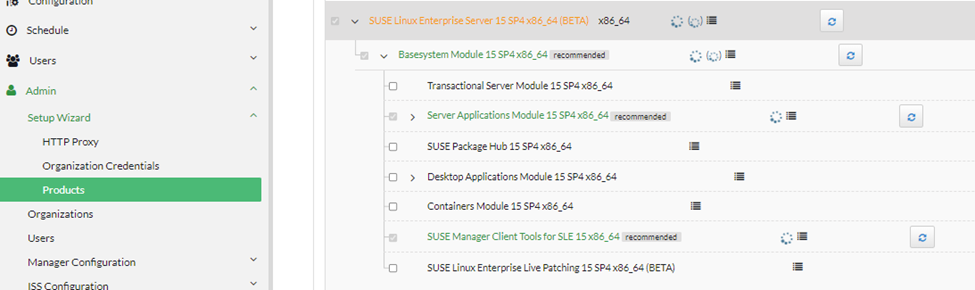
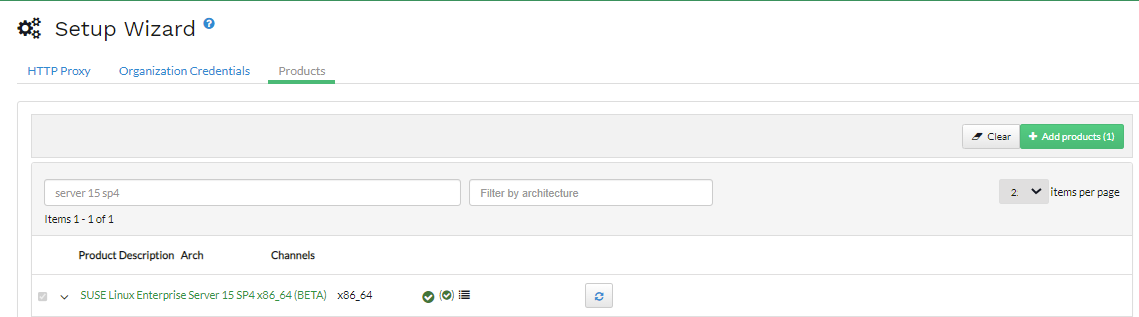
Log in to SUSE Manager Web UI and navigate to and search for "SUSE Linux Enterprise Server 15 SP5 x86_64 (BETA)"
-
Select the recommended channels.
-
Click Add Products.
-
Navigate to . You will see two targets, SP4 and SP5.

-
Select
SUSE Linux Enterprise Server 15 SP5 x86_64 (BETA). This will expand further as shown below.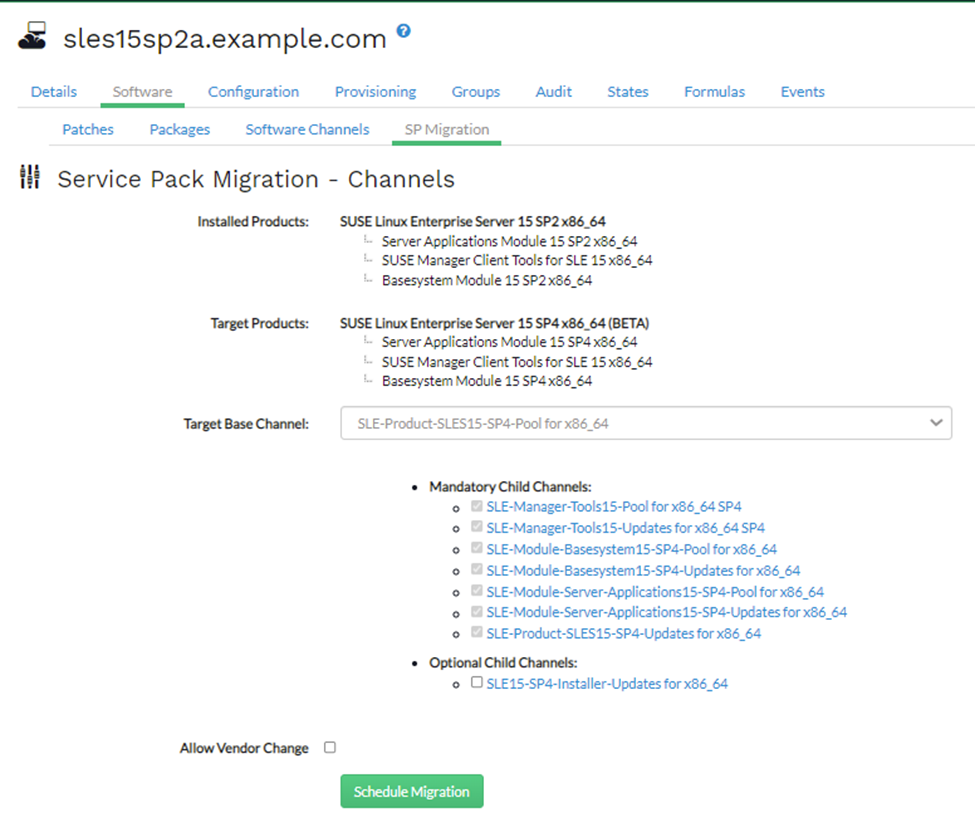
-
Select
Target Base ChannelasSLE-Product-SLES15-SP5-Pool for x86_64and keepAllow Vendor Changeunchecked. -
Click Schedule Migration and it will highlight message
It is better to do a dry run first so continuing with dry run first.-
For more information on dry run, see: https://documentation.suse.com/sles/15-SP4/html/SLES-all/cha-upgrade-online.html#sec-upgrade-online-zypper-plain
-
-
Click Dry-run and check the status of the simulation in . You should see a return code
0meaning successful. -
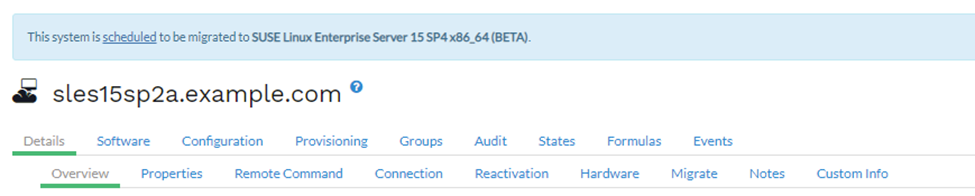
Now you may click Schedule Migration to actually migrate the server. Following message will get highlighted on top of the screen in SUSE Manager Web UI.
-
When the migration is complete, check the status in .
-
On the client side also you can verify it by running:
cat /etc/os-release
-
The output will look similar to:
NAME="SLES"
VERSION="15-SP5"
VERSION_ID="15.5"
PRETTY_NAME="SUSE Linux Enterprise Server 15 SP5"
ID="sles"
ID_LIKE="suse"
ANSI_COLOR="0;32"
CPE_NAME="cpe:/o:suse:sles:15:sp5"
DOCUMENTATION_URL="https://documentation.suse.com/"
-
On the SUSE Manager Web UI side, you can verify the succesfully completed migration by going to .
