SUSE Manager Proxy Deployment as a Virtual Machine - KVM
This chapter provides the Virtual Machine settings for deployment of SUSE Manager 5.0 Proxy as an image. KVM will be combined with Virtual Machine Manager (virt-manager) as a sandbox for this installation.
1. Available Images
|
The preferred method for deploying SUSE Manager Proxy is to use one of the following available images. All tools are included in these images simplifying deployment. |
Images for SUSE Manager 5.0 Proxy are available at SUSE Manager 5.0 VM images.
|
Customized SUSE Manager 5.0 VM images are provided only for SLE Micro 5.5. To run the product on SUSE Linux Enterprise Server 15 SP6, use the standard SUSE Linux Enterprise Server 15 SP6 installation media available at https://www.suse.com/download/sles/ and enable the SUSE Manager 5.0 extensions on top of it. |
|
For more information on preparing raw images, see: For additional information on the self install images, see: |
| Architecture | Image Format |
|---|---|
aarch64 |
qcow2, vmdk |
x86_64 |
qcow2, vmdk, raw, Self Installer |
2. Virtual Machine Manager (virt-manager) Settings
Enter the following settings when creating a new virtual machine using virt-manager.
|
This table specifies the minimum requirements. These are suitable for a quick test installation, such as a proxy with one client. If you want to use a production environment and need background information about disk space, see Hardware Requirements. |
| KVM Settings | |
|---|---|
Installation Method |
Import Existing Disk Image |
OS: |
Linux |
Version: |
SUSE Manager-Proxy.x86_64-5.0.0-*.qcow2 |
Memory: |
Minimum *) |
CPU’s: |
Minimum *) |
Storage Format: |
.qcow2 40 GB (Default) Root Partition |
Name: |
test-setup |
Network |
Bridge br0 |
*) For minimum values, see installation-and-upgrade:hardware-requirements.adoc#proxy-hardware-requirements.
|
|
3. Initial KVM Setup
For settings, see Virtual Machine Manager (virt-manager) Settings.
-
Create a new virtual machine using the downloaded Minimal KVM image and select
Import existing disk image. -
Configure RAM and number of CPUs with minimum values. *)
-
Name your KVM machine and select the
Customize configuration before installcheck box. -
Click Begin Installation to boot from the image.
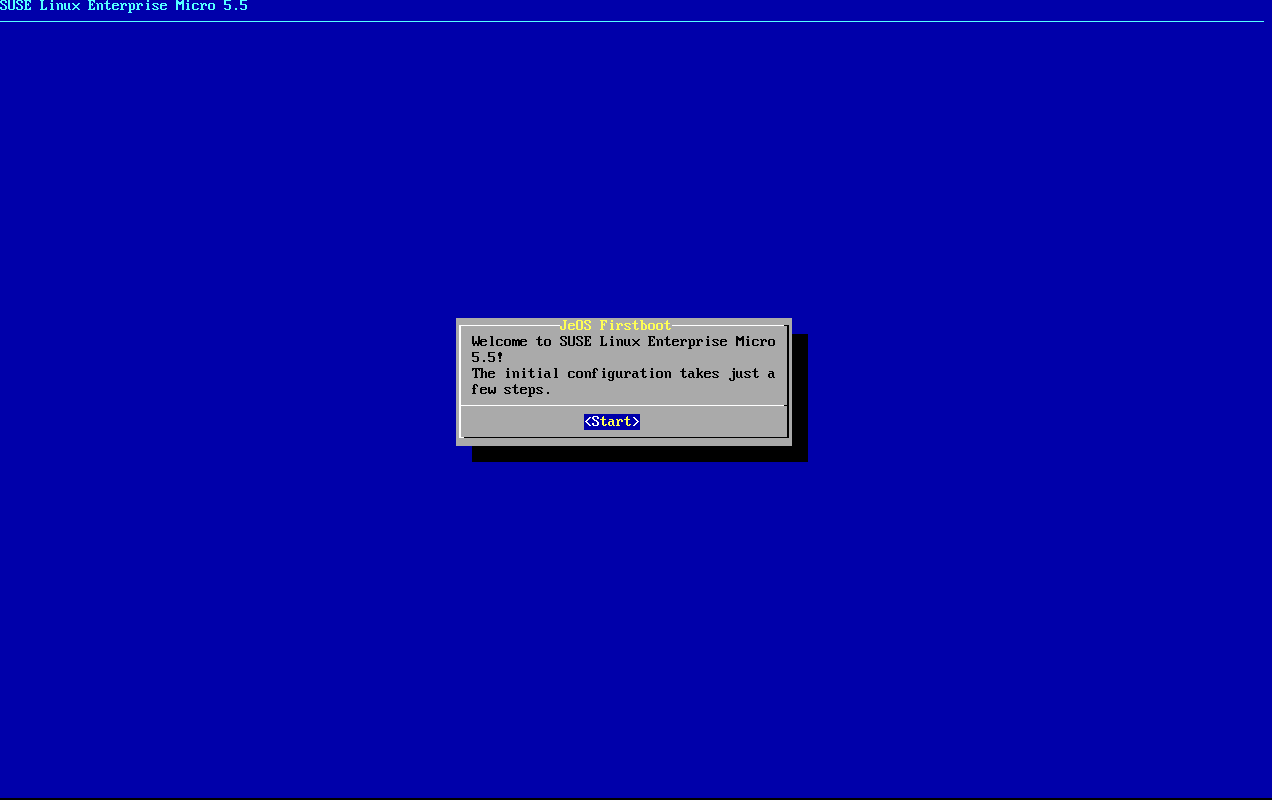
-
At the JeOS Firstboot screen select start to continue.
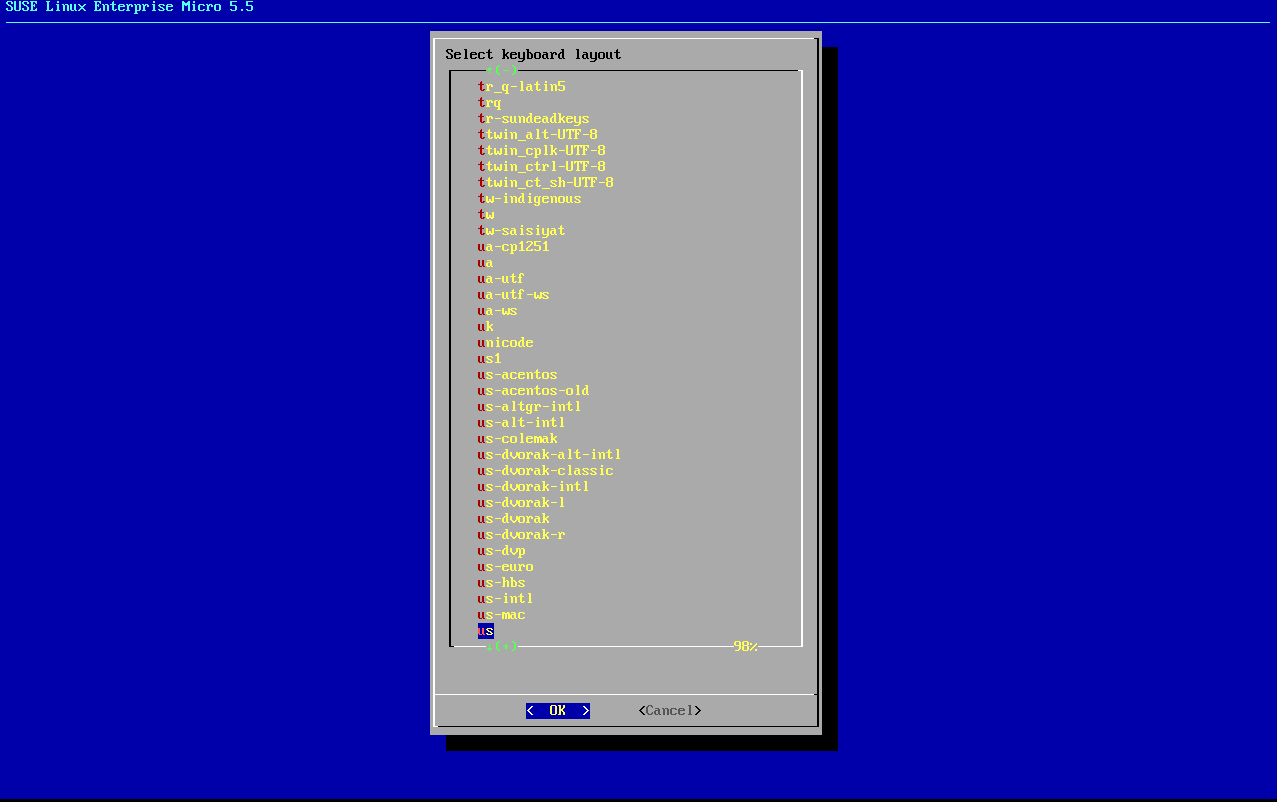
-
Select keyboard layout.
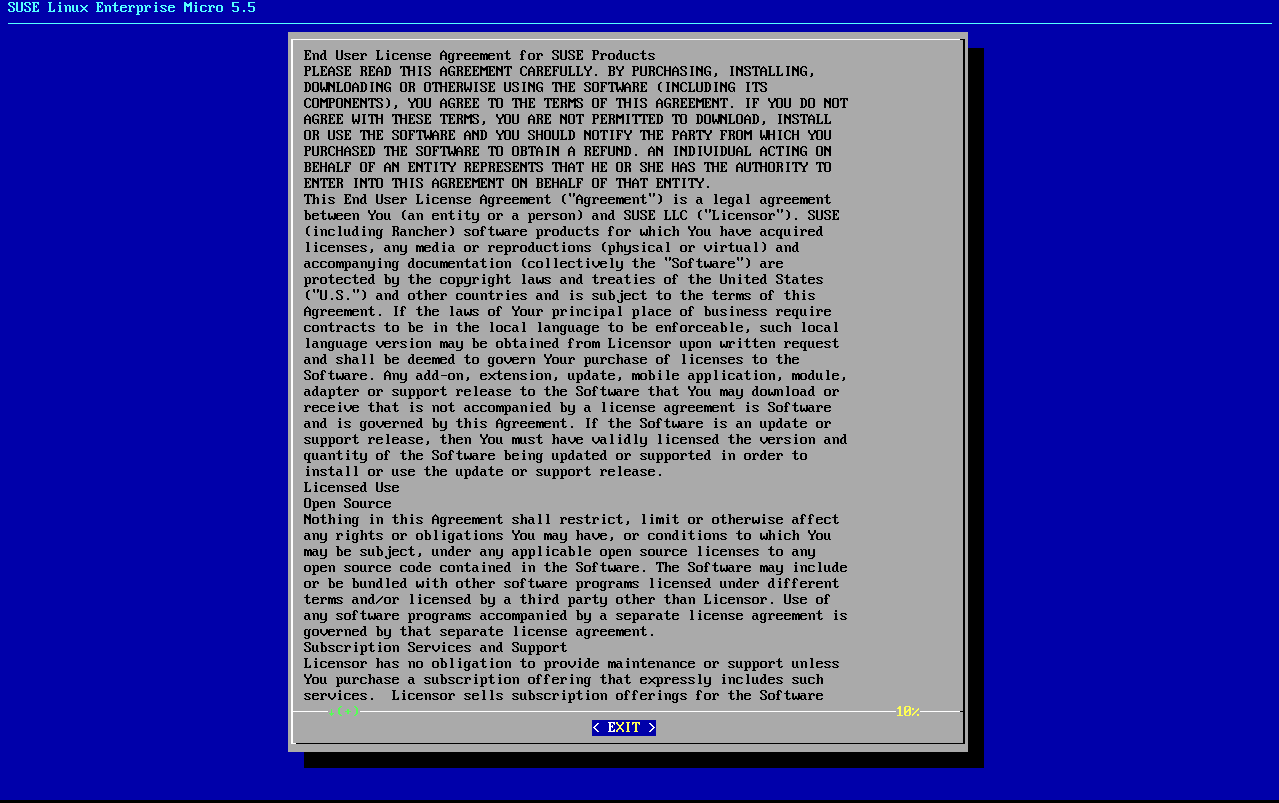
-
Accept the license agreement.
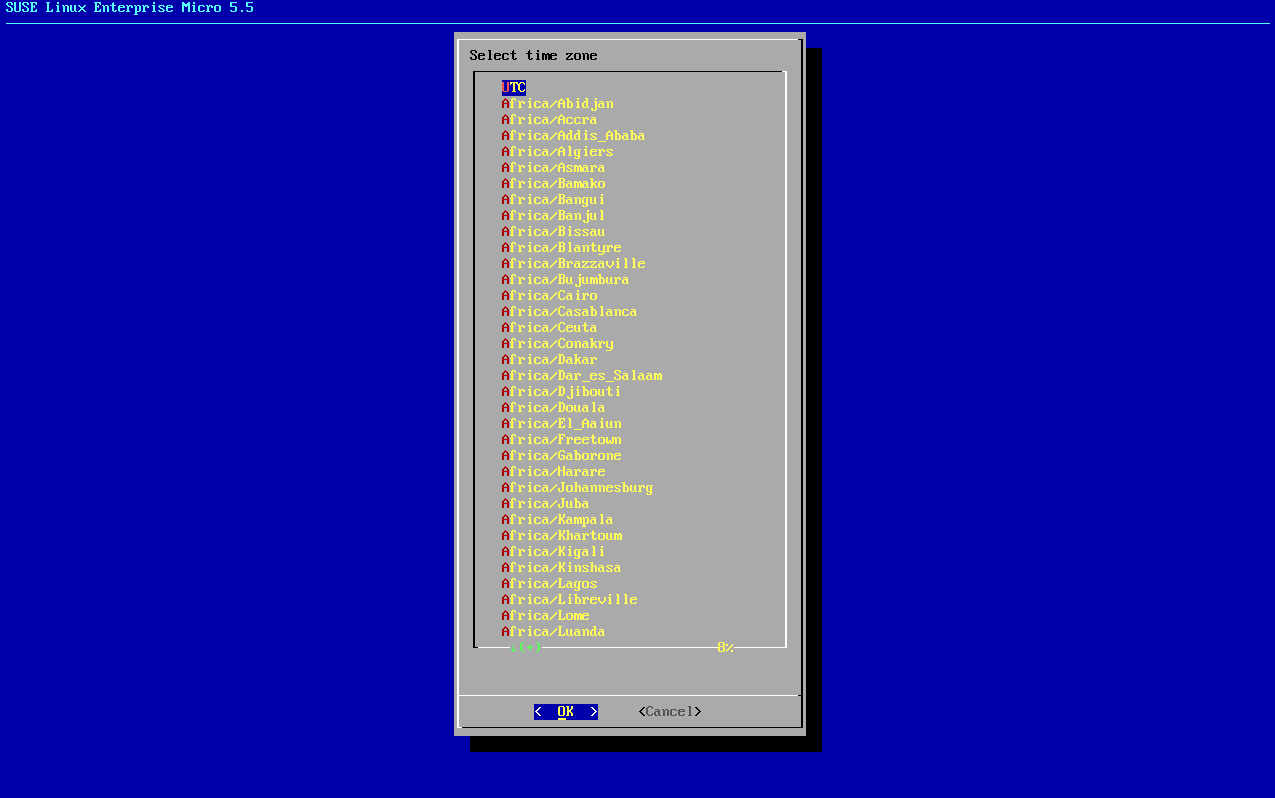
-
Select your time zone.
-
Enter a password for root.
-
When installation completes log in as root.
-
Proceed to the next section.
*) For minimum values, see installation-and-upgrade:hardware-requirements.adoc#proxy-hardware-requirements.
4. Register SLE Micro and SUSE Manager 5.0 Proxy
-
Boot the virtual machine.
-
Log in as
root. -
Register SLE Micro with SCC.
transactional-update register -r <REGCODE> -e <your_email>
-
Reboot.
-
Register SUSE Manager 5.0 Proxy with SUSE Customer Center.
transactional-update register -p SUSE-Manager-Proxy/5.0/x86_64 -r <REGCODE>
-
Reboot.
-
Update the system:
transactional-update
-
If updates were applied reboot.
-
This step is optional. However, if custom persistent storage is required for your infrastructure, use the
mgr-storage-proxytool.-
For more information, see
mgr-storage-proxy --help. This tool simplifies creating the container volumes. -
Use the command in the following manner:
mgr-storage-proxy <storage-disk-device>
For example:
mgr-storage-proxy /dev/nvme1n1
This command will move the persistent storage volumes at
/var/lib/containers/storage/volumesto the specified storage device.For more information, see
-
5. Create an Activation Key for the Proxy
Navigate to , and click Create key.
Create an activation key for the proxy host with SLE Micro 5.5 or SUSE Linux Enterprise Server 15 SP6 as the parent channel. This key should include all recommended channels and the proxy as an extension child channel.
Proceed to boostrapping the proxy host as a
defaultclient.
6. Generate proxy configuration
The configuration archive of the SUSE Manager Proxy is generated by the SUSE Manager Server. Each additional Proxy requires its own configuration archive.
For the containerized SUSE Manager Proxy, you must build a new proxy configuration file and then redeploy the container for the changes to take effect. This is the process for updating settings, including the SSL certificate.
|
2 GB represents the default proxy squid cache size. This will need to be adjusted for your environment. |
|
For Podman deployment, the container host for the SUSE Manager Proxy must be registered as a client to the SUSE Manager Server prior to generating this proxy configuration. |
If a proxy FQDN is used to generate a proxy container configuration that is not a registered client (as in the Kubernetes use case), a new system entry will appear in system list.
This new entry will be shown under previously entered Proxy FQDN value and will be of Foreign system type.
|
Peripheral servers are always using third-party SSL certificates. If the hub server has generated the certificates for the peripheral server, it needs to generate the certificate of each proxy too. On the hub server, run the following command. The files to use will be
|
6.1. Generate proxy configuration with Web UI
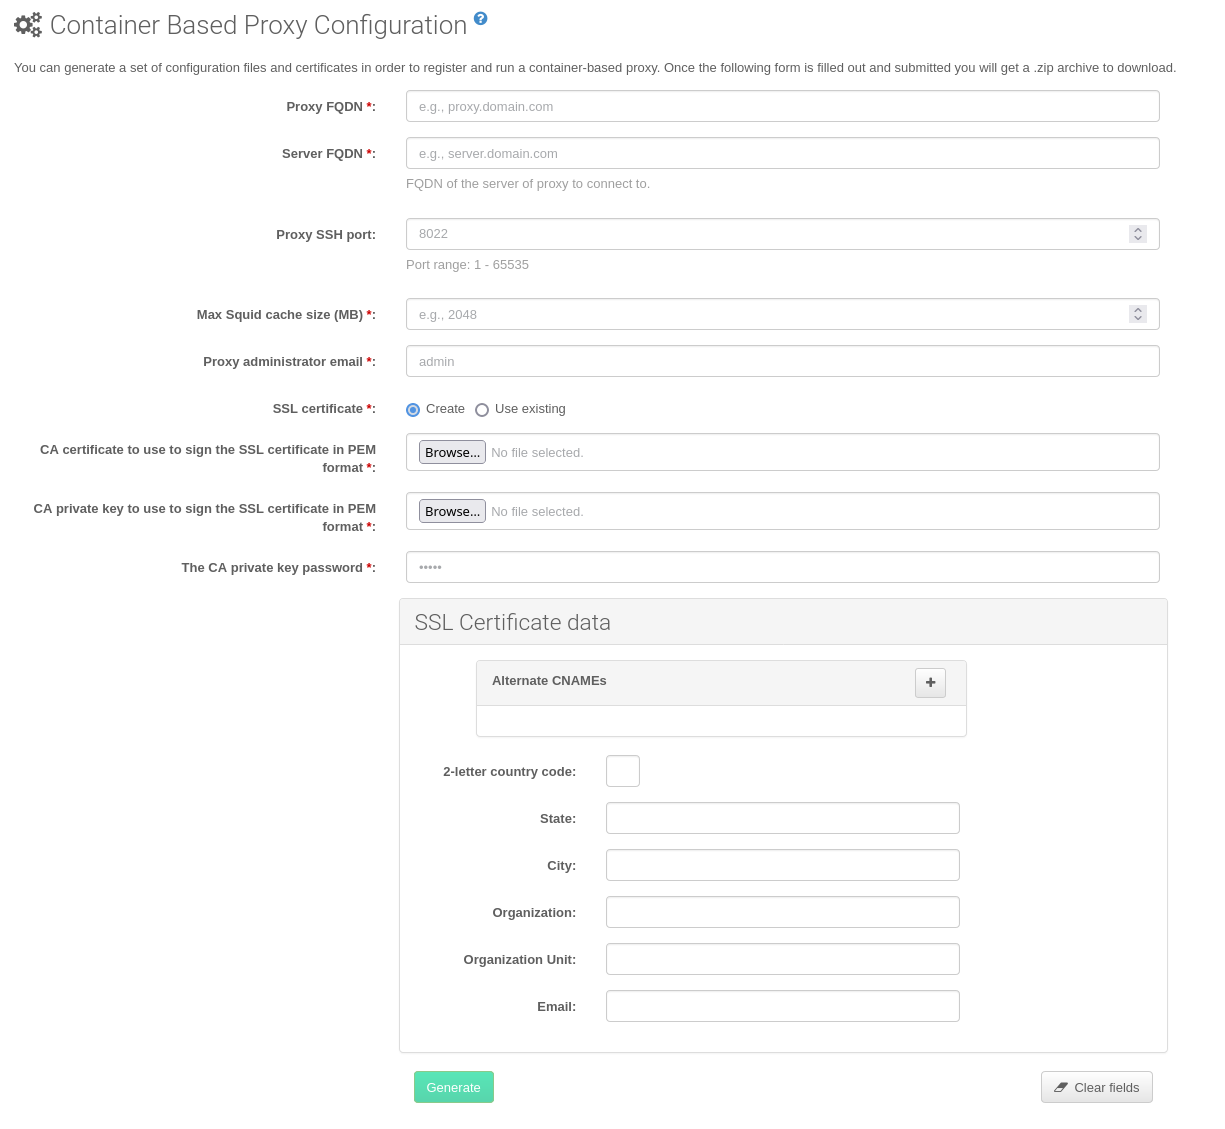
In the Web UI, navigate to and fill the required data.
In the
Proxy FQDNfield type fully qualified domain name for the proxy.In the
Parent FQDNfield type fully qualified domain name for the SUSE Manager Server or another SUSE Manager Proxy.In the
Proxy SSH portfield type SSH port on which SSH service is listening on SUSE Manager Proxy. Recommended is to keep default 8022.In the
Max Squid cache size [MB]field type maximal allowed size for Squid cache. Recommended is to use at most 80% of available storage for the containers.
2 GB represents the default proxy squid cache size. This will need to be adjusted for your environment.
In the
SSL certificateselection list choose if new server certificate should be generated for SUSE Manager Proxy or an existing one should be used. You can consider generated certificates as SUSE Manager builtin (self signed) certificates.Depending on the choice then provide either path to signing CA certificate to generate a new certificate or path to an existing certificate and its key to be used as proxy certificate.
The CA certificates generated by the server are stored in the
/var/lib/containers/storage/volumes/root/_data/ssl-builddirectory.For more information about existing or custom certificates and the concept of corporate and intermediate certificates, see Import SSL Certificates.
Click Generate to register a new proxy FQDN in the SUSE Manager Server and generate a configuration archive (
config.tar.gz) containing details for the container host.After a few moments you are presented with file to download. Save this file locally.
6.2. Generate proxy configuration with spacecmd and self-signed certificate
You can generate a Proxy configuration using spacecmd.
spacecmd and self-signed certificate
SSH into your container host.
Execute the following command replacing the Server and Proxy FQDN:
mgrctl exec -ti 'spacecmd proxy_container_config_generate_cert -- dev-pxy.example.com dev-srv.example.com 2048 email@example.com -o /tmp/config.tar.gz'Copy the generated configuration from the server container:
mgrctl cp server:/tmp/config.tar.gz .
6.3. Generate proxy configuration with spacecmd and custom certificate
You can generate a Proxy configuration using spacecmd for custom certificates rather than the default self-signed certificates.
spacecmd and custom certificate
SSH into your Server container host.
Execute the following commands replacing the Server and Proxy FQDN:
for f in ca.crt proxy.crt proxy.key; do
  mgrctl cp $f server:/tmp/$f
done
mgrctl exec -ti 'spacecmd proxy_container_config -- -p 8022 pxy.example.com srv.example.com 2048 email@example.com /tmp/ca.crt /tmp/proxy.crt /tmp/proxy.key -o /tmp/config.tar.gz'
If your setup uses an intermediate CA, copy it as well and include it in the command with the
-ioption (can be provided multiple times if needed) :mgrctl cp intermediateCA.pem server:/tmp/intermediateCA.pem mgrctl exec -ti 'spacecmd proxy_container_config -- -p 8022 -i /tmp/intermediateCA.pem pxy.example.com srv.example.com 2048 email@example.com /tmp/ca.crt /tmp/proxy.crt /tmp/proxy.key -o /tmp/config.tar.gz'Copy the generated configuration from the server container:
mgrctl cp server:/tmp/config.tar.gz .
7. Transfer the Proxy Configuration
The Web UI generates a configuration archive. This archive needs to be made available on the proxy container host.
If not already done, copy the configuration archive (
config.tar.gz) generated in the previous step from the server container to the server host:mgrctl cp server:/root/config.tar.gz .If not already done, copy the files from the server host to the proxy host:
scp config.tar.gz <proxy-FQDN>:/root
8. Start the SUSE Manager 5.0 Proxy
Container can now be started with the mgrpxy command:
-
Start the Proxy by calling:
mgrpxy start
-
Check container status by calling:
mgrpxy status
Five SUSE Manager Proxy containers should be present and should be part of the
proxy-podcontainer pod:-
proxy-salt-broker
-
proxy-httpd
-
proxy-tftpd
-
proxy-squid
-
proxy-ssh
-
8.1. Using a Custom Container Image for a Service
By default, the SUSE Manager Proxy suite is set to use the same image version and registry path for each of its services.
However, it is possible to override the default values for a specific service using the install parameters ending with -tag and -image.
For example, use it like this:
mgrpxy install podman --httpd-tag 0.1.0 --httpd-image registry.opensuse.org/uyuni/proxy-httpd /path/to/config.tar.gz
It adjusts the configuration file for the httpd service, where registry.opensuse.org/uyuni/proxy-httpds is the image to use and 0.1.0 is the version tag, before restarting it.
To reset the values to defaults, run the install command again without those parameters:
mgrpxy install podman /path/to/config.tar.gz
This command first resets the configuration of all services to the global defaults and then reloads it.