
仮想マシンとしてのSUSE Multi-Linux Managerプロキシの配備 - KVM
この章では、SUSE Multi-Linux Manager 5.2プロキシをイメージとして配備するための仮想マシンの設定について説明します。このインストールでは、KVMを仮想マシンマネージャ(virt-manager)と組み合わせてサンドボックスとして使用します。
1. 利用可能なイメージ
|
SUSE Multi-Linux Managerプロキシを配備する際に推奨される方法は、利用可能な次のイメージの1つを使用することです。これらのイメージにはすべてのツールが含まれており、配備が容易になります。 |
SUSE Multi-Linux Manager 5.2プロキシのイメージはSUSE Multi-Linux Manager 5.2 VM imagesで入手できます。
|
カスタマイズされたSUSE Multi-Linux Manager 5.2 VMイメージは、SL Micro 6.2にのみ提供されます。SUSE Linux Enterprise Server 15 SP7で製品を実行するには、https://www.suse.com/download/sles/で入手可能な標準のSUSE Linux Enterprise Server 15 SP7インストールを使用し、その上でSUSE Multi-Linux Manager 5.2拡張機能を有効にします。 |
| アーキテクチャ | イメージの形式 |
|---|---|
aarch64 |
qcow2、vmdk |
x86_64 |
qcow2、vmdk、raw、セルフインストーラ |
2. 仮想マシンマネージャ(virt-manager)の設定
virt-managerを使用して、新しい仮想マシンを作成するときに、次の設定を入力します。
|
次の表は、最低要件を指定しています。これらは、クライアントが1つある1つのプロキシなど、テスト用の簡易的なインストールに適しています。 運用環境を使用する場合、ディスク容量に関する背景情報が必要な場合は、ハードウェア要件を参照してください。 |
| KVM Settings | |
|---|---|
Installation Method |
Import Existing Disk Image |
OS: |
Linux |
Version: |
SUSE Multi-Linux Manager-Proxy.x86_64-5.2.*.qcow2 |
Memory: |
Minimum *) |
CPU’s: |
Minimum *) |
Storage Format: |
.qcow2 40 GB (Default) Root Partition |
Name: |
test-setup |
Network |
Bridge br0 |
*) 最小値については、installation-and-upgrade:hardware-requirements.adoc#proxy-hardware-requirementsを参照してください。
|
|
3. KVMの初期セットアップ
設定については、仮想マシンマネージャ(virt-manager)の設定を参照してください。
-
Create a new virtual machine using the downloaded Minimal KVM image and select
Import existing disk image. -
RAMおよびCPU数を最小値で設定します。*)
-
Name your KVM machine and select the
Customize configuration before installcheck box. -
Begin Installation(インストールの開始)をクリックし、イメージからブートします。
-
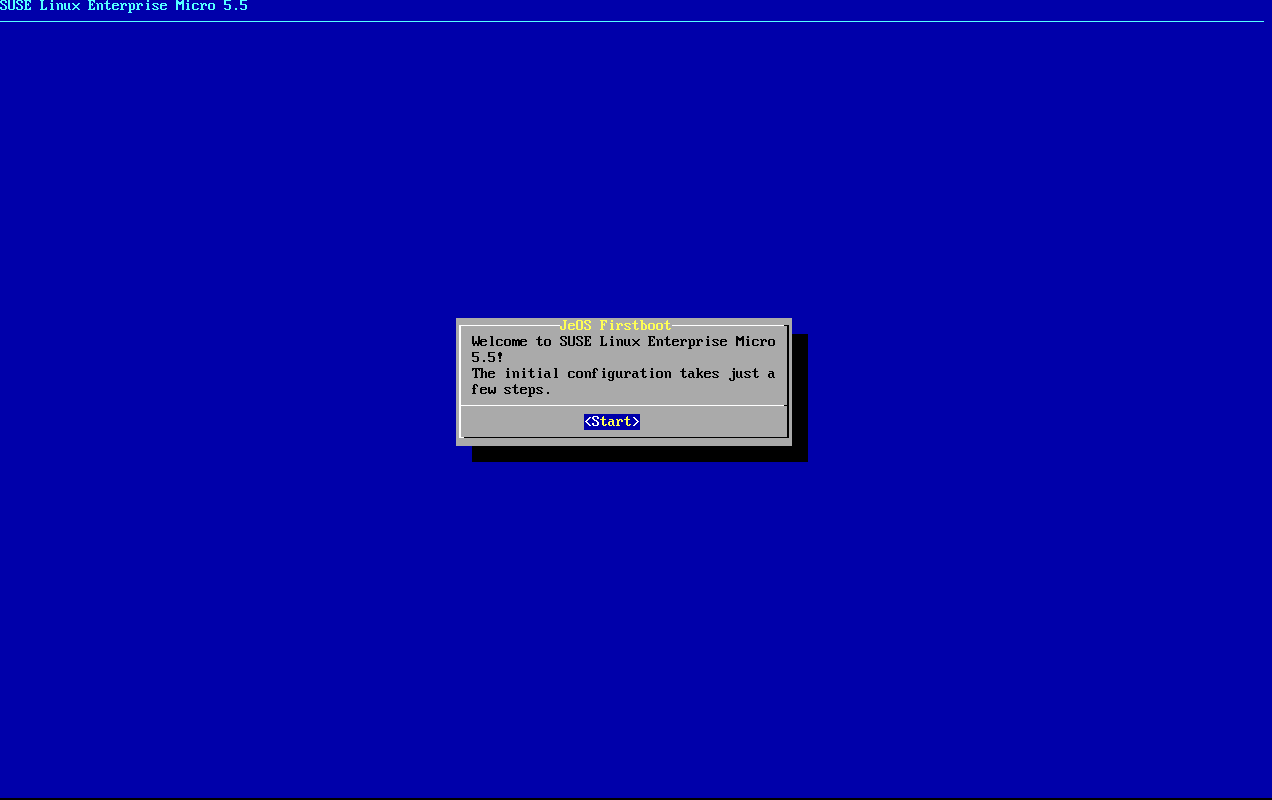
[JeOS Firstboot]の画面で、[Start]を選択して続行します。
-
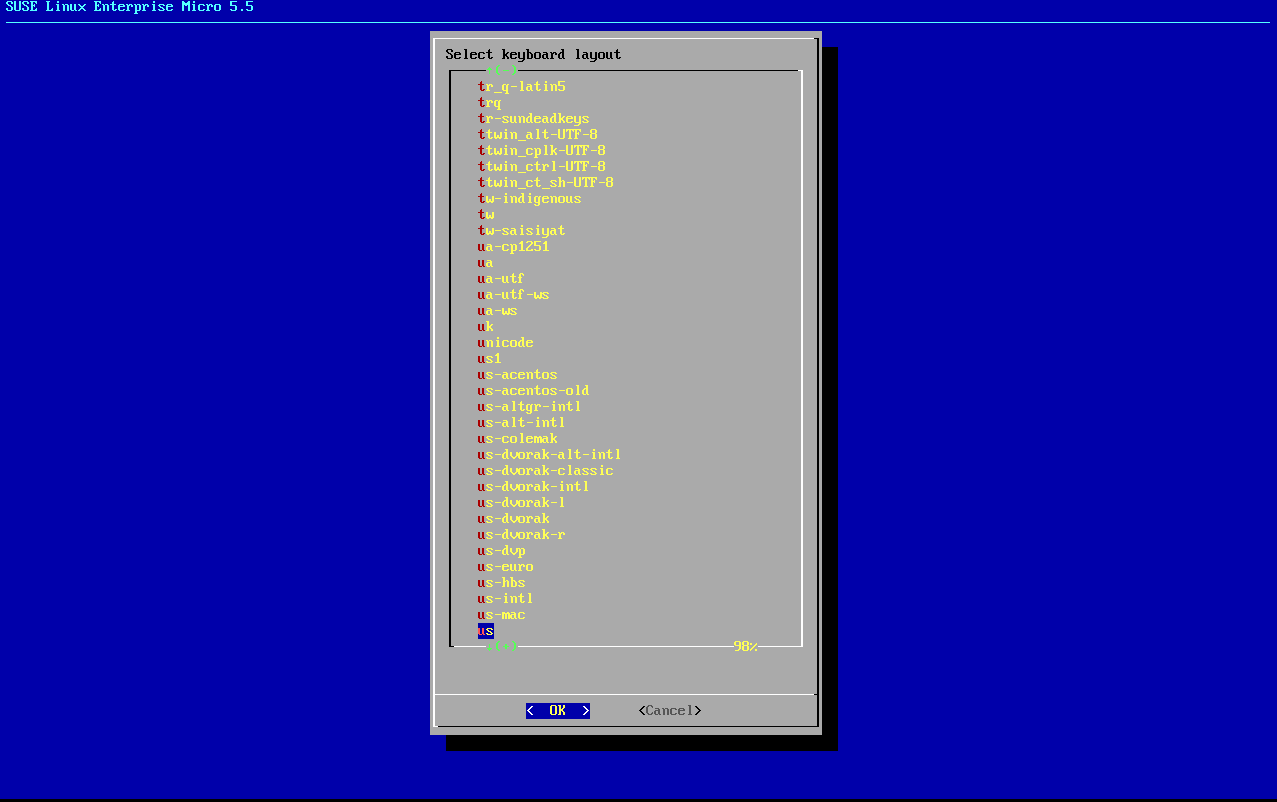
キーボードレイアウトを選択します。
-
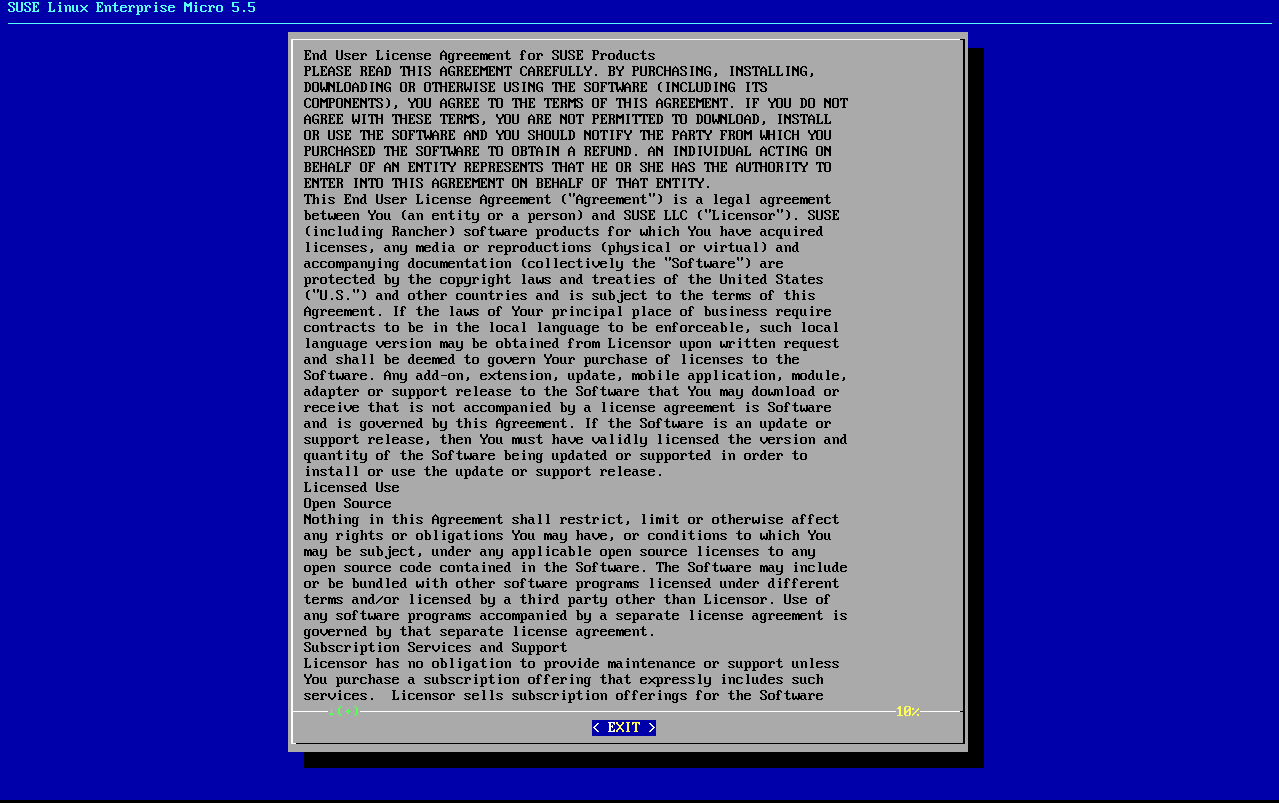
ライセンス契約に同意します。
-
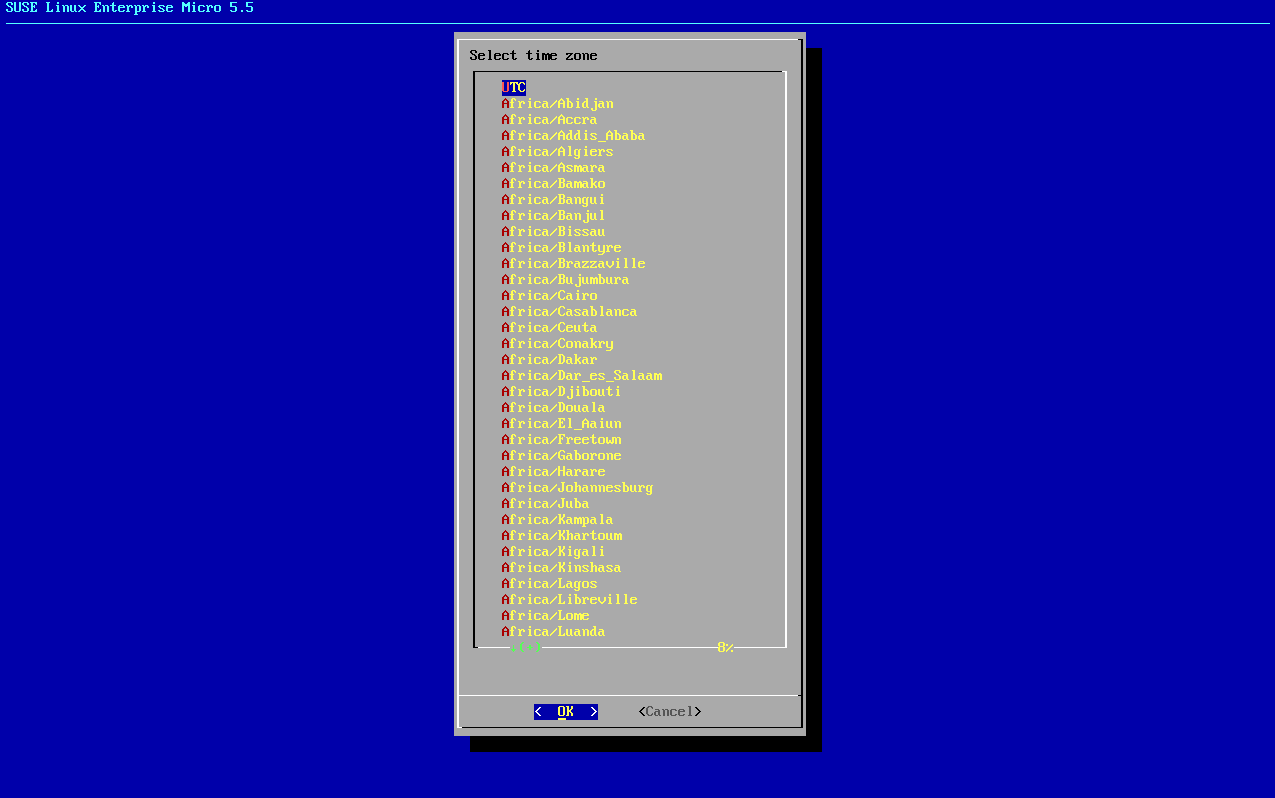
タイムゾーンを選択します。
-
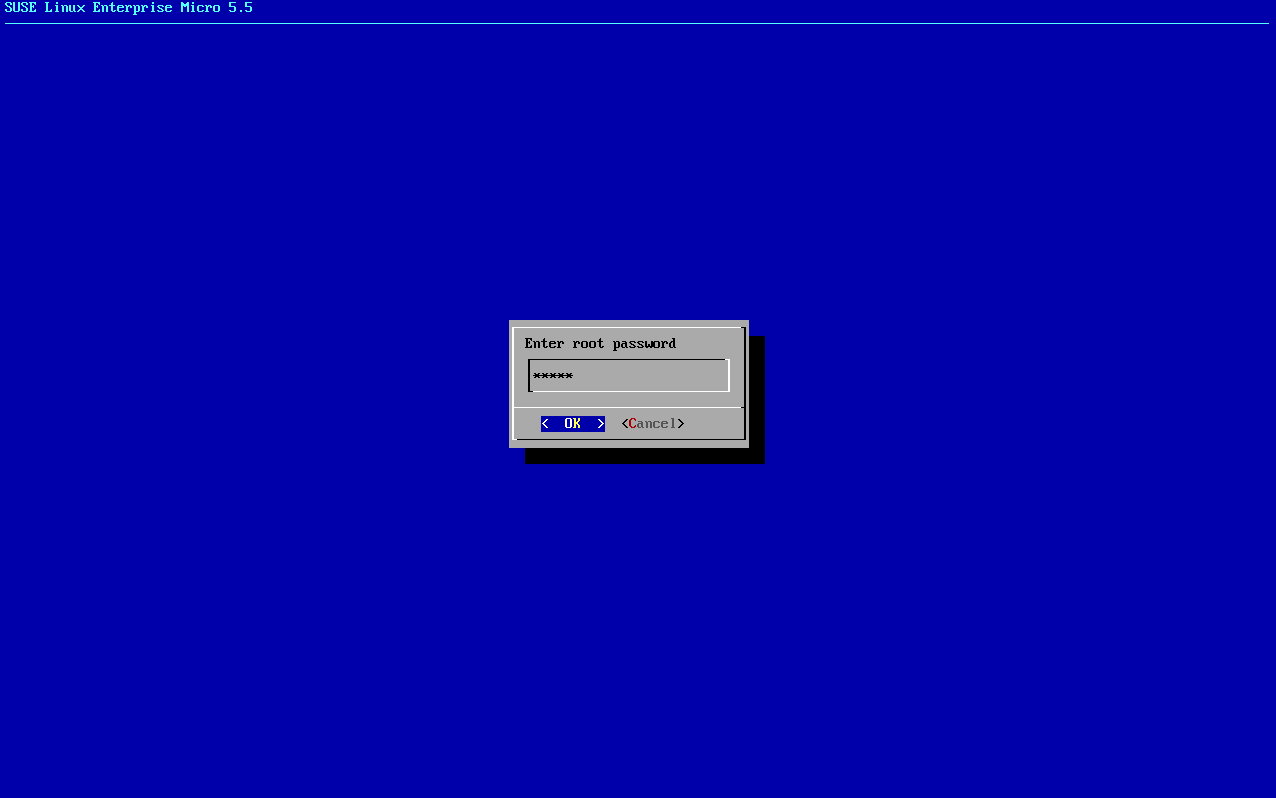
rootのパスワードを入力します。
-
インストールが完了したら、rootとしてログインします。
-
次のセクションに進みます。
*) 最小値については、installation-and-upgrade:hardware-requirements.adoc#proxy-hardware-requirementsを参照してください。
4. SL MicroおよびSUSE Multi-Linux Manager 5.2プロキシの登録
-
仮想マシンをブートします。
-
rootとしてログインします。 -
SCCでSL Microを登録します。
transactional-update register -r <REGCODE> -e <your_email>
-
再起動します。
-
SUSE Customer CenterでSUSE Multi-Linux Manager 5.2プロキシを登録します。
transactional-update register -p Multi-Linux-Manager-Proxy/5.2/x86_64 -r <REGCODE>
-
再起動します。
-
システムを更新します。
transactional-update
-
更新が適用されていた場合は再起動します。
-
This step is optional. However, if custom persistent storage is required for your infrastructure, use the
mgr-storage-proxytool. For more information, seemgr-storage-proxy --help. This tool simplifies creating the container volumes.-
このコマンドは次のように使用します。
mgr-storage-proxy <storage-disk-device>
例:
mgr-storage-proxy /dev/nvme1n1
This command will move the persistent storage volumes at
/var/lib/containers/storage/volumesto the specified storage device.詳細については、以下を参照してください。
-
5. プロキシのアクティベーションキーの作成
に移動し、キーの作成をクリックします。
SL Micro 6.2またはSUSE Linux Enterprise Server 15 SP7を親チャンネルとして使用して、プロキシホストのアクティベーションキーを作成します。このキーには、推奨されるすべてのチャンネルと、拡張機能としてのプロキシの子チャンネルが含まれる必要があります。
Proceed to boostrapping the proxy host as a
defaultclient.
|
Ensure the Proxy is assigned only to original vendor channels. Assigning cloned channels is not supported at this moment. |
6. プロキシ設定の生成
SUSE Multi-Linux Managerプロキシの設定アーカイブはSUSE Multi-Linux Managerサーバによって生成されます。追加のプロキシごとに専用の設定アーカイブが必要です。
コンテナ化されたSUSE Multi-Linux Managerプロキシの場合、変更を有効にするには、新しいプロキシ設定ファイルを構築してから、コンテナを再配備する必要があります。 これは、SSL証明書を含む、設定を更新するためのプロセスです。
|
Podmanの配備では、このプロキシ設定を生成する前に、SUSE Multi-Linux ManagerプロキシのコンテナホストをSUSE Multi-Linux Managerサーバにクライアントとして登録する必要があります。 |
If a proxy FQDN is used to generate a proxy container configuration that is not a registered client (as in the Kubernetes use case), a new system entry will appear in system list. This new entry will be shown under previously entered Proxy FQDN value and will be of Foreign system type.
|
Peripheral servers are always using third-party SSL certificates. If the hub server has generated the certificates for the peripheral server, it needs to generate the certificate of each proxy too. On the hub server, run the following command. 使用するファイルは、
|
6.1. Web UIを使用したプロキシ設定の生成
Web UIで、に移動し、必要なデータを入力します。
In the
Proxy FQDNfield type fully qualified domain name for the proxy.In the
Parent FQDNfield type fully qualified domain name for the SUSE Multi-Linux Manager Server or another SUSE Multi-Linux Manager Proxy.In the
Proxy SSH portfield type SSH port on which SSH service is listening on SUSE Multi-Linux Manager Proxy. Recommended is to keep default 8022.In the
Max Squid cache size [MB]field type maximal allowed size for Squid cache. Recommended is to use at most 80% of available storage for the containers.
2 GBはプロキシSquidのデフォルトのキャッシュサイズを表します。これは、環境に合わせて調整する必要があります。
In the
SSL certificateselection list choose if a new server certificate should be generated for SUSE Multi-Linux Manager Proxy, an existing one should be used, or the SSL part should be skipped entirely. You can consider generated certificates as SUSE Multi-Linux Manager builtin (self signed) certificates. If SUSE Multi-Linux Manager server runs on Kubernetes, the generated certificate option is not possible and replaced with no SSL certificate as they are managed outside the containers.Depending on the choice then provide either path to signing CA certificate to generate a new certificate or path to an existing certificate and its key to be used as proxy certificate. If the SSL part is skipped, the resulting configuration archive does not carry
server_crt,server_keyorca_crt; the deployment is then responsible for providing the proxy certificate and root CA out-of-band (for Kubernetes deployments this means creatingproxy-certanduyuni-camanually — see the TLS setup section of the Kubernetes proxy deployment page).The CA certificates generated by the server are stored in the
/var/lib/containers/storage/volumes/root/_data/ssl-builddirectory.既存の証明書またはカスタム証明書、および企業証明書と中間証明書の概念の詳細については、SSL証明書のインポートを参照してください。
Click Generate to register a new proxy FQDN in the SUSE Multi-Linux Manager Server and generate a configuration archive (
config.tar.gz) containing details for the container host.しばらくすると、ダウンロードするファイルが表示されます。このファイルをローカルに保存します。
6.2. Generate Proxy Configuration With spacecmd and Self-Signed Certificate
You can generate a Proxy configuration using spacecmd. This is only possible if SUSE Multi-Linux Manager server runs on podman and has a self-signed root CA certificate.
SSHでコンテナホストに接続します。
次のコマンドを実行してサーバとプロキシFQDNを置き換えます。
mgrctl exec -ti 'spacecmd proxy_container_config_generate_cert -- dev-pxy.example.com dev-srv.example.com 2048 email@example.com -o /tmp/config.tar.gz'生成された設定をサーバコンテナからコピーします。
mgrctl cp server:/tmp/config.tar.gz .
6.3. Generate Proxy Configuration With spacecmd and Custom Certificate
You can generate a Proxy configuration using spacecmd for custom certificates rather than the default self-signed certificates.
サーバコンテナホストにSSHで接続します。
Execute the following commands, replacing the Server and Proxy FQDN:
for f in ca.crt proxy.crt proxy.key; do
  mgrctl cp $f server:/tmp/$f
done
mgrctl exec -ti 'spacecmd proxy_container_config -- -p 8022 pxy.example.com srv.example.com 2048 email@example.com /tmp/ca.crt /tmp/proxy.crt /tmp/proxy.key -o /tmp/config.tar.gz'
設定で中間CAを使用する場合は、それもコピーし、
-iオプション付きでコマンドに含めます(必要に応じて複数回指定できます)。mgrctl cp intermediateCA.pem server:/tmp/intermediateCA.pem mgrctl exec -ti 'spacecmd proxy_container_config -- -p 8022 -i /tmp/intermediateCA.pem pxy.example.com srv.example.com 2048 email@example.com /tmp/ca.crt /tmp/proxy.crt /tmp/proxy.key -o /tmp/config.tar.gz'生成された設定をサーバコンテナからコピーします。
mgrctl cp server:/tmp/config.tar.gz .
6.4. Generate Proxy Configuration With spacecmd and no Certificate
You can generate a Proxy configuration using spacecmd with no TLS certificates. This is needed for SUSE Multi-Linux Manager running on Kubernetes as the certificates are handled outside of the containers.
サーバコンテナホストにSSHで接続します。
Execute the following commands, replacing the Server and Proxy FQDN:
for f in ca.crt proxy.crt proxy.key; do
  mgrctl cp $f server:/tmp/$f
done
mgrctl exec -ti 'spacecmd proxy_container_config_nossl -- -p 8022 pxy.example.com srv.example.com 2048 email@example.com -o /tmp/config.tar.gz'
生成された設定をサーバコンテナからコピーします。
mgrctl cp server:/tmp/config.tar.gz .
7. プロキシ設定の転送
Web UIによって設定アーカイブが生成されます。このアーカイブをプロキシコンテナホストで利用できるようにする必要があります。
If not already done, copy the configuration archive (
config.tar.gz) generated in the previous step from the server container to the server host:mgrctl cp server:/root/config.tar.gz .まだ実行していない場合は、サーバホストからプロキシホストにファイルをコピーします。
scp config.tar.gz <proxy-FQDN>:/root
8. SUSE Multi-Linux Manager 5.2プロキシの起動
Container can now be started with the mgrpxy command:
-
次のコマンドを呼び出してプロキシを起動します。
mgrpxy start
-
次のコマンドを呼び出してコンテナのステータスを確認します。
mgrpxy status
Five SUSE Multi-Linux Manager Proxy containers should be present and should be part of the
proxy-podcontainer pod:-
proxy-salt-broker
-
proxy-httpd
-
proxy-tftpd
-
proxy-squid
-
proxy-ssh
-
8.1. サービスにカスタムコンテナイメージを使用する
By default, the SUSE Multi-Linux Manager Proxy suite is set to use the same image version and registry path for each of its services. However, it is possible to override the default values for a specific service using the install parameters ending with -tag and -image.
たとえば、次のように使用します。
mgrpxy install --httpd-tag 0.1.0 --httpd-image registry.opensuse.org/uyuni/proxy-httpd /path/to/config.tar.gz
It adjusts the configuration file for the httpd service, where registry.opensuse.org/uyuni/proxy-httpds is the image to use and 0.1.0 is the version tag, before restarting it.
値をデフォルトにリセットするには、これらのパラメータを指定せずにもう一度installコマンドを実行します。
mgrpxy install /path/to/config.tar.gz
このコマンドは、すべてのサービスの設定をグローバルデフォルトにリセットして再ロードします。